
ARB Intensity Solis LED Light Preview & Jeep JL Install
Debating the best performance driving light is like debating politics. Everyone has an opinion, everyone knows their opinion is the correct one, and no one wants to stop talking long enough to consider something else. Knowing that, I’m not going to try and claim these are the best performance lights on the market, nor am I going to try and compare these lights to other options on the market. Instead, I’ll offer a preview of my experience with these lights, as well as some instructions for installing them into a Jeep JL.

The ARB Intensity Solis lights mounted onto the ARB Bondi bumper on the InTents Adventures Jeep

The ARB Intensity Solis lights on the front of my 2019 Jeep Wrangler JL Rubicon.
About the ARB Solis Lights
The ARB Intensity Solis LED lights are the latest in ARB’s light offerings. They are also significantly cheaper than the ARB Intensity lights, and I think they’ll quickly become a popular choice for off-road and overland enthusiasts.
I mounted them to an ARB Bondi front bumper, and the mounting points align perfectly. I love how cleanly ARB equipment works together; so many brands overlook these little things.

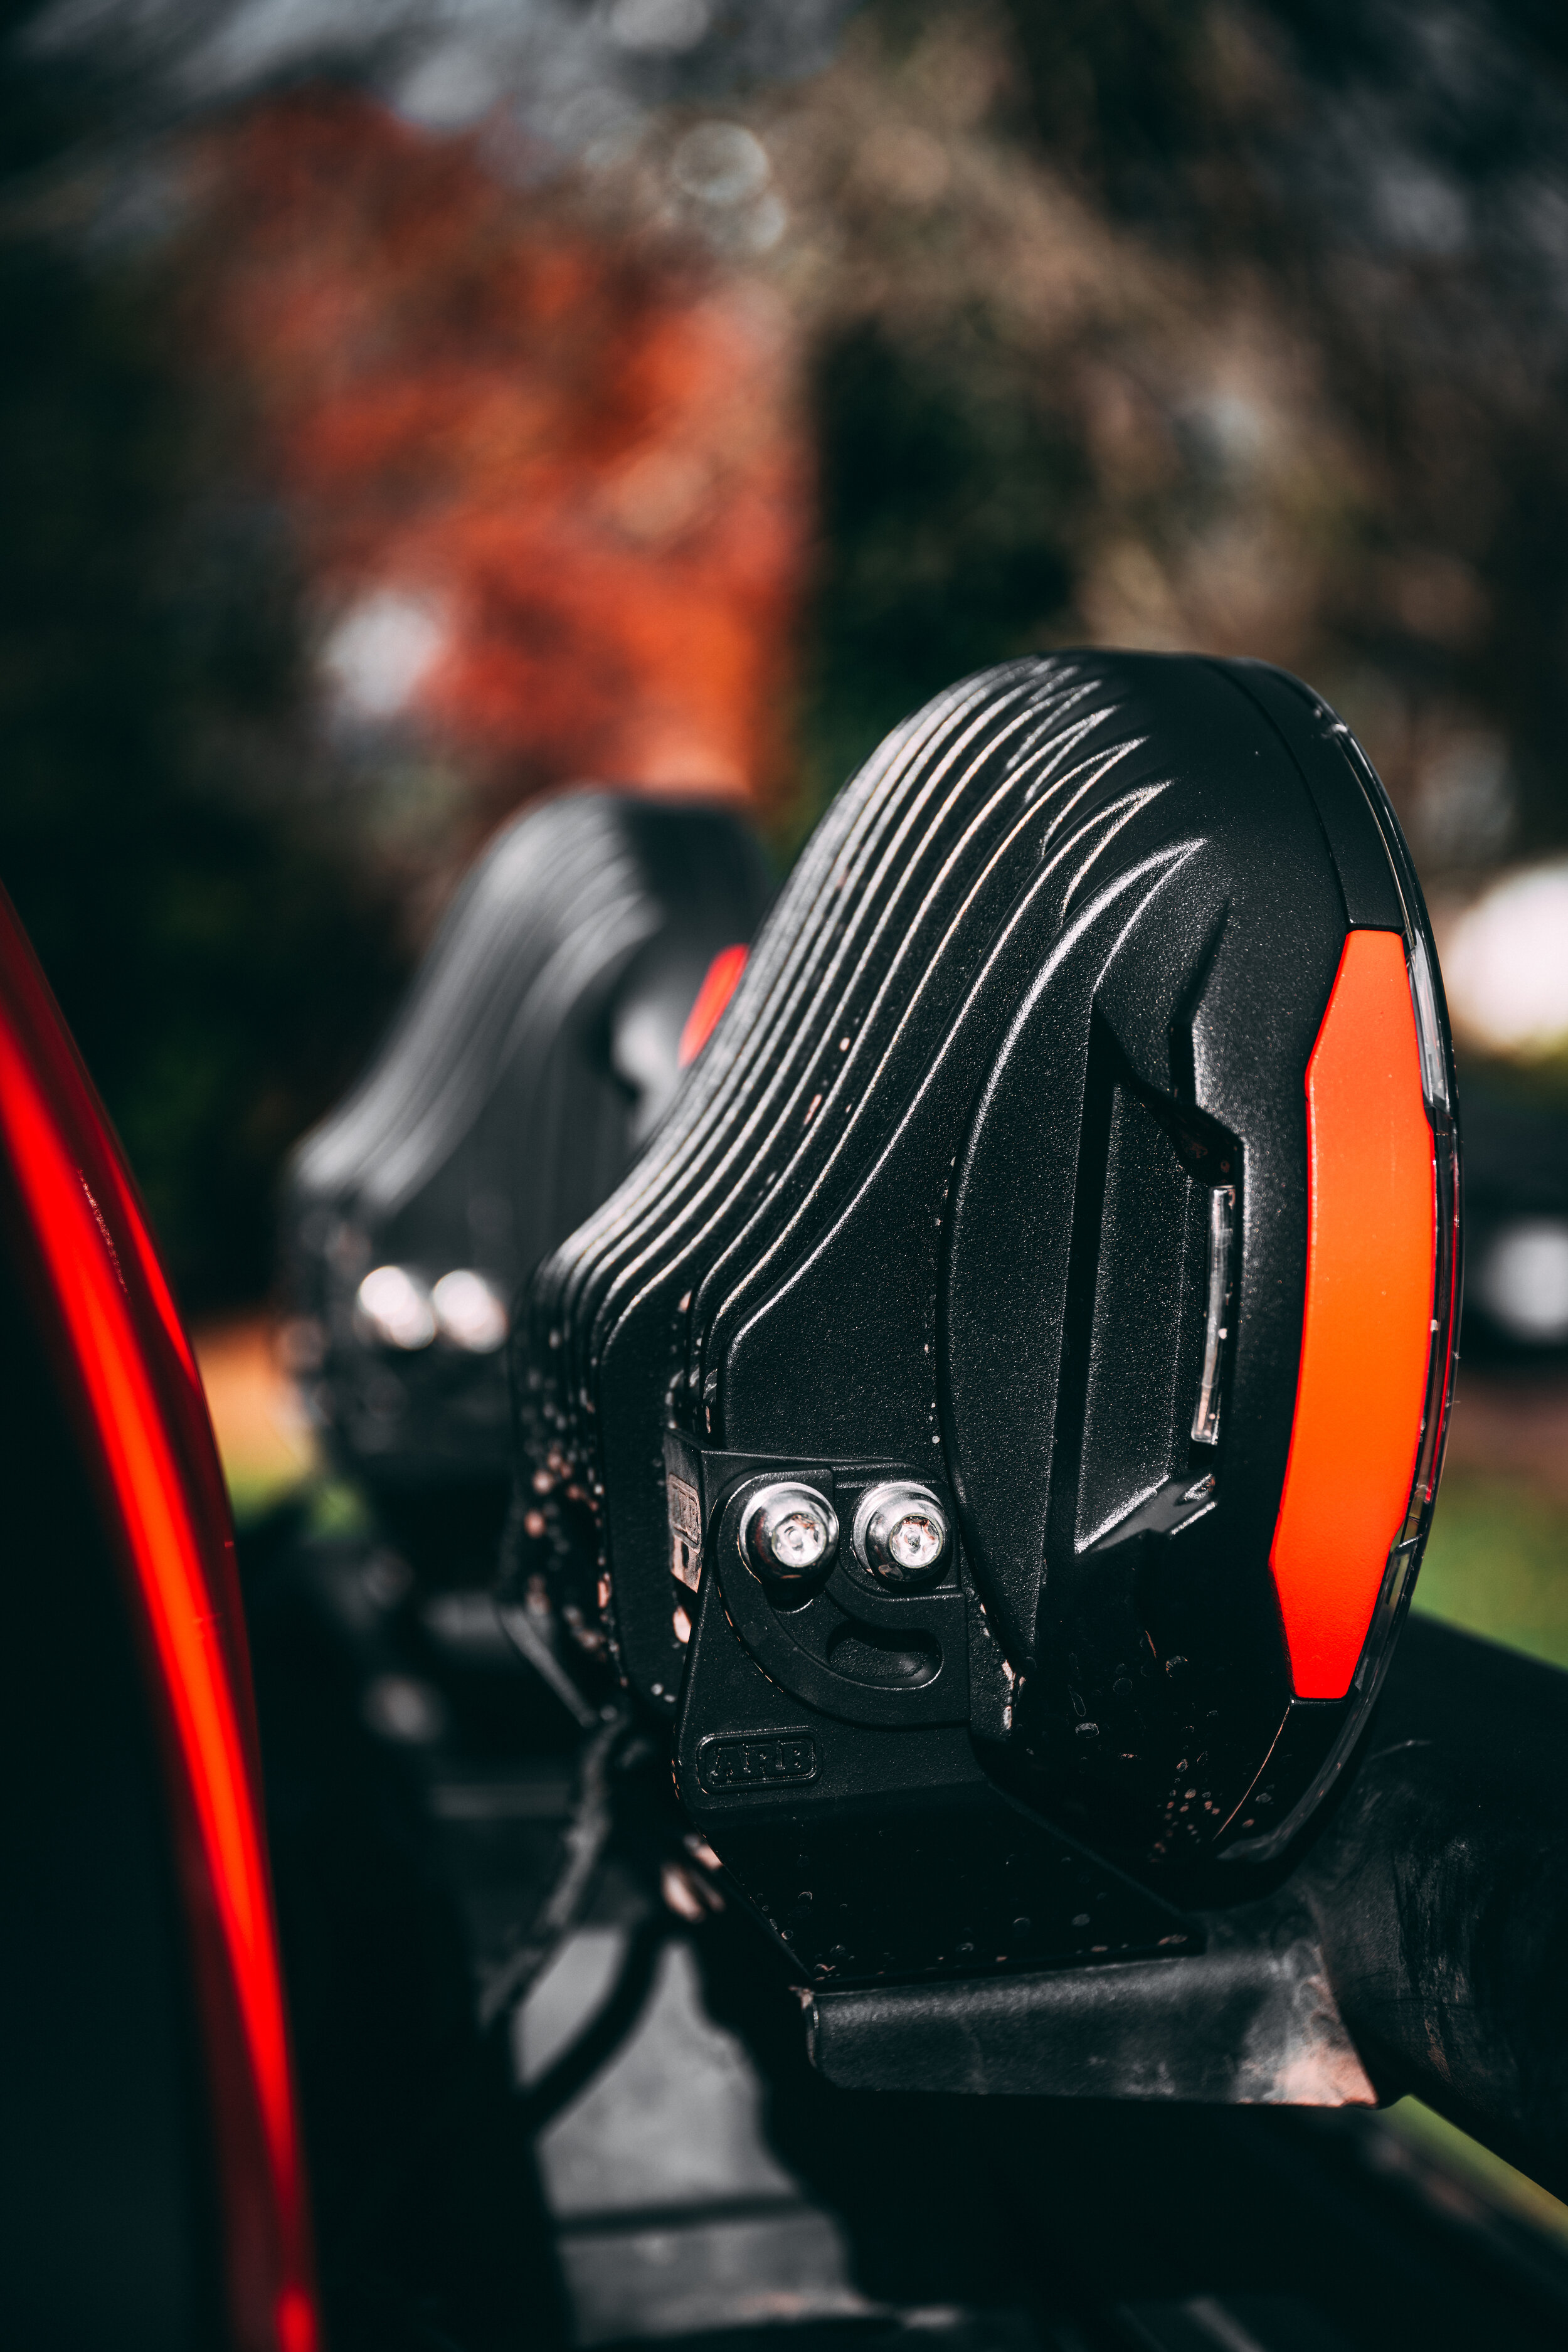
The lights have a squat base, offering a lower center of gravity and more flush mounting options.
ARB offers several configurations and options for the light, including a spot and flood variant. Both offer 165 Watts of power and 18,178 lumens (as advertised). The lights contain 36 Osram LEDs (6x10 watt and 30x4 watt) with individually tuned reflector cups molded into a single reflector. ARB also advertises the lights as being IP68 water and dust proof, which is incredibly important for an off-road light.

The bezel on the edge of the lights can be changed from red (pictured) to black.
I think these lights represent one of the best values on the market today; you get the reputation and customer service with ARB, the benefits of their years of R&D and engineering, and a much more affordable price tag. Plus little features like the dimmable remote, security hardware, and interchangeable light protectors make this an awesome all-around light package.
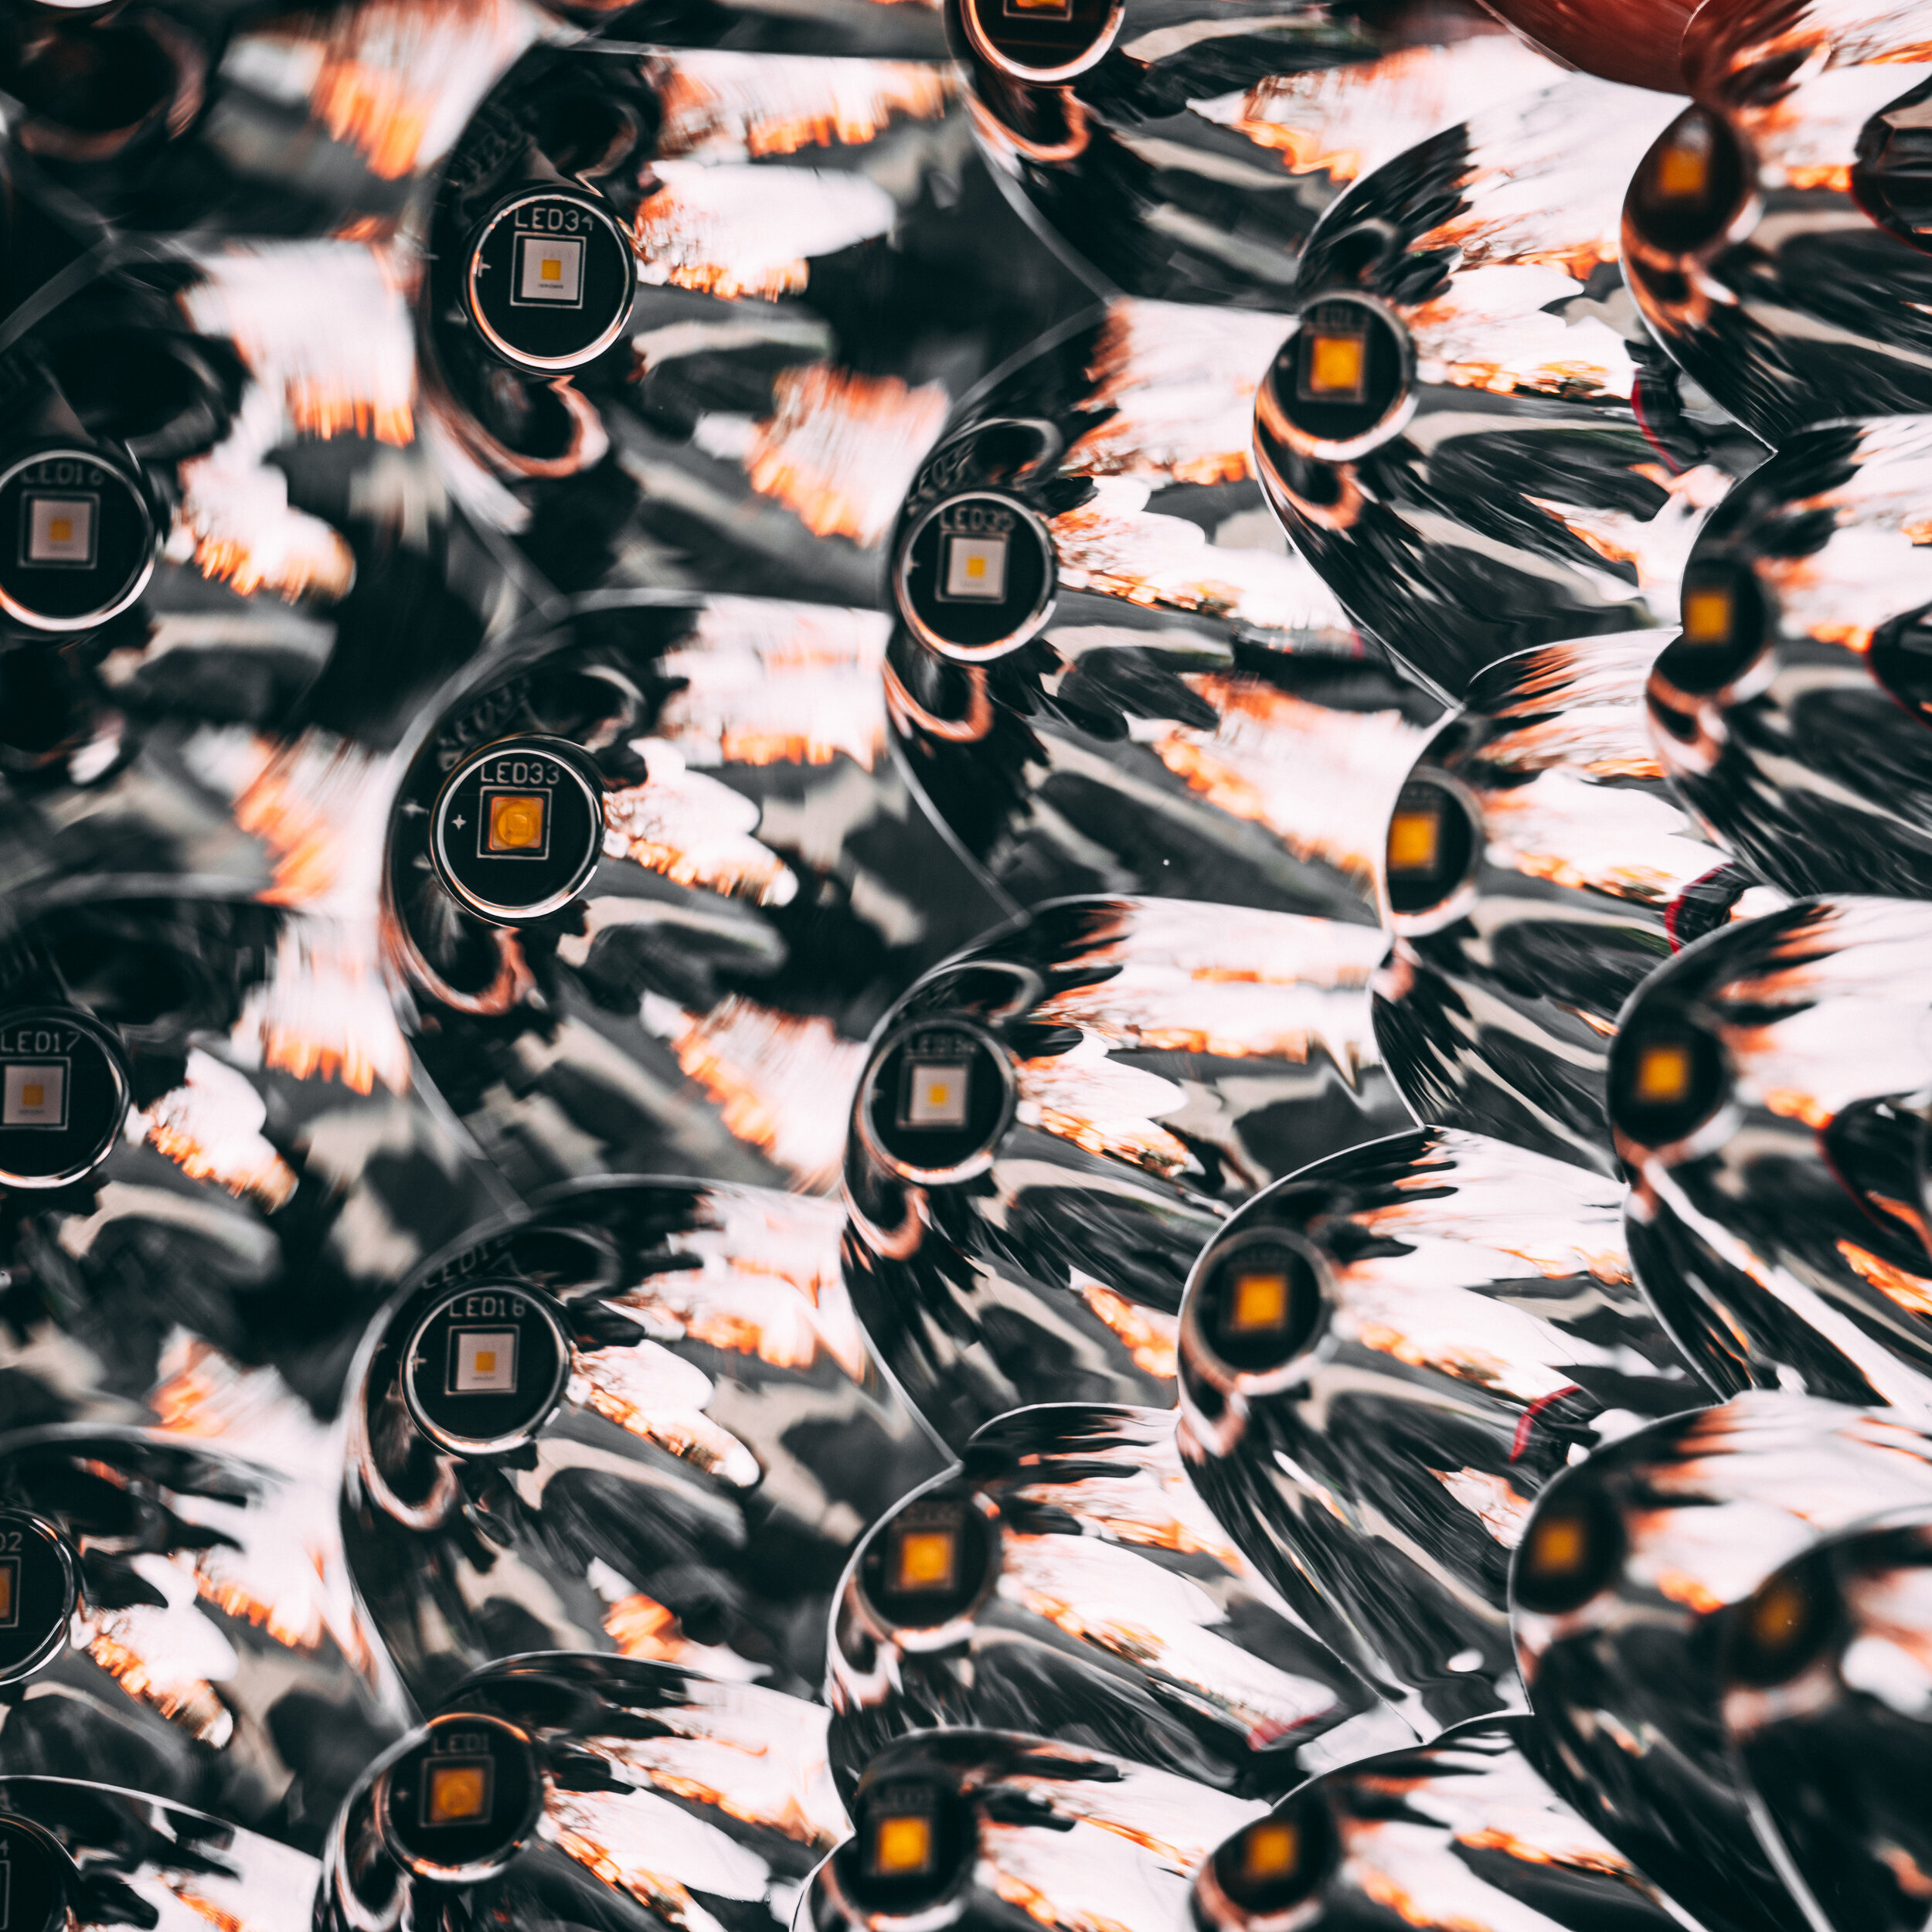
36 Osram LEDs make up the lighting array. Each LED has a custom tuned reflector for optimum performance.
What’s Included?
I purchased a kit that included two spot lights and the wiring harness. Included with the harness is also a small remote control that allows for the lights to be dimmed.
The remote control is pretty unique; it has a button to turn the lights on and off (see below), as well as 5 dimmable settings for making the lights a little less blinding. The remote attaches with some 3M tape, so the mounting locations are endless.

I mounted the remote controller inside the cabin next to the emergency brake. It’s not something I’ll need to fiddle with regularly because of how I wired the lights (see below), but others may want to put it in a more accessible location.
Each light comes with the mounting base, security screws (so people can steal your lights), interchangeable bezels (red and black), and a clear polycarbonate lens protector.
ARB includes security hardware and the mounting brackets and mount perfectly to an ARB bumper, like my Bondi bumper. My lights have a little mud on them from some adventures this weekend….
The lens protectors are interchangeable and ARB also offers a black and amber cover. I picked up a set of amber covers as well; the amber light can be very helpful in dusty, foggy, rainy, snowy, or other low-visibility conditions. It’s easy to keep the spare covers in the Jeep and swap them based on the driving conditions.

Side-by-side of the amber vs clear lens covers for the Solis lights.
Installation
One of the issues with these lights is that they are so new to market that there isn’t a lot of information out there about the actual installation. So let’s start with the instructions provided by ARB, as well as how they want you to wire it:

The instructions provided by ARB; this document is property of ARB.
If you look at these instructions, you’ll notice they have you tap into the wiring for your headlights and high beams. The reason for this? ARB designed it so that the lights would activate when you turn on your high beam lights.
The wiring harness for the lights includes a pigtail adaptor for certain vehicle headlights to prevent you from having to hack up your light wiring. I’m not covering all the installations possible, only the one I did for my Jeep JL. Also, I’m assuming you have some basic understanding of how to write your Jeep JL Aux switches.
I didn’t want to wire the lights to activate with the high beams. There are times where i might want to flash or use my brights in normal street driving, but where I don’t want these to come on. I wired the lights to activate (IE to get power) only when the Aux 3 switch is activated in the Jeep. Here’s how I did it:
Installing these is easier if you have the Aux switch bank from Mopar. I used Aux 3 because that is a 15amp switch.
Cut the connector off of the yellow and black wires (“F” on the drawing above)
Connect the black wire to a negative ground point (this will give you 3 total negative grounds… this plus the two from “N”)
Connect the yellow and red wire together with the wire for the Aux switch you chose (I used Aux 3, which is a pink/orange stripe wire). I used a waterproof crimp connector and some heat shrink tubing to connect these together.

Wiring the lights to the Aux switch under the hood. I used heat shrink tubing and waterproof crimp connectors to protect the wiring.
Wired like this, the lights will only have power when you engage the Aux 3 switch. Then you can press the “ARB” button on the controller to power the lights and adjust brightness.
I ran the controller up through the drain plug in the passenger wheel well. I drilled a small hole in the rubber grommet in the drain plug and shoved the controller’s connector through that plug; it’s still snug enough that it is a water-tight fit. I then routed the controller under the center console and around to the driver’s side, adjacent to the emergency brake.

White light on the ARB symbol indicates the lights are ON. You can use the tabs on the left and right to adjust the brightness.

Red light on the ARB symbol indicates the lights are OFF.
Use Off-Road
I haven’t had a chance to review the performance of the lights in all conditions, so this is hardly a review (hence it being a preview!). However, I can say that I’m quite impressed with my initial observations and use of these lights. They throw light quite a distance down the trail, even in broad daylight, they don’t wobble or shake on the bumper, and there is no interference created by them. I couldn’t hear any humming and all of my radio systems operated perfectly — this is not something you’ll see with super budget lights!

Because the lens protectors are removable, you will get mud and dirt behind them, so take care to wash behind your light covers. A dirty light cover diminishes the performance of the light!

I have my headlights, some cube lights on the A pillar, and the ARB Solis lights all turned on as I splash through the mud puddle. Note how little of the headlight is able to pierce the mud puddle, while the Solis lights crash right through.
I have taken the lights through a bunch of puddles and two decent sized stream crossings with no ill-adverse effects owing to the IP68 waterproofing. The high quality powder coating looks to be very durable, despite plenty of abuse.
