Installing the Rhino Rack Sunseeker Awning
Take one overland camping trip out in a downpour and you’ll understand the appeal of a roof-mounted awning. At least, that’s what it took before I appreciated that getting an awning for my setup was going to be high on the list for future upgrades.
We were camping at a local favorite spot called Flagpole. It poured. Not just a little rain…. the big fat nasty raindrops that soak everything you own. We used some cheap blue tarps and rope to try and rig up a little shelter, but everything was drenched. I wished I’d had an awning like this.
This won’t be a full review of the awning, because I haven’t had a chance to use it outside my driveway yet. But I’ll report back in two weeks after my next multi-night overlanding trip into Pennsylvania.
Installation is pretty quick and only required a 13mm wrench / socket. There are lots of ways you can mount the awning to your specific vehicle, but I’m only showing how I mounted it next to my CVT Rooftop Tent on my Rhino Rack Pioneer Platform.
Everything you need to install is in the box, except tools.

The Sunseeker comes in a weather-proof bag with a heavy-duty exterior to protect it when not in use.
Attaching it requires mounting two L shaped brackets to the platform and the back side of the awning. It was really easy to do, and I was able to install it myself in under an hour.
You have to decide which way you want to orient the L brackets. Rhino Rack says it can be installed in either orientation — low profile (where the long part of the L attaches to the rack, causing the whole awning to sit a little closer to the platform) or high profile (vice versa— where the awning sits a little higher).
Initially I configured the brackets for the low profile install as seen here.
The low profile mounting method. The square piece on the end of the screw slides into the back of the awning for mounting.
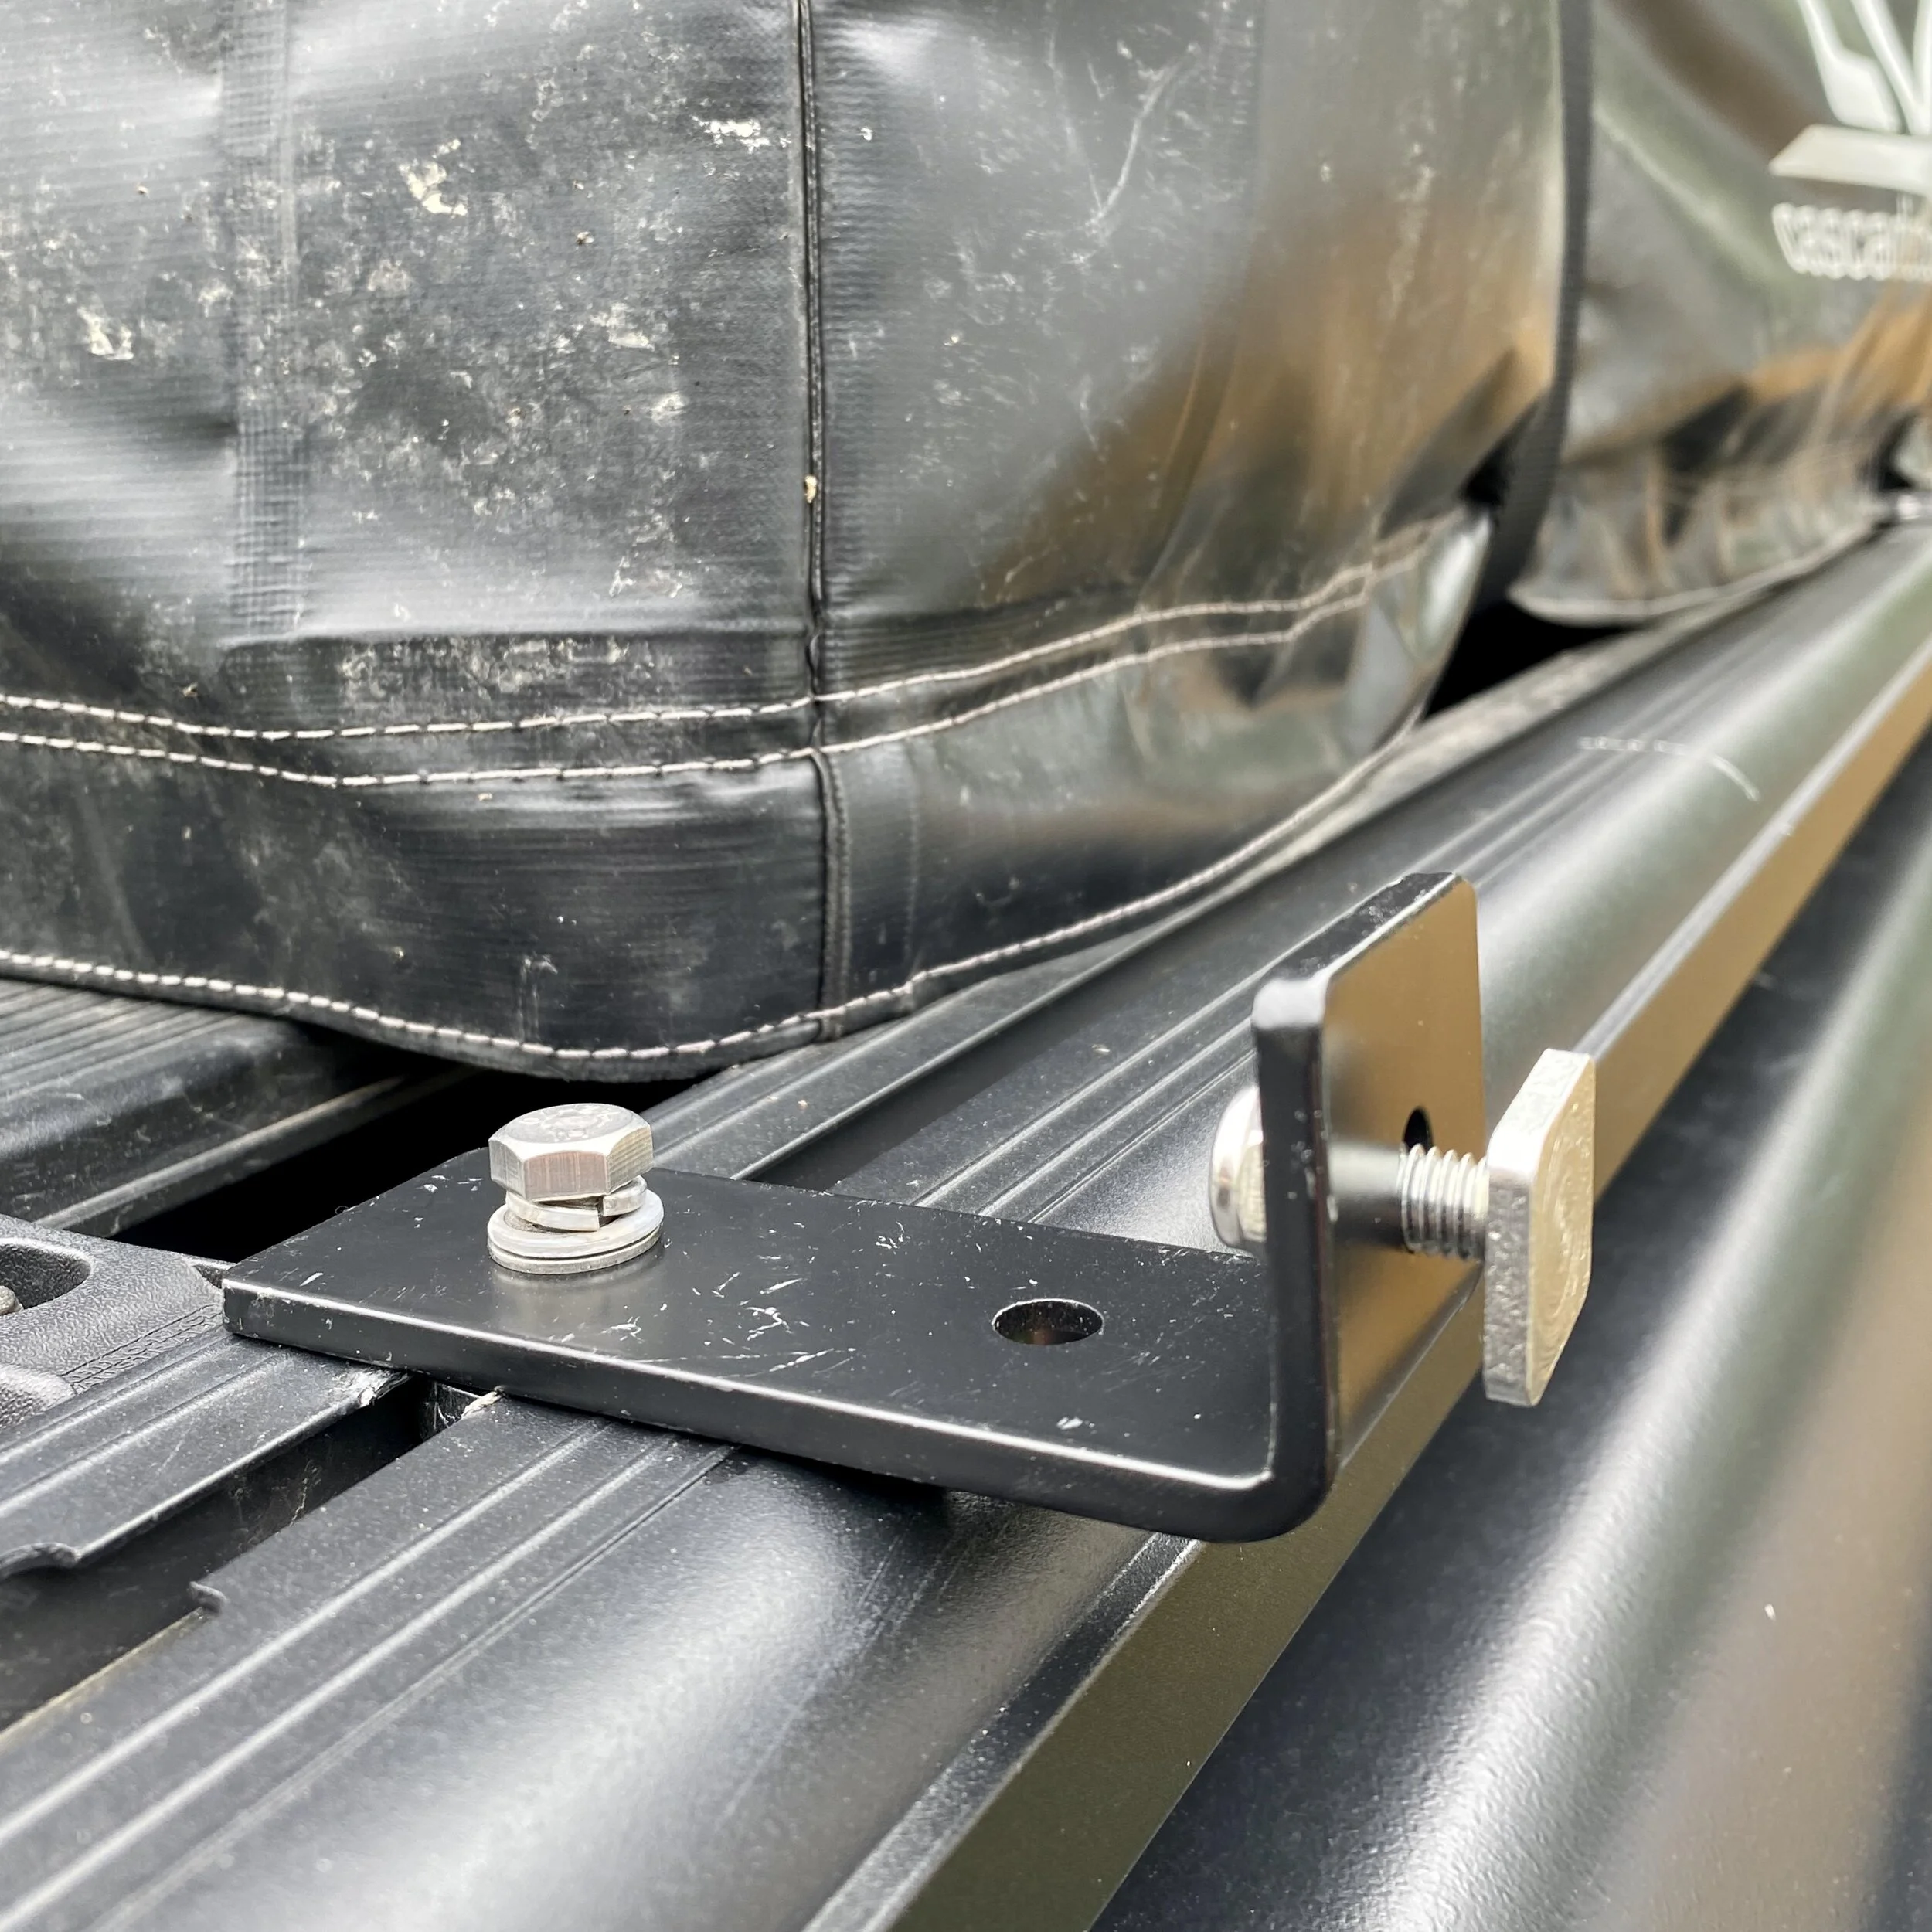
After putting the brackets up in the low profile configuration, I realized the Maximus-3 ladder coming off the side of the platform was going to interfere with the awning sitting flush. Easy enough, I rotated the brackets to the high profile orientation as seen below.

Bracket reversed and installed on the back of the awning. You can also see the slide that holds the bracket into the rack slots.
With the brackets mounted, it was a matter of tightening down the bolts and determining the front-back placement of the awning on the brackets. I recommend keeping all the hardware loose enough that you can slide things around until you get a placement you like, then tightening all of the nuts and bolts at once.
Rhino Rack includes a little bag with line, stakes, and hardware for anchoring the awning when it is deployed.

Rhino Rack includes all the accessories and hardware to anchor the awning once deployed.
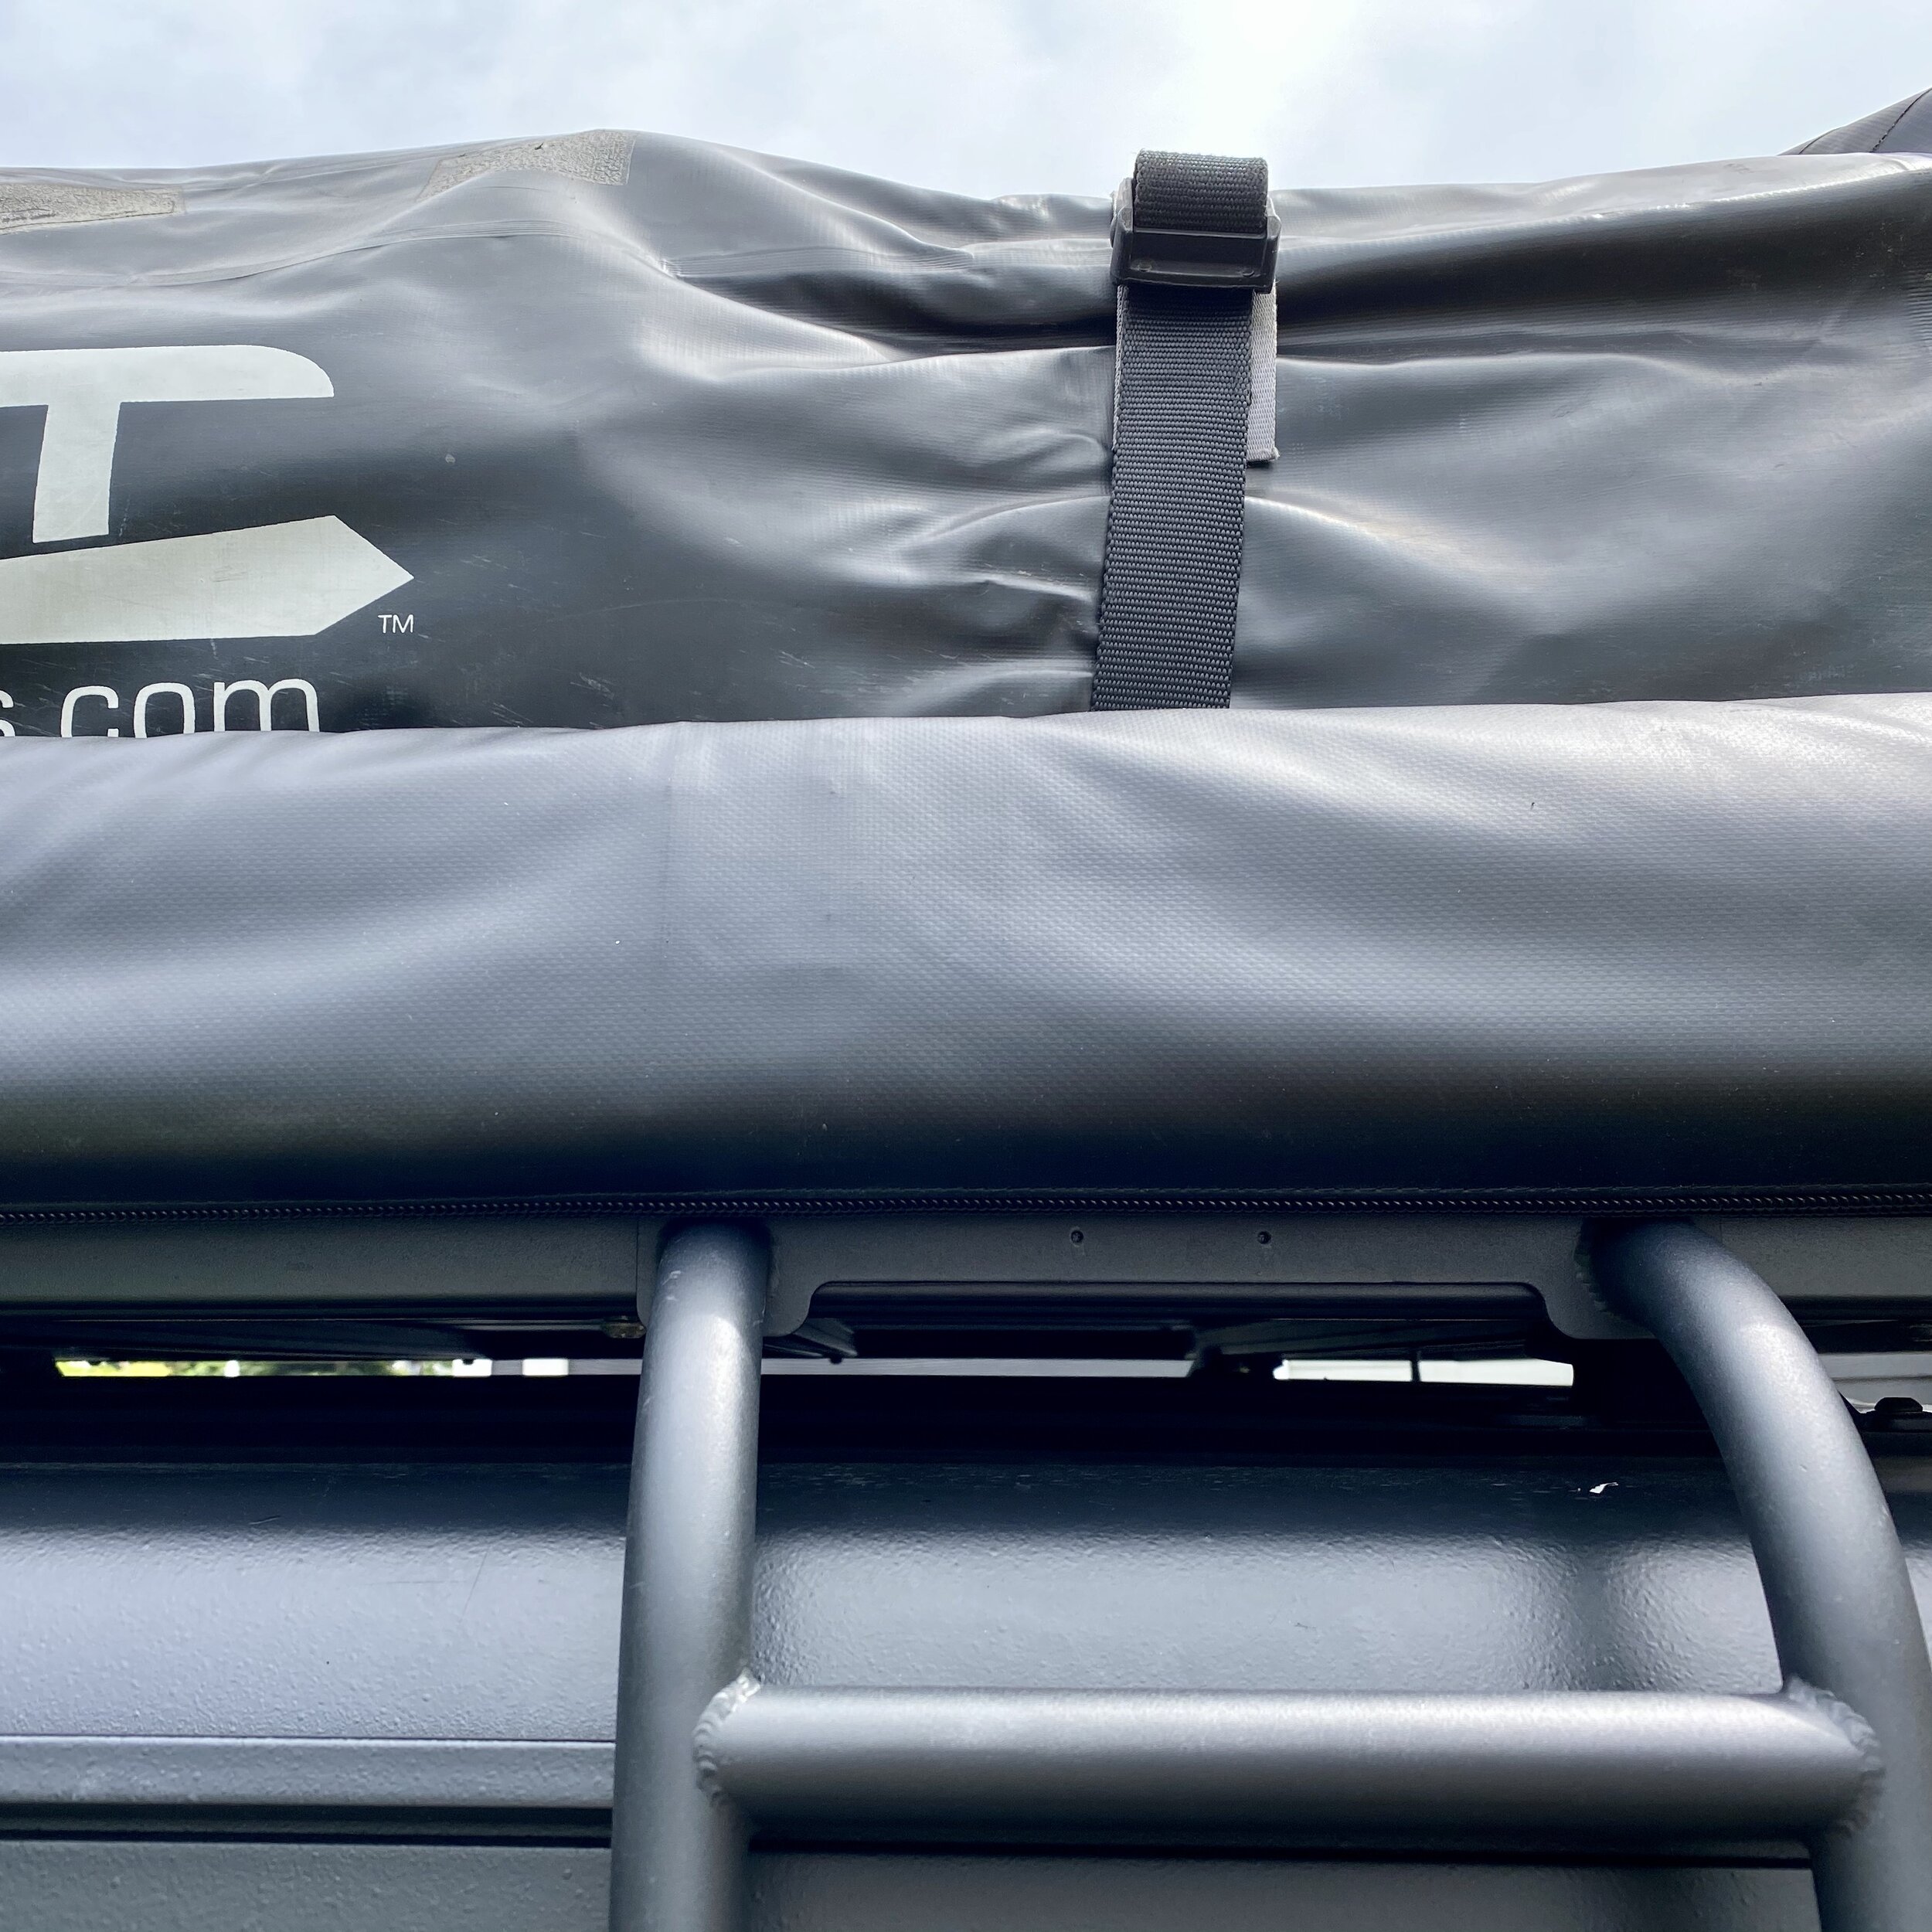
The final product was a very clean install, and it looks great along the drivers side of Lola. The only challenge is that the awning does reduce access to the zipper around the rooftop tent cover. I solved that problem by adding an extra length of rope to the zipper pull so as to make it easier to remove the cover from behind the awning in the future.

A longer zipper pull on the rooftop tent cover.
Not surprisingly, the whole install was a breeze and the hardware made the mounting process pretty quick and flexible to my unique mounting situation. I’m always impressed with the quality of the Rhino Rack products, and can’t wait to put the awning to the test soon. I’ll provide updates on how it performed in the field soon!