
Maximus-3 Rear Tire Carrier for Jeep JL
When I needed a heavy-duty and self-installed roof rack for my 2019 Jeep JL Wrangler, I turned to a Detroit-based company called Maximus-3. The product I got from them turned out to be fantastic, and I’ve been a fan of theirs ever since.
After I got the lift kit and larger 35” tires mounted on my Jeep last summer, I noticed the rear door was rattling and there were signs of rubbing on the back door. This was almost certainly a result of the increased weight of the new tire, and the issue was exacerbated by the fact that the stock tire carrier no longer had any bump stops in contact with the tire. In other words, the tire was free to wobble and shake the tailgate as much as it wanted, which would eventually lead to bigger problems.
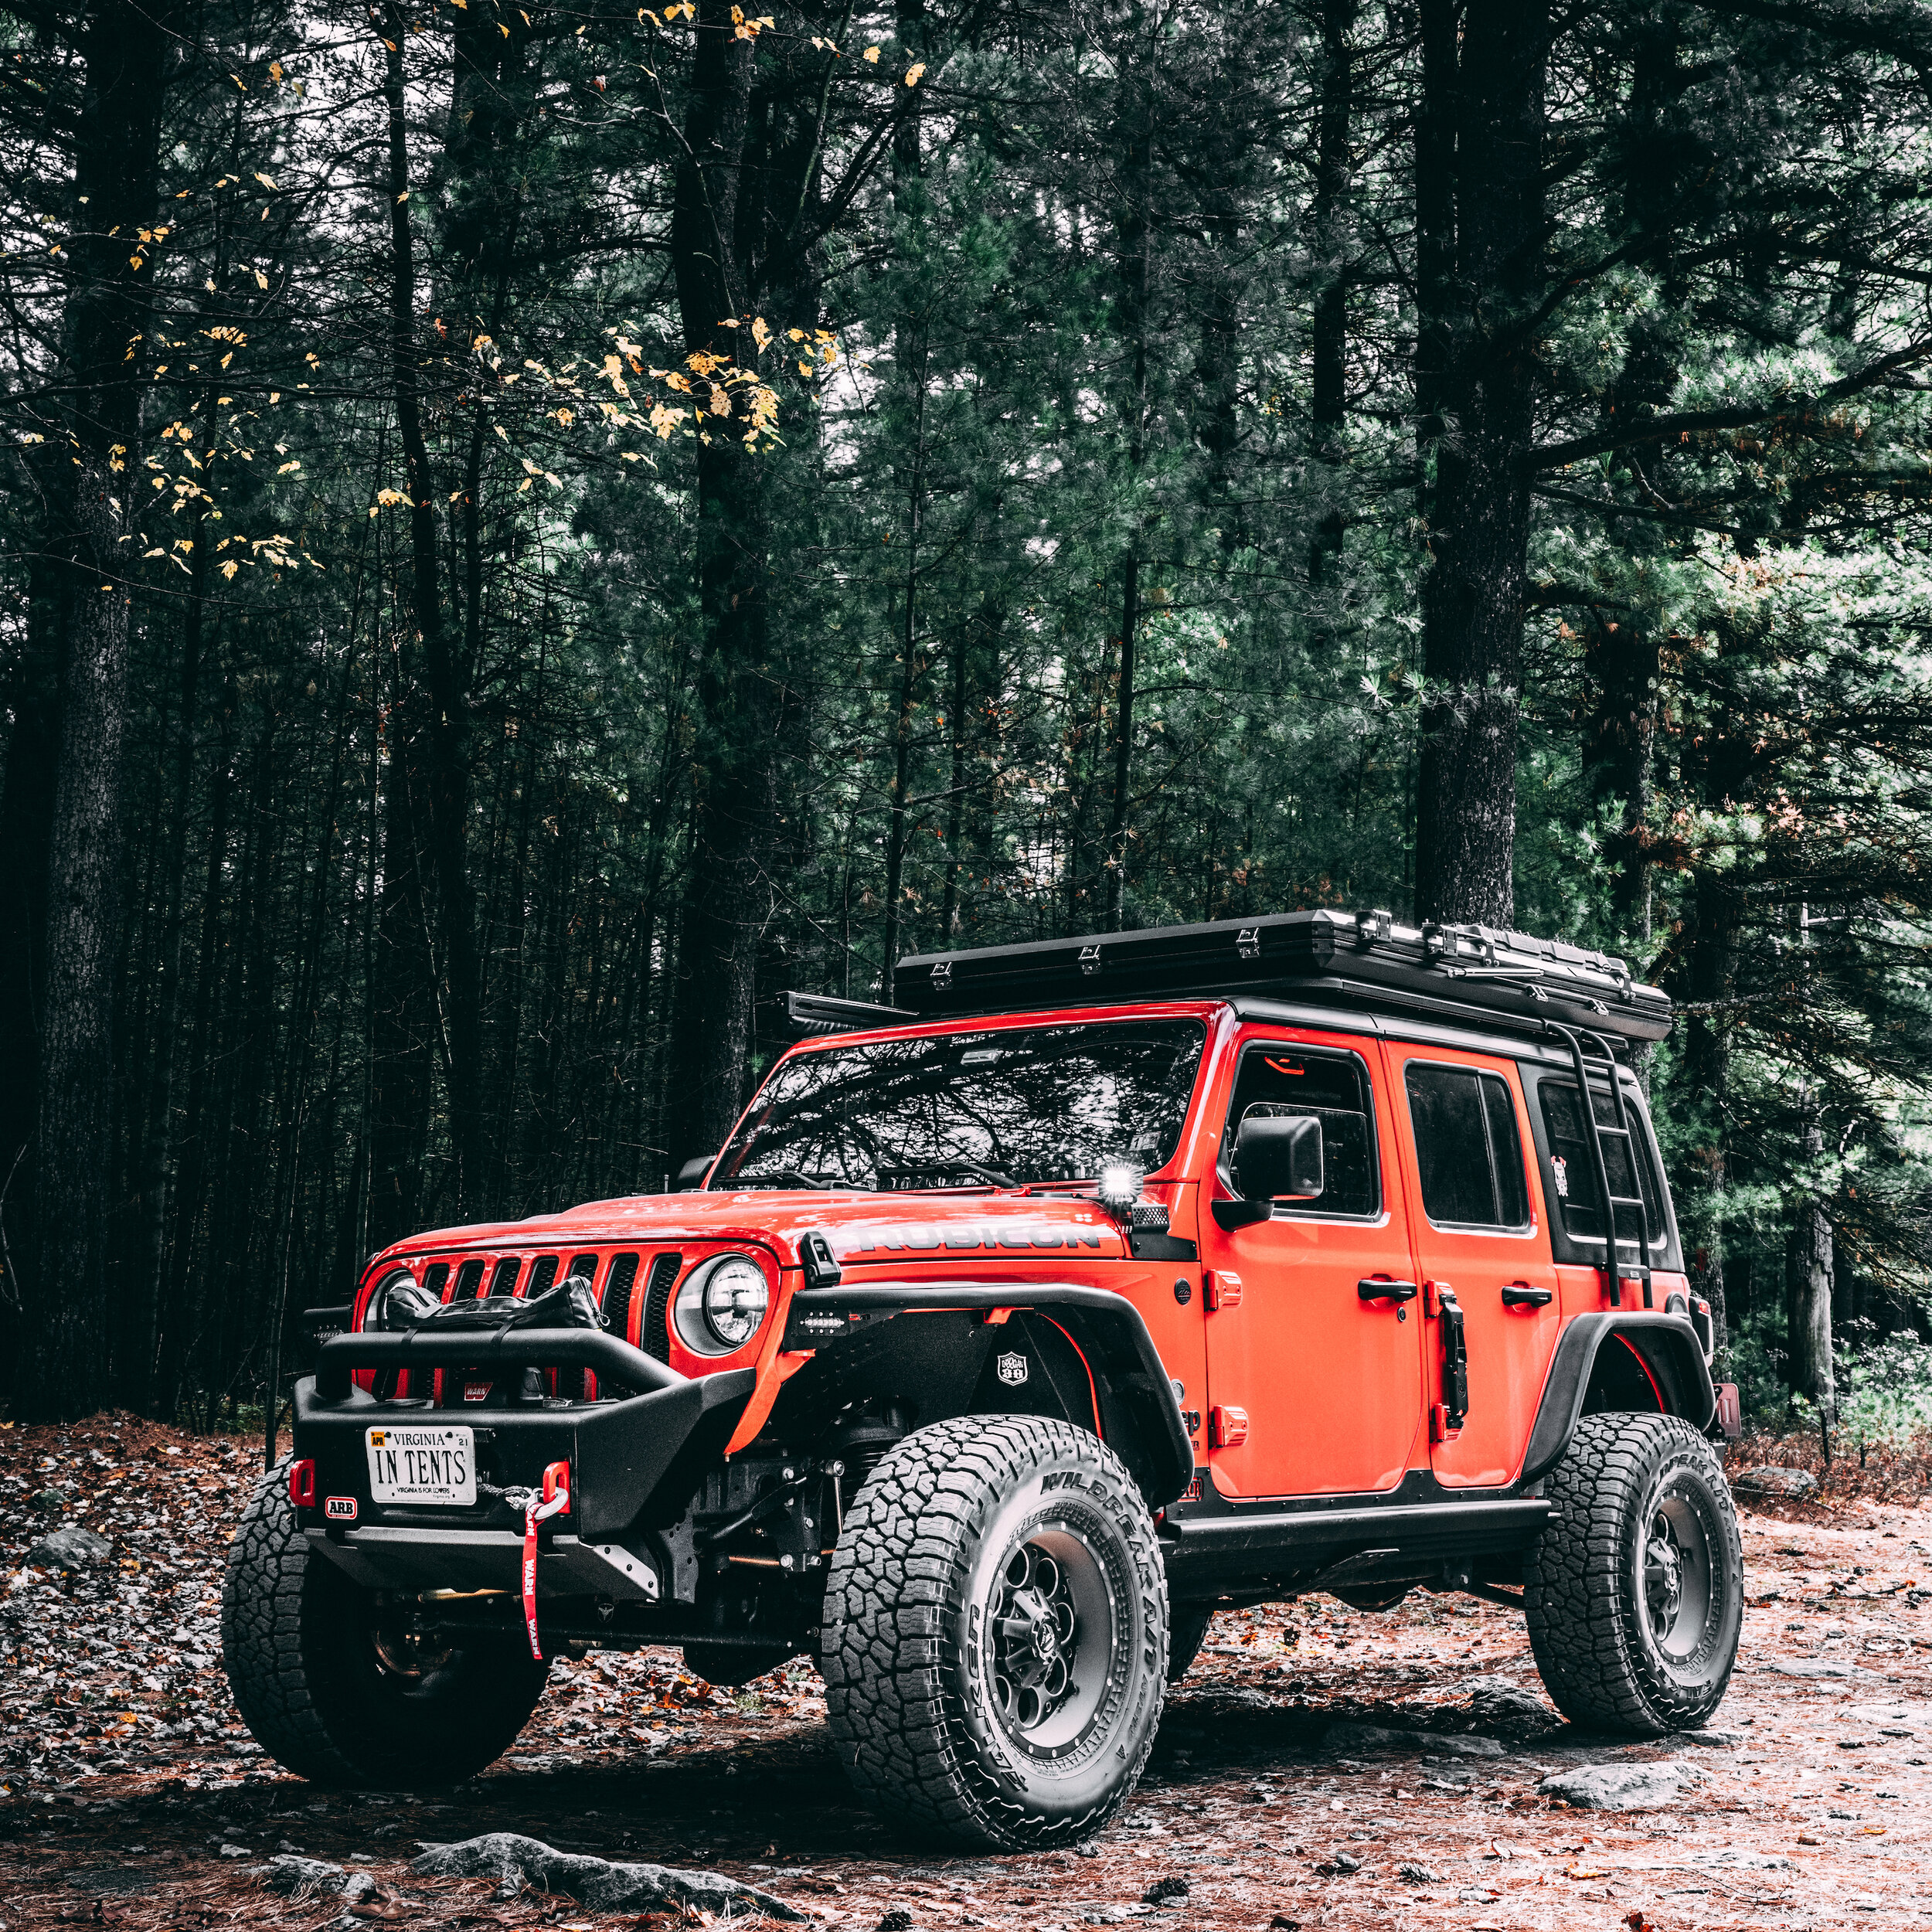
Bigger tires + more gear = more weight. The stock carrier isn’t setup well for that load, so a precision engineered tire carrier from Maximus-3 was the solution

Maximus-3 also offers a variety of additional components, allowing you to mount Rotopax, Hi-Lift Jacks, and more
Maximus-3 was a little late to the market for producing a rear tailgate, but that’s because they believe in only offering a product once it’s been completely tested and evaluated. As a consumer, I appreciate that— I hate buying something and figuring out it was cut-corner engineering or poorly manufactured.
Based on my past experience installing and purchasing a product from Maximus-3, I decided to pull the trigger on their JL tire carrier.
Since the carrier has only been on the market for a year or so, I’m sharing what the process for installation was like in the hopes that it helps you as you look to purchase a tire carrier upgrade of your own. I’ve had the carrier installed for about six months, and have taken it on several trips and many hundreds of miles of trails without issue. Although installation is time consuming, it is a great product and delivers great performance.
Maximus-3 offers two versions of the tire carrier package: a sport and base model. Essentially the difference is the addition of a tub re-enforcement brace, the backup camera mount, and a mast for the 3rd brake light. If you (like me) don’t need all of those parts, you can also build a DIY package and choose the components you need al la carte style. Just call the awesome folks at Maximus-3, and they’ll set you up with what you need.
Beyond being a more stable design and beefier construction, the Maximus-3 carrier also offers opportunities to mount additional cargo and gear to the rack. Most notably, you can attach accessories like Rotopax, a Hi-Lift Jack, CB antenna, recovery boards, etc to the tailgate. I added the Rotopax mount to my kit.
Receive, Unpack & Inventory Parts
The first step to any project like this is to open all of the boxes and inventory the parts. I like to do this while reading the instructions so that I can identify the hardware referenced as I go.
The tire carrier arrived in three boxes, and everything was very well packed. Maximus-3 does a great job packing and shipping everything, so all of the items arrived in great condition.

Everything comes nicely packaged and organized from Maximus-3
One nice touch is that they also package the hardware in baggies that correspond to one another, versus giving you one big grab bag of parts. The screws that went with the backup camera holder were wrapped with that part. The bolts for the hinges were likewise wrapped with the hinge components. This extra step in wrapping and packaging all of the components makes a big difference when it comes time to install and stay organized.

The way they pack their components tells you a lot about the company

Every component is well wrapped and organized. Detailed instructions are included with the kit
Remove Stock Tire Carrier
Before you can add anything, you have to take off. First remove your spare tire (make sure you have the key for your locking lug nuts!).
Next, you’ll need to remove some interior trim panels, starting with the one on the inside of the tailgate. If you don’t already own a trim tool, spend a few bucks and invest in one. They are super cheap, and won’t damage your plastic trim pieces like a screwdriver will.

First step: remove the stock tire carrier!

Using a trim tool on these components can make the installation cleaner and avoids paint damage
After you remove the tailgate trim, it’s time to disconnect the wires for the 3rd brake light and the backup camera. These are well-marked in the instructions.
Finally, you’ll need to remove 8 bolts that hold the stock tire carrier into place with a 13mm socket. You will reuse these parts, so set them aside for later.
Remove Factory Lighting and Camera
I don’t run the factory tail light; I’d replaced it with a Rugged Ridge light that mounts inside the spare tire. Either way, you’ll next need to remove the wiring harness from the 3rd brake light. If you are using the stock one, follow the instructions from Maximus-3. It’s a very easy removal.
Removing the backup camera is also pretty straight-forward, but be careful not to scratch the lens on the camera as you remove it. To get to the camera, you’ll first have to remove the plate that holds it from the old tire carrier by pulling out 2x T8 torx screws. Then disconnect the wiring harness and save both the camera and wiring for later.

Make sure to follow the instructions and disconnect the correct wires

Route the wiring for the camera out of the door
Before you can replace the hinges from the old tailgate with the new hinges from Maximus-3, you’ll need to remove some interior trim. Again, take your time and use a trim tool so as to not damage any of the plastic or break any of the clips.
Pre-Assemble the Tire Carrier
Maximus-3 now instructs you to attach the hinges to the tire carrier. While it’s notionally possible to first attach the hinges and then try to mount the carrier to those hinges, I can assure you that doing this out of order will create more headaches later. The tolerances are very tight!
To attach the hinges to the tailgate carrier, you’ll need to insert two pins along with a washer and a c-clip to secure the pin. As noted in the instructions, this is a tight fit, and you’ll appreciate having a rubber mallet to help you tap everything into place.
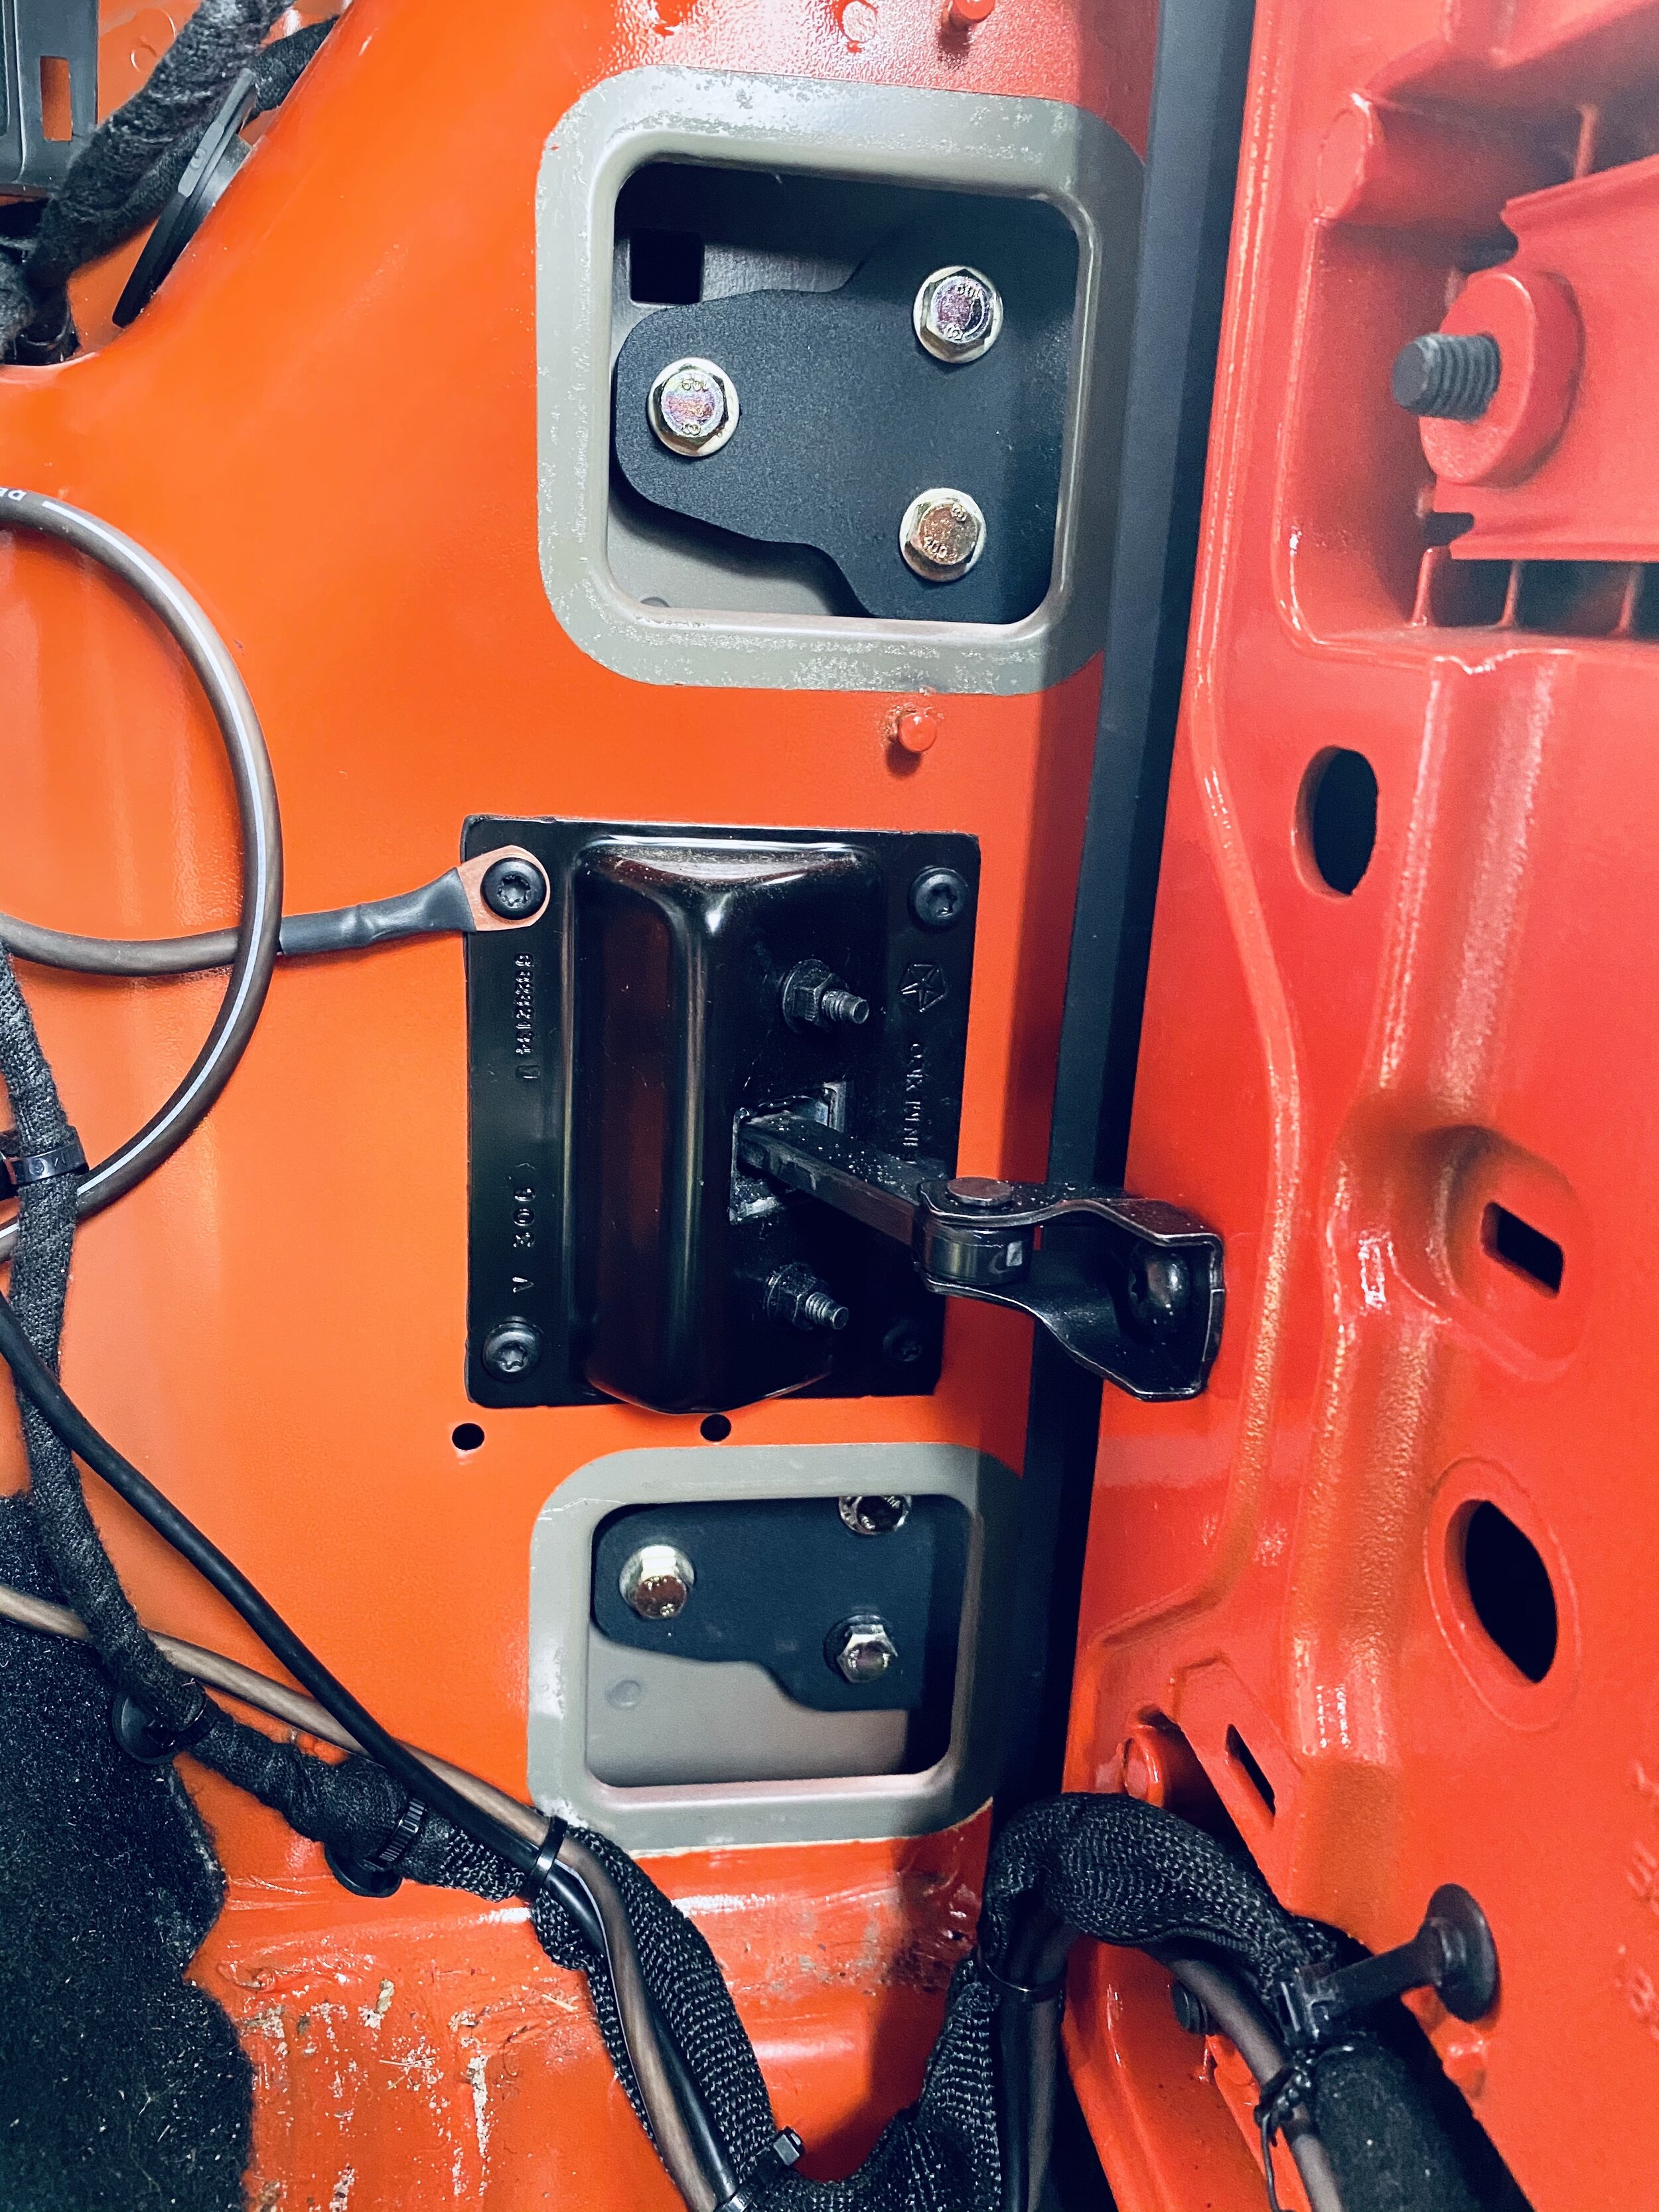
Remove Factory Tailgate Hinges
Next comes one of the points in this install where you get to practice gymnastics. You have to remove the factory hinges and replace them with the hinges from the Maximus-3 carrier, but need to do so without opening the tailgate. In other words, you’ll want to fold down the seats and climb into your trunk.
Inside the Jeep, behind the panel removed earlier, are two ‘stickers’ that are painted from the factory. They blend in well, and you’ll want to use a thin blade (x-acto knife or the like) to slowly pry the stickers off the metal panel. With the stickers removed, you’ll see where the two hinges for the factory tailgate connect, along with the six bolts holding them into place.

With the factory painted ‘sticker’ removed, so you can see the bolts hooding the factory hinges

Using a little plastic wrap to protect the paint on the bolts as I remove the stock hinges
Before you remove anything, make sure your tailgate is closed. Leave it closed.
Undo the 6 bolts on the interior hinges. Then climb out of the trunk to the outside of the car. Using a T55 torx bit, remove the remaining 4 bolts on the outside of the hinges. You can wrap the bit head in a piece of plastic to help protect the paint from chipping as you remove the bolts.
At this point, the hinges should come off the door freely.
Optional: Paint the Door
This is one of the few steps I’d recommend taking that’s not in the instructions. When you remove the factory hinges, you’ll find bare metal left behind. In the case of my Jeep, I even had a little build up of dirt and grime, so even if you don’t paint, make sure to give it a good cleaning.

With the hinges removed, you can see the dirt and debris that has collected behind them
However, I’d strongly recommend you apply a little paint here. It’ll help with corrosion resistance! It’s also possible that you could see a bit of the unpainted metal at the edges of the hinges. On some colors of car, that might not matter much, but our Jeep is bright orange. Any bare metal showing through would really stick out. Thankfully I have some of the Mopar touch-up paint already for my Jeep, so I applied a small amount to the edges around where the hinges would mount to make the install look even cleaner.

If you choose not to paint, you’ll have this exposed metal, which will eventually corrode.

After using the Mopar paint touch-up kit, you can no longer see bare metal anywhere.
Install Maximus-3 Tire Carrier & Hinges
Time to make a friend! One person will need to hold the tire carrier and hinges up to the vehicle while a second person starts to engage the 6 bolts that attach the tire carrier to the vehicle. Remember that one person has to be laying in the back of the trunk space to do this, so make sure you have a friend who can hold the carrier and help you finagle it into place.
The new hinges attached to the body tub. Pay attention to the torque specs from Maximus-3!
Maximus-3 provides very specific instructions on how tight to torque all of these bolts. I’d recommend installing all the bolts to hand tight first to make sure everything is lined up properly, then using a torque wrench to tighten them to spec after it’s all properly fitted. It took me a few goes to get everything just right in alignment — you have the 6 bolts inside the Jeep and 4 additional torx bolts to attach the hinges to the door.
Make sure you actually use a torque wrench to tighten everything to proper specs.
Install Body-Tub Brace
Maximus-3 also offers a body tub brace that fits on the opposite side of the body tub from where the hinges mounted. At first I opted not to purchase this additional component, but after considering how much weight I intended to attach to the tailgate, I opted to purchase it. Installation is pretty straightforward: remove the tail light assembly from the passenger side, then fit the body tub brace over the bolts you installed with the hinges. The brace secures with a few additional bolts.
Install Tire Mount Assembly
Before you can set the tire mount assembly, you need to take some measurements on your tire setup and adjust the assembly specific to your tire. Make sure to follow the instructions closely. I ended up setting the depth screw generously at first, and ended up disassembling the components to redo the depth. The end goal is to have the depth set so that the tire is pressed into the tubes on the tire mount once everything is nice and tight.
Unfortunately I was so busy taking measurements and fitting everything that I don’t have many pictures of this step….

Follow the instructions to measure your depth and pre-load. Maximus-3 offers very detailed explanation on how to do this, and their tech support will help if you get stuck!
Install Maximus-3 Tie Rod Linkage Plate
With the depth set on the tire mount assembly, we’re now in the home stretch of install! Grab a beer and celebrate that your hard work is nearly complete.
Next is to install the tie rod linkage plate. Remove the left vent from the tailgate door, and while you are there, clean up the dirt and grime that has accumulated on the paint.

Remove the left vent
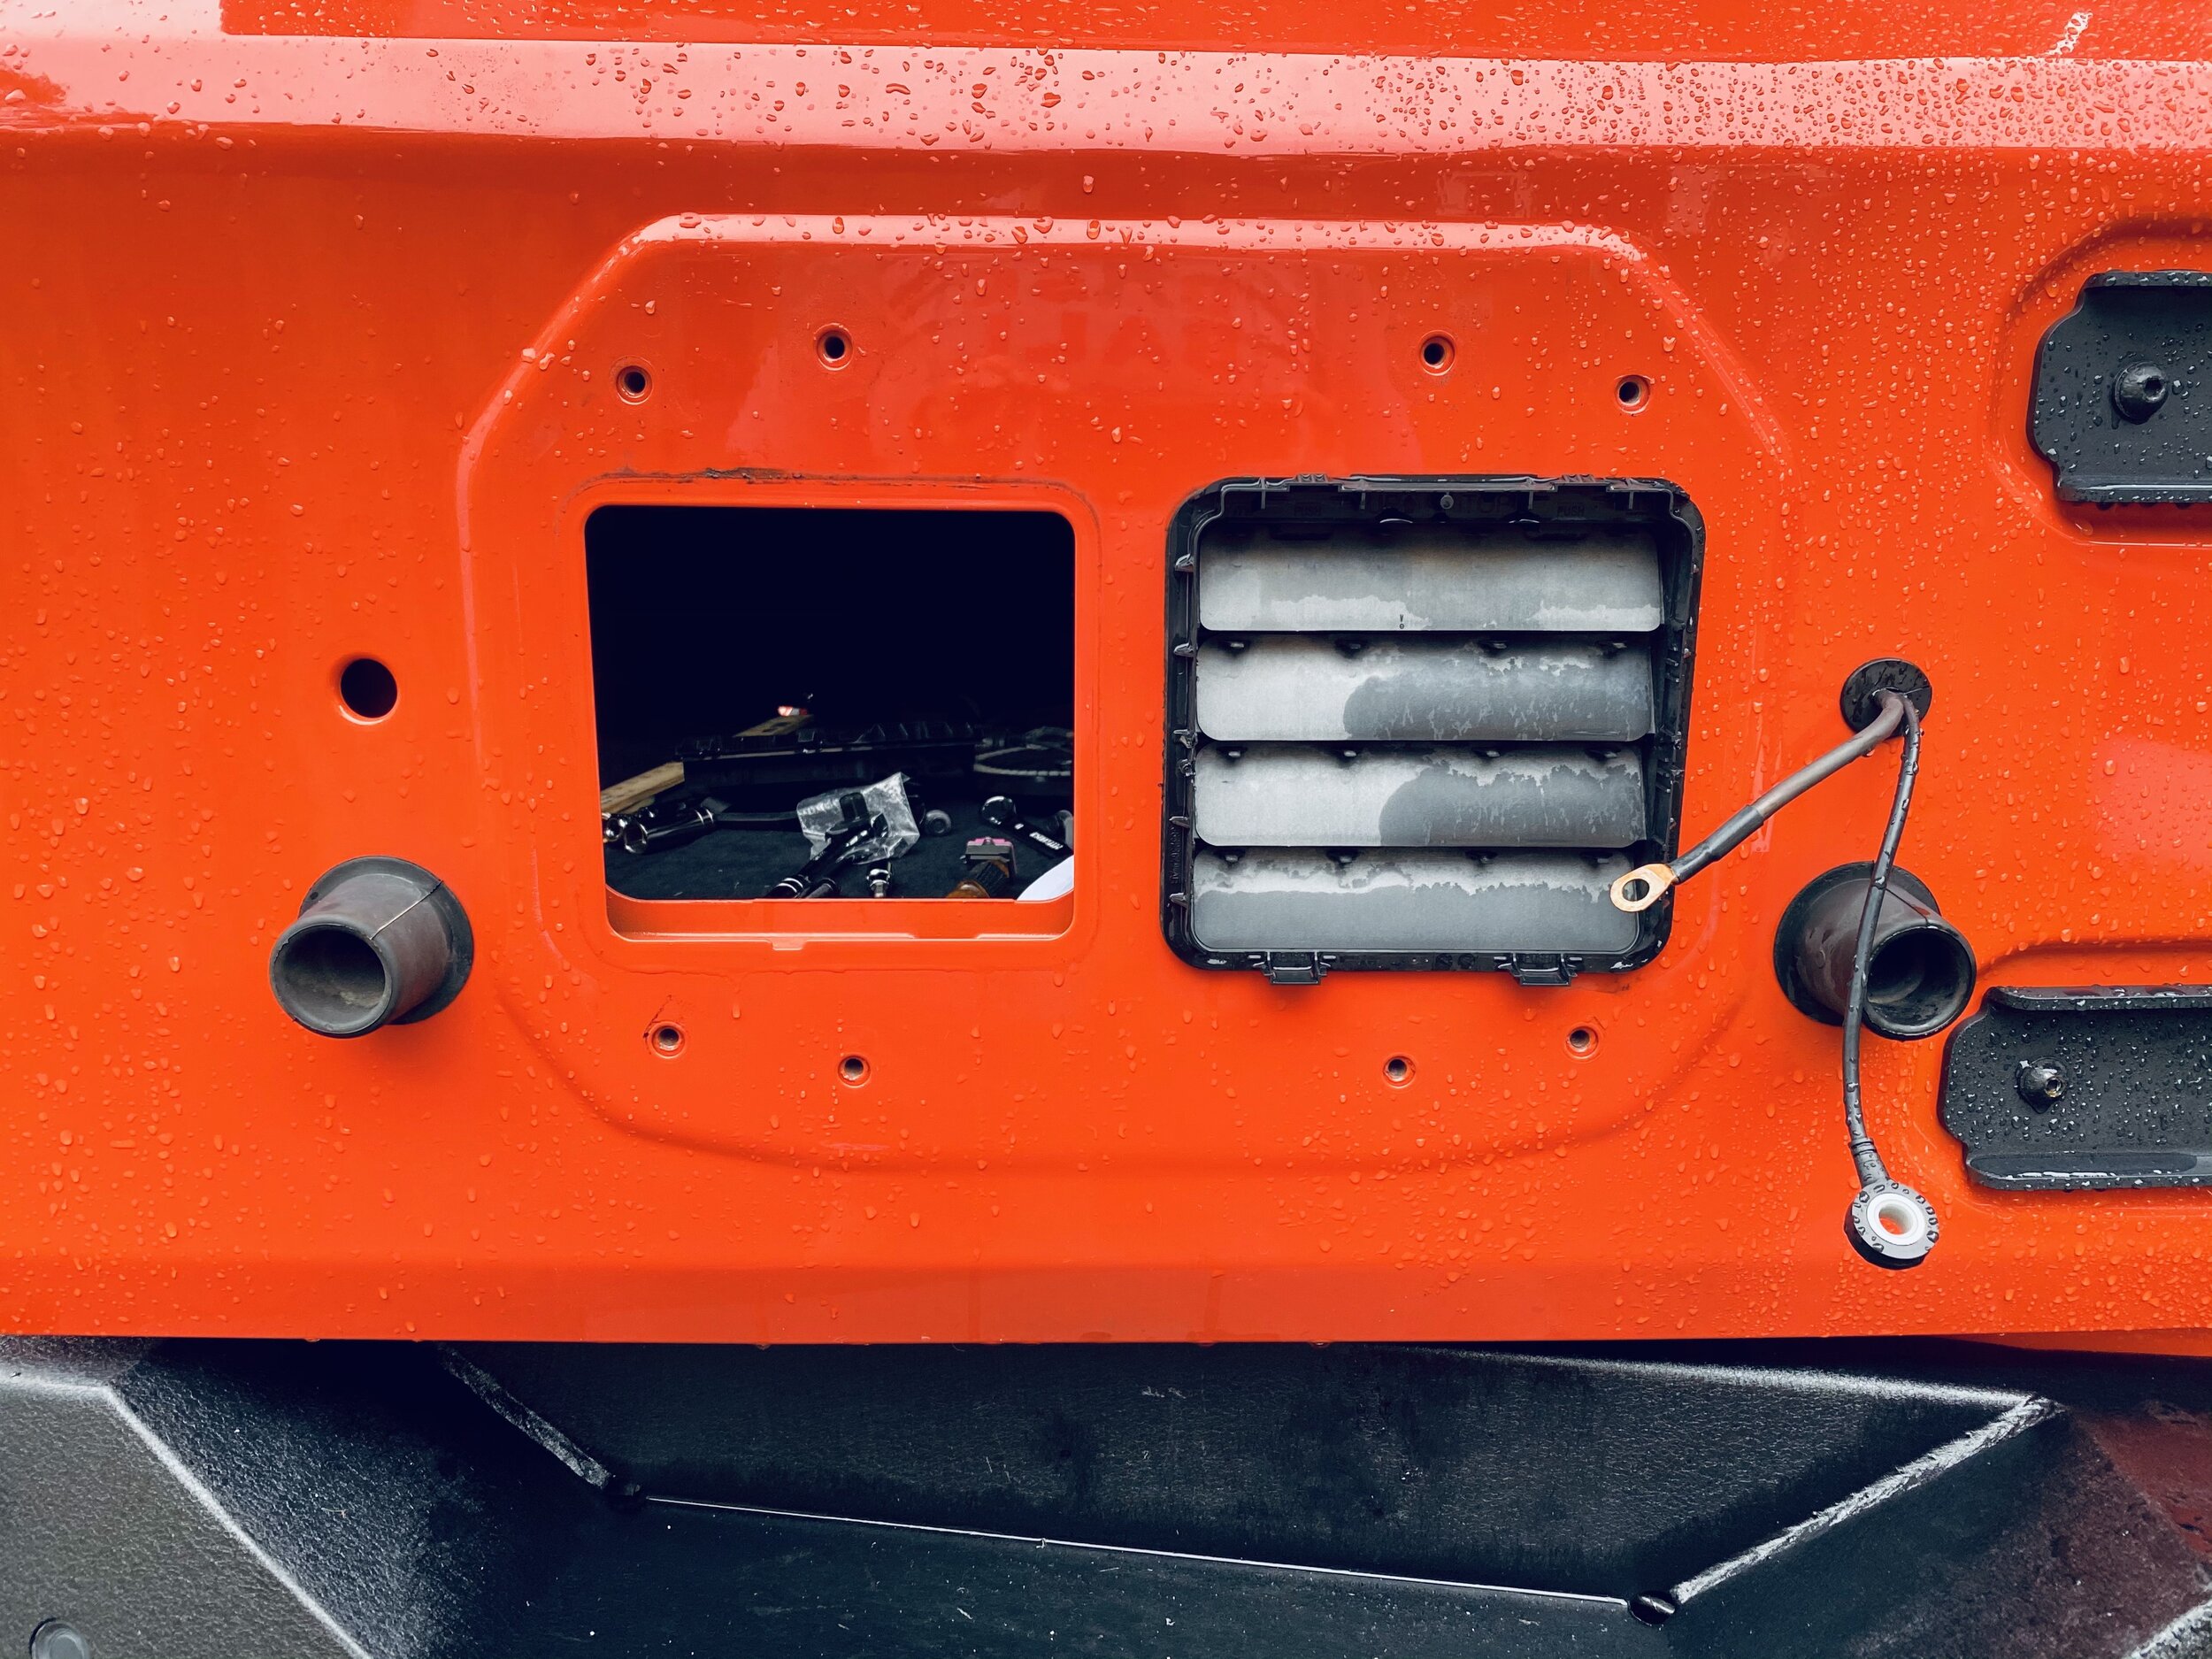
And while you’re at it, clean all this up!

Installing the linkage plate where the left vent used to be
The linkage plate has two main components— tie bar that guides the spare tire assembly distance as you open and close the tailgate, and a little nesting spot for the tube of the tire carrier to rest when the tailgate is closed. Setting both is relatively easy and requires just a few moments to do.
Be mindful during these remaining steps of the routing of any other wiring, including the wires for the backup camera. You’ll need those to come in and along the assembly in a clean manner. You can see my wiring for the CB antenna on the right side of the pictures above.

The tube carrier fits snugly into the bracket. Again, follow the instructions carefully to set the correct depths for your specific setup and tire.
Install Backup Camera
It is now time to transfer the backup camera from the old housing assembly into the new one from Maximus-3. Be very careful as the camera is small and easily damaged. Removal from the stock housing is very simple, unscrew the three retaining screws and the camera will come free. Using the mount provided from Maximus-3, carefully slide the camera into pace, and secure with two mounting screws. You can loosen the screws to help get the camera in place, but be sure you have it mounted forward in the assembly before finishing.
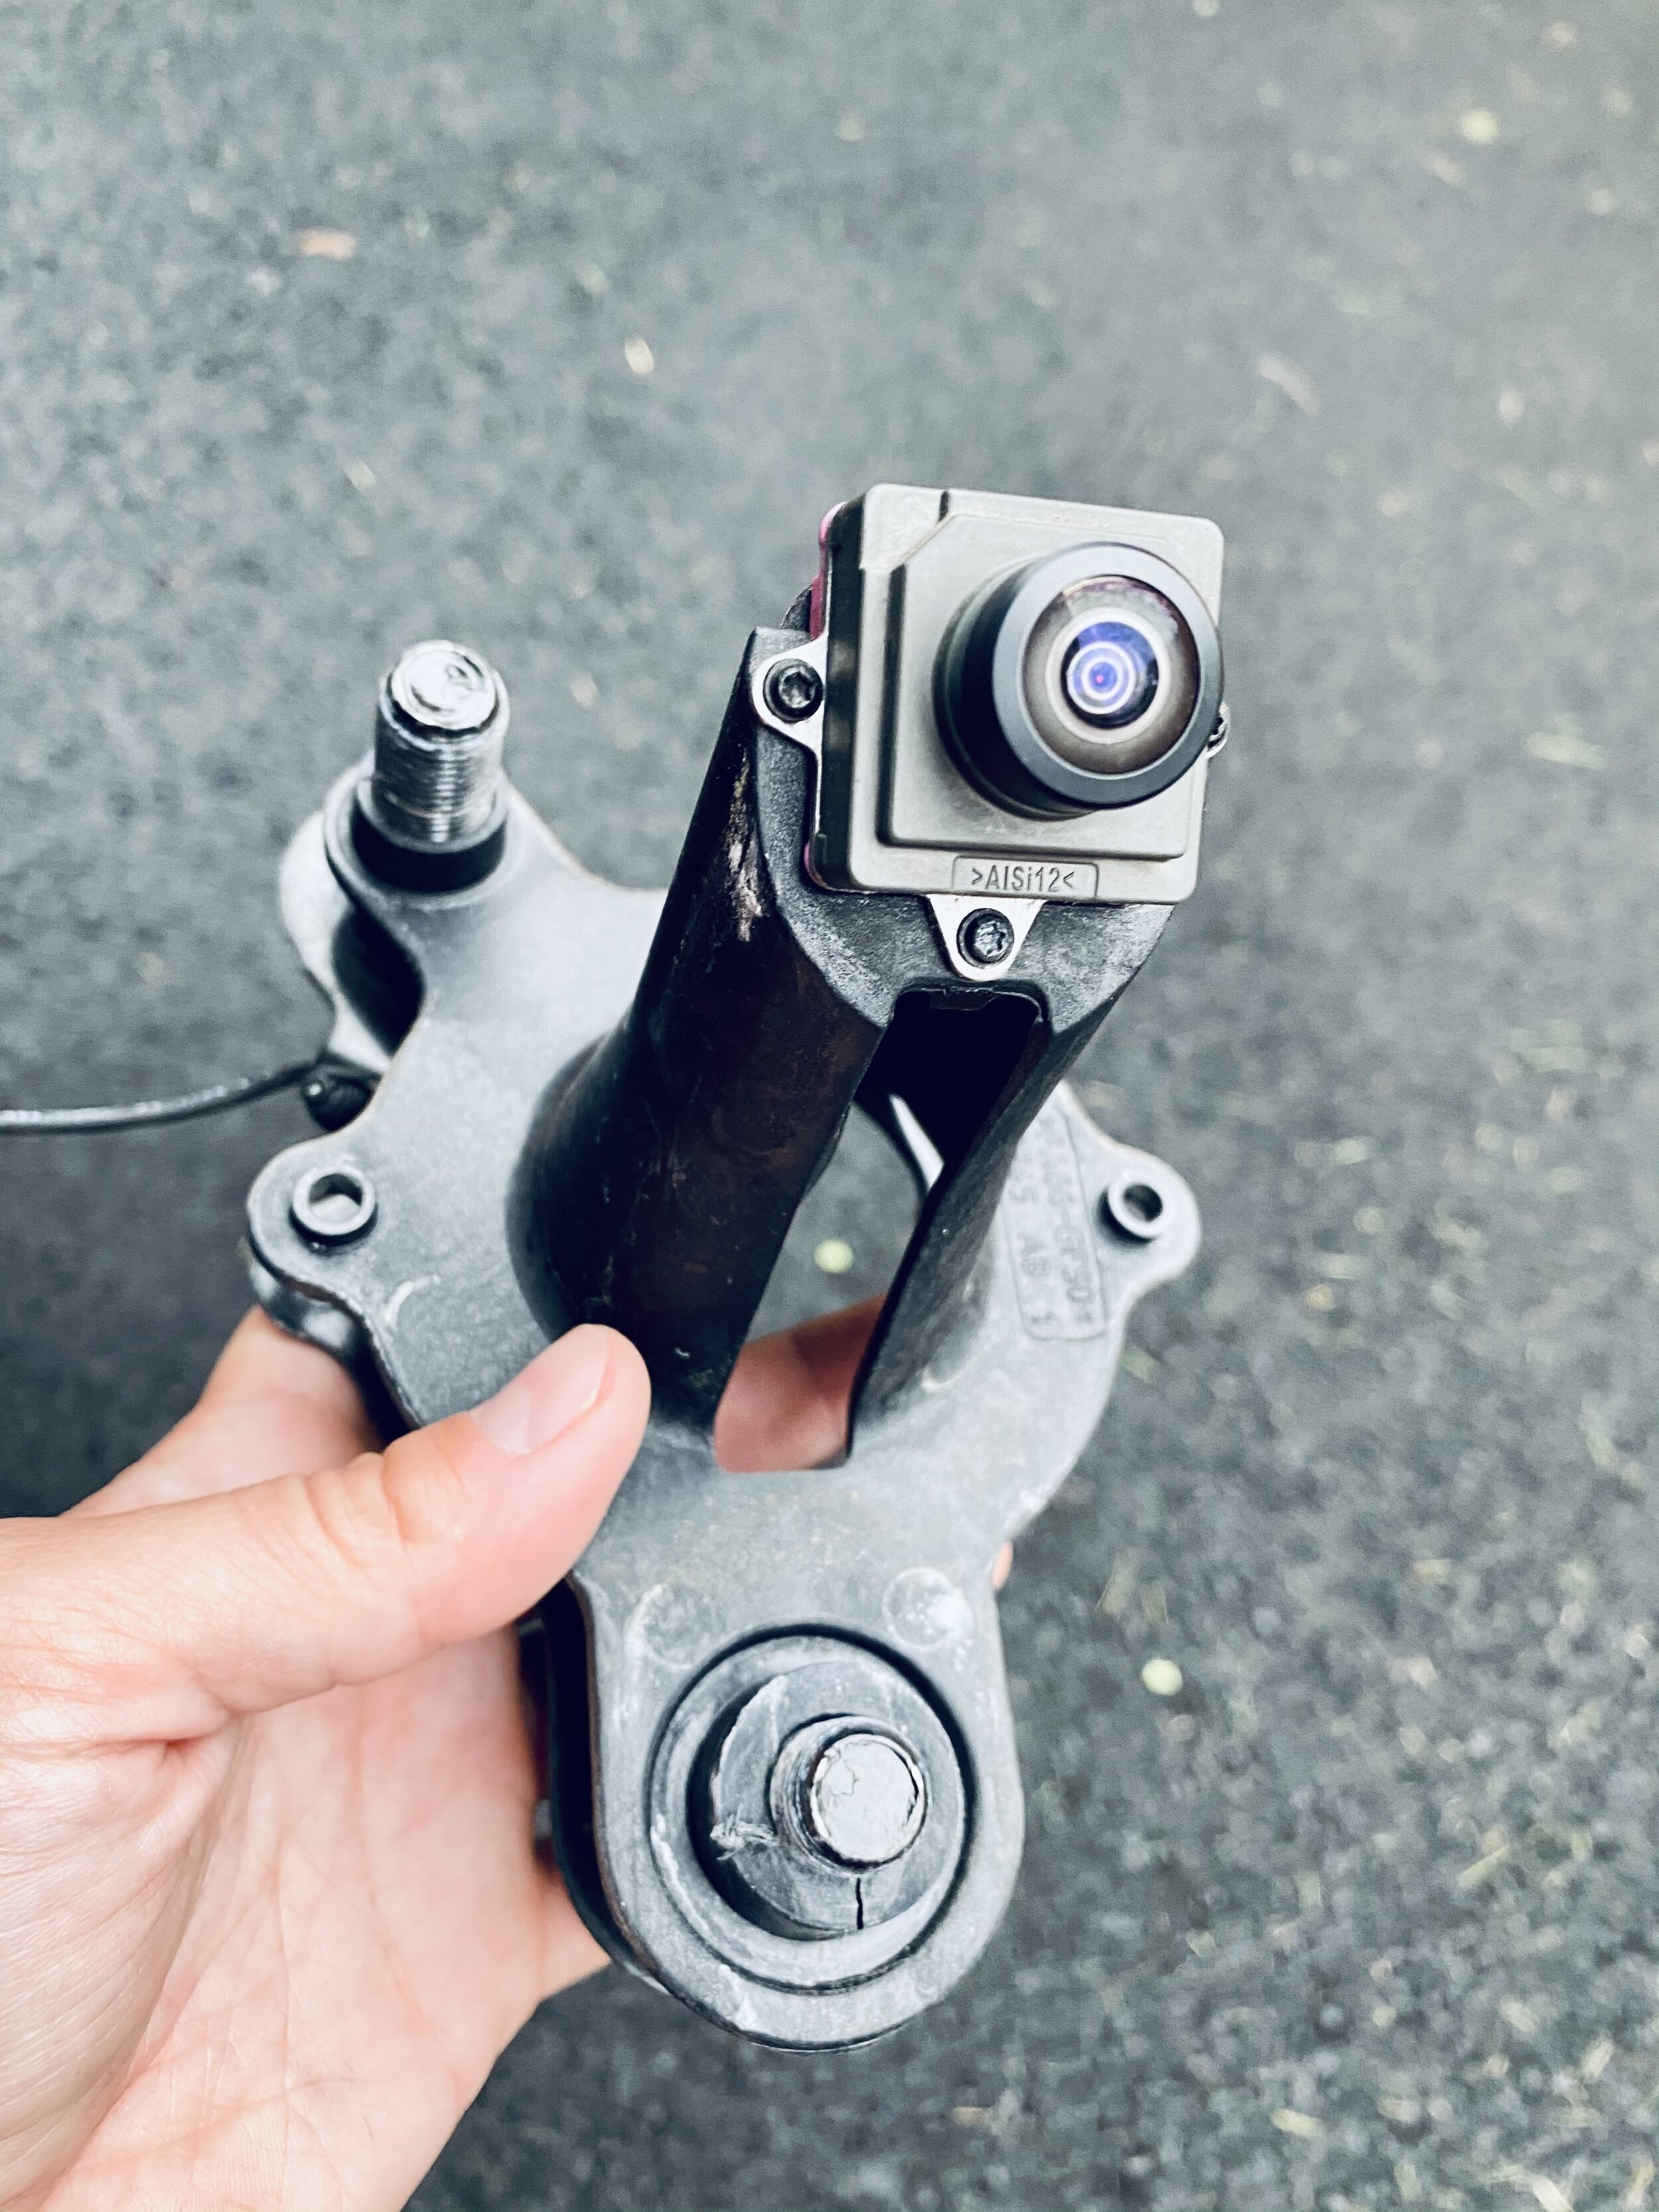
Remove the camera from the stock mount

Ready to mount into the new assembly

Camera mounted in the new housing

Nice and easy!
The camera housing will then slide over the tire carrier mount that you set earlier and attach with two screws. Be mindful that you will also need to re-attach the wiring harness to the back of the camera, and that’s easiest to do before you get too far into the mounting process.
Install 3rd Brake Light
Since most states require a third brake light, you’ll need to make sure you have a plan for staying street legal. There are a number of options here, including using a brake light and assembly provided by Maximus-3 with the kit. I opted not to use the supplied assembly, however, as I was previously running the Rugged Ridge third brake light. Either way, wiring this is very easy.

Maximus-3 offers a 3rd brake light option, but I stuck with the Rugged Ridge light I’ve been using. I did have to drill two holes into the light to allow the camera to attach
Re-Attach Spare Tire
Almost done! Double check that everything opens and closes properly. Check that you tightened down the screws and bolts appropriately. Make sure your wires are all run cleanly. Everything is easy to adjust and modify now, but will get much harder once the tire is attached, so check, double check, and triple check!
Once you are positive that everything has been securely attached, grab a friend and mount your spare tire.
Carefully open and close the tailgate, ensuring smooth operation.
You’re done! If you haven’t done so already, re-attach any of the plastic trim that was removed earlier and ensure the cable routing is nice and clean.

Everything ready for re-installation! The two wires hanging on the right side of the brake light are for my CB radio antenna

All mounted up! I also attached the extra RotoPax mount so I can carry water cans on the back of the Jeep
Accessories
Maximus-3 offers a variety of after-market accessories that are designed to mount to the tire carrier. These accessories include a mast light, Hi-Lift jack mount, NATO jerry can mount, shovel mount, and RotoPax mount. I opted for the RotoPax mount so that I could carry several gallons of potable water to camp on the tailgate. The mounts are all very easy to install and I don’t worry about the extra weight of 5 gallons of water and 30+ pounds of firewood being added to the tailgate with this new carrier.

With the Maximus-3 tire carrier, I can now mount two Rotopax and carry a Trasharoo full of firewood, plus the oversized spare tire, and not worry about the weight limits