
Area BFE Aluminum Hardshell Tent Review
Updated 8 September 2020: Area BFE saw this review and responded with some information about upgrades and changes to the tent. Scroll to the bottom to read the update!
I am constantly annoyed by “reviews” posted by people who have been using a piece of equipment for about 13 milliseconds. You’re not qualified to review something unless you’ve really put it through it’s paces and seen the good and bad of it.
This is not a 13 millisecond review… this is a comprehensive review of the Area BFE Aluminum Hardshell Tent based on several different trips over this summer. I have used (and packed) the tent in multiple heavy rainstorms. I have knocked it on branches and trees along the trail. It’s been up mountains, to the beach, and everything in between. This is my independent review - I paid retail price for my tent and am not being compensated in any way for this review.
Area BFE is relatively new in the rooftop tent game. These tents were previously sold under the “Adventure Vehicle Tents” label, and my tent still carries the previous branding, though it was sold by Area BFE. New tents rolling off the factory now have revised branding to reflect the Area BFE name.
This tent is similar to a few others on the market right now — most notably the RoofNest Falcon and CVT Mt. Hood tents.

The Area BFE tent attached to our overlanding Jeep, Lola
Exterior
The outside of the Area BFE tent is made out of aluminum. It’s not just a single piece of aluminum — the exterior is several pieces of aluminum over a “waffle” pattern inner core. I wouldn’t normally know about the insides of the tent, except mine arrived damaged in shipping (not the fault of the Area BFE or the retailer, Spirit of 1876) and I got an up-close view of the guts of the tent.
The clamshell is operated by two gas struts. Once you open the tent about 1/3rd of the way, the struts take over and hoist it the rest of the way open.
Area BFE includes the following hardware with the tent: 2x locking latches, keys for said latches, mounts for spring-tension awning poles, ladder mount, a handle, and the mounting hardware.
The fabric of the tent is a heavy-duty canvas that has a water repelling treatment on it. There are three doors on the tent — one at the rear and one on each side of the tent. In addition to a fabric cover to keep rain out, each door has a fine mesh fabric to allow for ventilation while keeping bugs out. The back door also has a small awning cover for it; this awning does a surprisingly good job keeping rain out of the tent. We had the back door open completely for ventilation overnight during a heavy downpour and no water ever got into the tent because the awning kept the door dry. Gotta love that.

The tent does a great job of keeping you dry, even in a heavy rain storm, like this one.
There are also two small vents for condensation control - one on each side.
When the tent is closed, there is a heavy-duty rubber seal that runs around the tent to keep water out.
The tent also has an elastic bungee to help pull the fabric of the tent inward to help with closing, and a nylon webbing strap to help you close the tent. Both of these features are pretty standard.
In my use, the exterior has proven to be pretty stout. I’ve taken the rig through several trails where the brush was quite dense. I’ve had dozens of heavy tree limbs scrape across the top of the tent. I’ve gotten out of the car to see leaf parts and sticks jammed in all sorts of crooks and crannies. The tent still looks almost perfect. There are no signs of paint chipping or wear from the trees. If you catch the sunlight at just the right angle and twist your head just so, it’s possible to see a few stripes down the top of the tent, but you really have to try and find them.

The low profile Area BFE tent — I have a pair of ARB recovery boards mounted to the roof of the tent, which adds a little more height.
Mounting to Vehicle
Area BFE’s tent mounts to a roof rack like most of the others on the market — slides, bolts, nuts.
We mounted ours to the Rhino Rack Pioneer Platform. As far as I can tell from internet research, the Area BFE is 1000% times better than competitor tents in this regard. The RoofNest Falcon and CVT tent both require you to either drill the Rhino Rack Pioneer Platform or use a 3rd party bracket to attach the tent to the rack. That sucks. Drilling the rack requires you to…well…drill your rack. Considering how much we pay for a Pioneer Platform, that’s not super palatable. Using an after-market bracket like the ones made from Front Runner raises the tent off the rack, meaning everything isn’t as low-profile and streamlined as it could be.

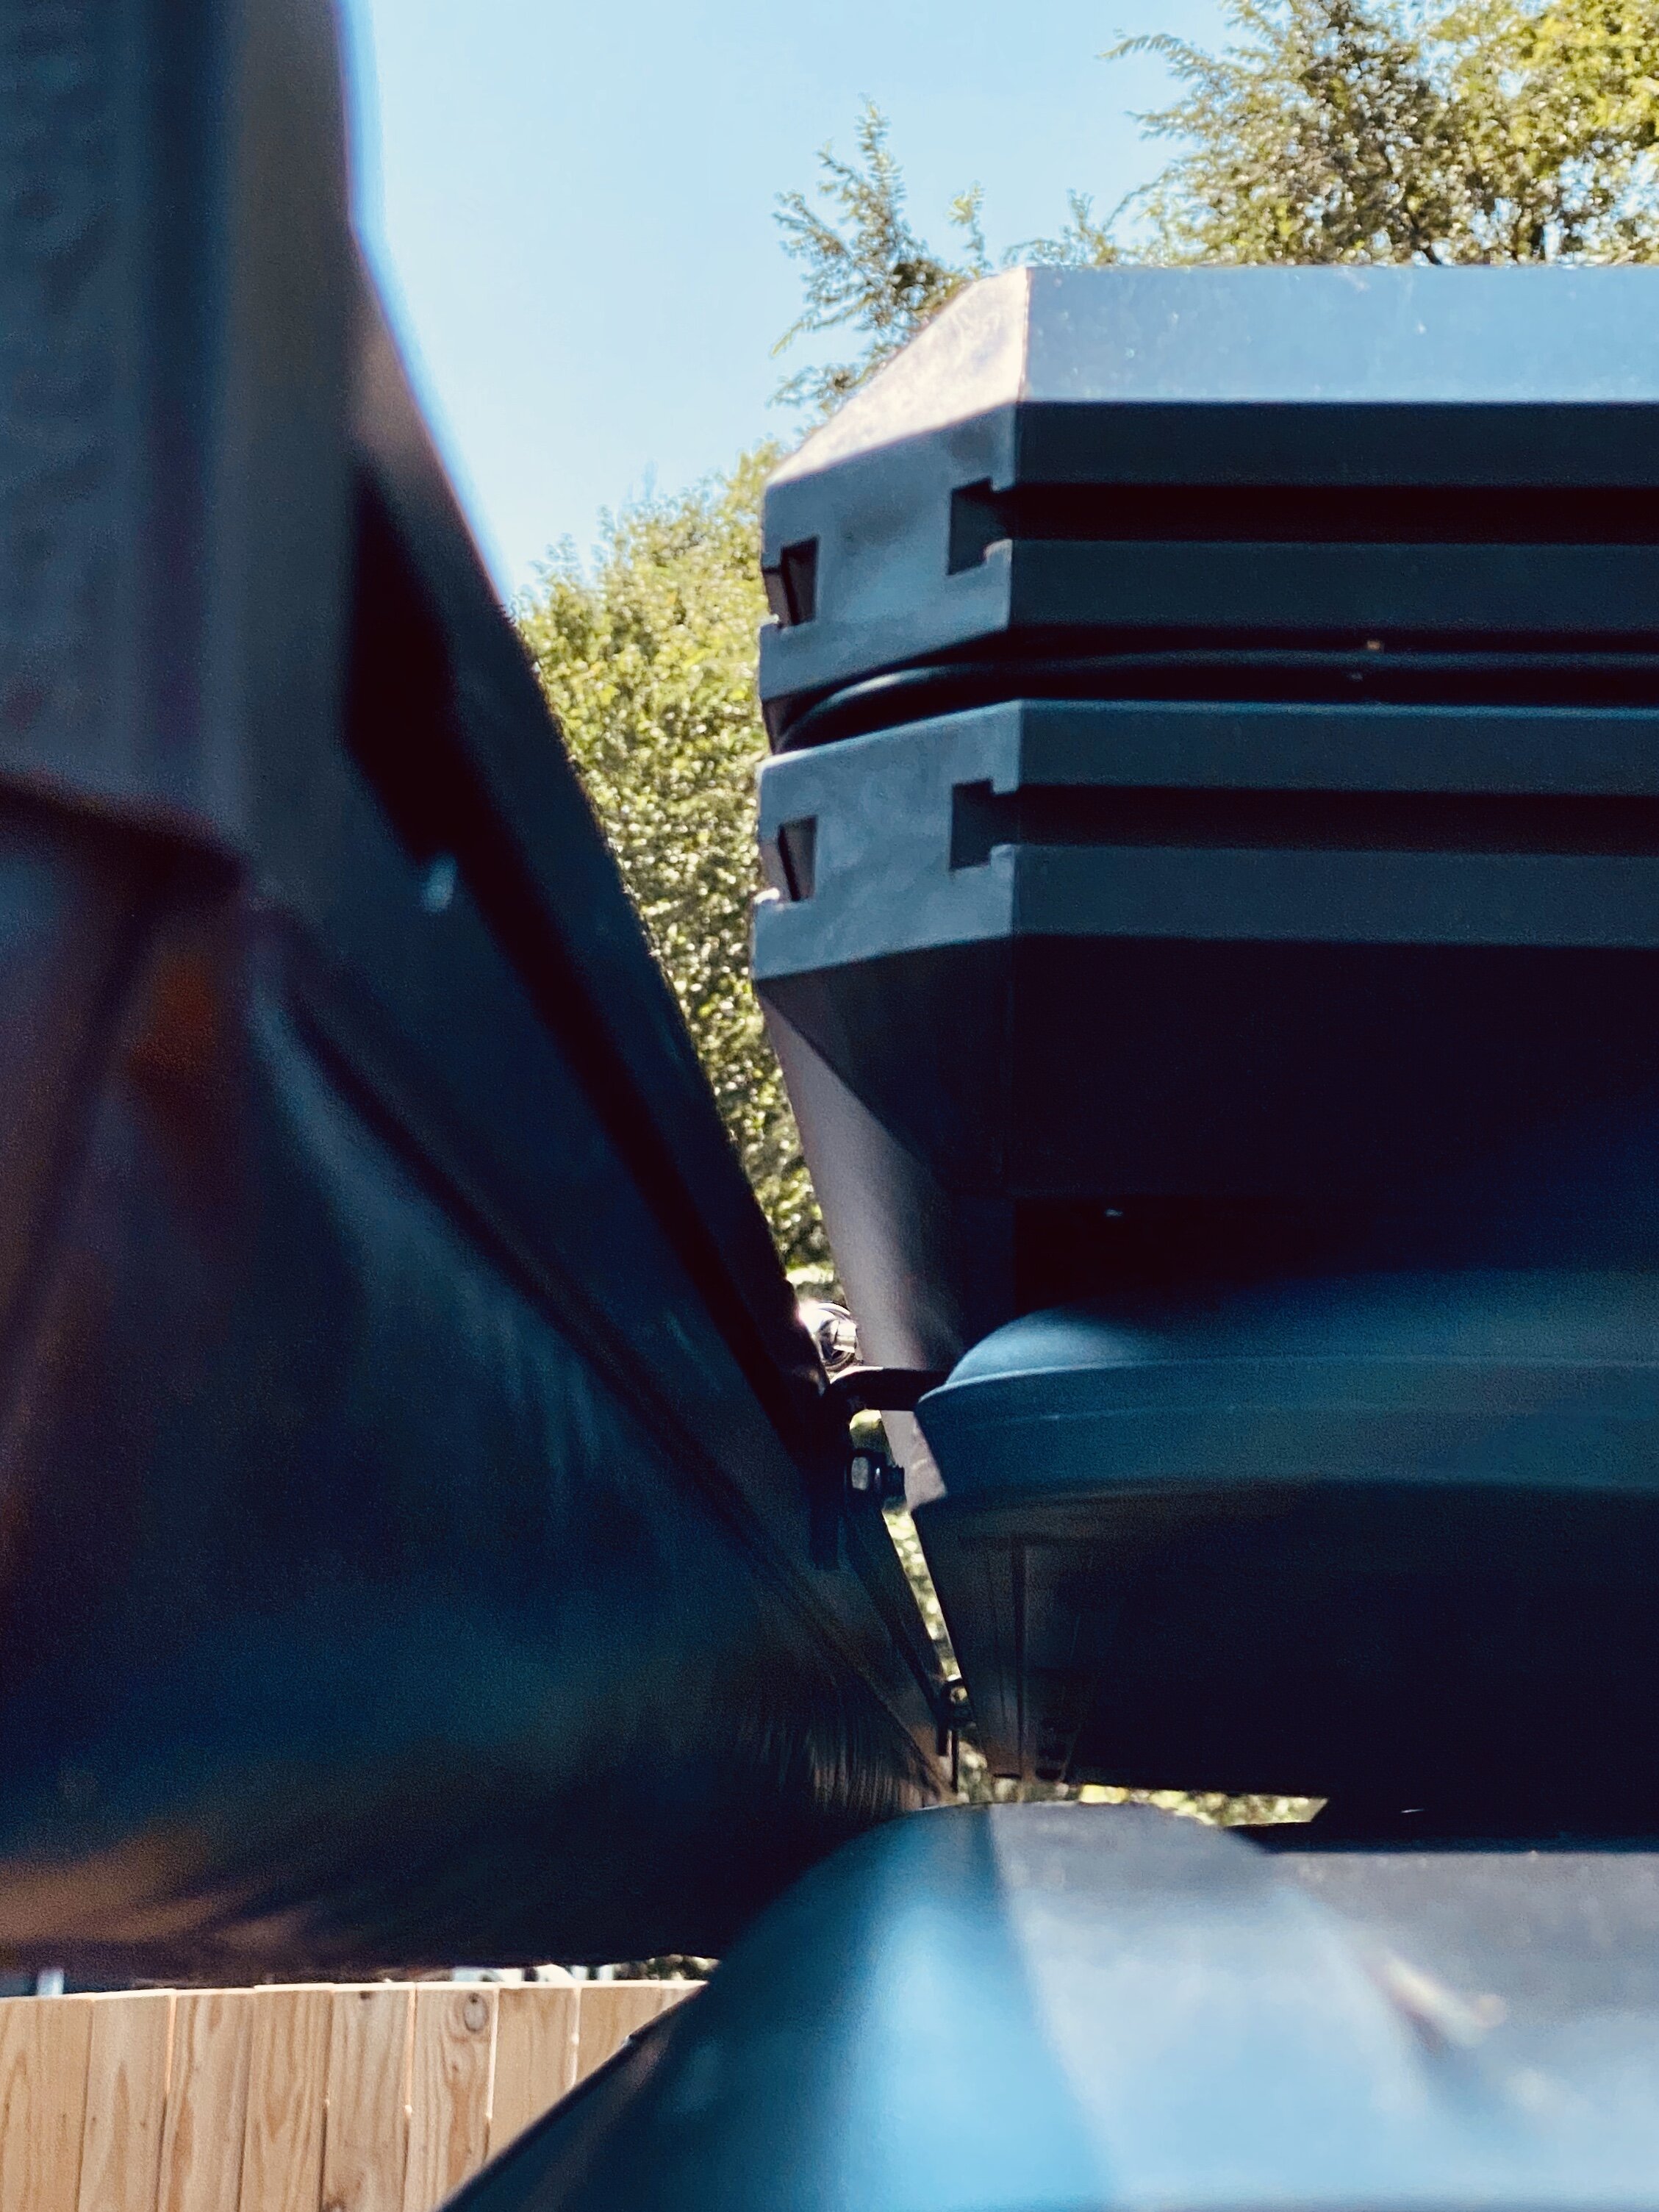
A fully annotated view of how the tent attaches to the Rhino Rack Pioneer Platform with Maximus-3 feet. As you can see, the track on the bottom of the tent barely fits in the gap between the front-back slats on the platform, allowing for an easy mounting to the cross brace under the rack. Getting your tools in here to mount it can be a challenge, but hopefully something you aren’t doing often.
Now it’s a tight fit, and it’ll take a little sweat to get it on there, but you have barely enough clearance in the slats of the Pioneer Platform to mount the tent directly to the cross-bars that run left/right on your rack. That’s awesome. Since I use the Maximus-3 feet, the rack is super low-profile, which meant it was a little tedious to get the tent attached, but that’s just because you’re working in such a small space. If you are working on a Jeep, take your front freedom panels out to help you access the front two brackets.
Basically, if you have a Rhino Rack Pioneer Platform and are debating between the similar tents on the market, the choice should be simple. Area BFE is the only tent I am familiar with that doesn’t require drilling or after-market parts to mount to the Pioneer Platform. The decision is easy.

Another view of how the tent mounts to the cross brace under the Rhino Rack Pioneer Platform. These are the front brackets, which were easier to install by removing the freedom panels.
We mounted our tent so it is flush with the front of the Rhino Rack Pioneer Platform, which means it overhangs the back of the Jeep by a few inches. This is critical for us; however, because we need that extra space for the ladder to clear the back of the tire. If it was any further forward, we might not be able to get the ladder into position without hitting the spare. And we can still take the freedom panels in and out on the Jeep.
Carrying Cargo
One benefit of a hardshell tent over a softshell is that you can mount cargo to the top of the tent, expanding your storage capacity for longer trips. This is an advantage not to be overlooked… you could mount all sorts of gear to the roof of that tent: bikes, paddle board, solar panels, a coffin, recovery equipment, or extra supplies.
There are several ways you can go about adding gear to the roof of your tent. The first is to buy some of the pre-manufactured racks that are designed to accompany this tent. Mike at the Spirit of 1876 has a few nice options available for sale. The other option is a DIY roof rack, like the one we made. If you want to make your own, check out this post with the instructions. There are pros and cons to both routes, and it’s nice to have options.
Once you have cross bars mounted, the cargo carrying opportunities are endless. I’ve seen people mount all sorts of interesting stuff to the top of their tent, and the only consideration is to avoid anything super duper heavy. The tent can comfortably handle about 75-100lbs of gear on the roof, and be sure to pay attention to mounting location to get the most utility out of your setup.
We currently have a pair of ARB Tred Pro recovery boards attached to our cross rails. Next year we’re planning a multi-week trip to Canada, and we’ll certainly utilize the top of the tent to carry extra gear for that trip. We also opted to mount our rails towards the back of the tent, as we’ll be adding a solar panel system to the tent in the very near future to power our gizmos. Stay tuned!

As we extend into longer trips, we’ll use the cargo capacity on the roof of the tent to carry the gear needed to support those ventures
Use With an Awning
The Area BFE tent is awning friendly, if ever there was such a thing. We like the addition of an awning as a place to provide protection from sun and rain outside of the tent. There are a few ways you could mount an awning to the tent, and your particular mounting method will probably depend some on how you mount the tent to your vehicle.
One of the most common ways to mount an awning would be to use an add-on bracket assembly, thereby attaching the awning to the notched rails along the side of the tent.
We opted for a slightly different method using the hardware that came with the awning. Our awning, the Rhino Rack Sunseeker, includes two L shaped brackets. If you read my blog about installing the awning, you know it mounts nicely to the Pioneer Platform already. Making it compatible with the rooftop tent was a matter of switching out the stock bolts for slightly shorter ones; the bolts that run from the L bracket into the slats on the rack were previously a little taller than needed, so I got some nice short stainless steel ones from the hardware store.
The tent, awning, and platform rack all marry together in a tight and clean fit. I’m very happy with how everything works together with minimal modifications needed.
Dimensions
One of the best reasons to go for this tent (besides all the reasons already offered!) is the variety of dimensions available. We wanted a tent that was about the same width as our previous tent, and one that would sit nearly flush with the width of the platform rack. We also wanted to have a tent short enough to maintain the ability to open the freedom panels.
The Area BFE tent (and its competitors) are all approximately 6” tall when collapsed fully. So the debate for dimensions comes into play when you look at the length and width. I opted for the medium Area BFE tent, which is 85x56” (81x53” sleeping area). By comparison, the Roofnest Falcon is either 88x48” or 88x58”. Opting for the RoofNest meant we’d either be crammed into our tent (48”) or it’d overhang the width of the Jeep noticeably (58”). Area BFE actually offers three sizes of their tent to help you pick one that best suits your needs.

The width of the tent is perfect; it fits flush with the width of the Jeep, so I don’t have to worry about the tent catching or scraping on obstacles while driving narrow trails
In terms of length, ours is sufficient for us. Lauren and I are both around 5’6”, and I would say someone up to 5’11” could comfortably sleep in it. If you are taller than 6’, then it depends on how you sleep and if you are sleeping solo or with someone else. Should be fine, but worth considering.
When we got the tent, I was surprised how tall it was and felt when popped open. There is plenty of space to sit upright in the tent.
Setup and Break Down
This.
This is why we switched tents. Our old CVT tent, while a nice tent, had two major flaws: it was very tall even when closed down and it took forever to open and close. Opening the tent was faster than closing, but getting the tent closed took more time and effort than it was worth. We had to do laps around the Jeep to tuck fabric, secure straps, run zippers… it was exhausting.
Adventure gear should aid in the adventure, not hinder it. The Area BFE tent elevates our adventures.

The Area BFE tent elevates the adventure with the quick and fast operation
No longer do we find ourselves dreading the task of packing up camp. We can open and close the tent so fast that we’re free to follow our adventure without reservation or consideration for setting up or breaking down camp. That’s how it’s supposed to be.
Setting up the Area BFE tent takes, no kidding, less than 1 minute. Connect ladder. Open latches. Push up until gas powered struts take over. Connect two spring rods to open awning. Done.
I used to get folks who would randomly stop me in the parking lot of a grocery store to ask me what was on top of my Jeep’s roof. I’d tell them a tent, and then pull out my phone to show them a picture of the setup fully open. Now that I have the Area BFE tent, I ask them if they “wanna see it?” and 45 seconds later, voila… tent!

Setting up the Area BFE tent is super quick and easy
Closing it is almost as fast. The only part that takes a smidge of time is packing the fabric from the sides of the tent under the shell. It’s not a hard task by any means, but it slows down the collapse of the tent by another 30 seconds. That’s it. I’ve taken the tent down in a heavy rainstorm (twice) and both times it took me less than 2 minutes.
One note on the setup and breakdown — the tent includes locking latches. But “locking” is sort of a misnomer for what the latches are. The locks are not to deter theft; you can spin them with your fingers (which is what I do… I never use the key). The lock is really more of a safety so that the latch doesn’t accidentally pop open. Considering how hefty the latches are, it’s unlikely they’d randomly pop open, but the safety is a nice feature.
There is enough space in the inside of the tent to collapse it with the sheets left on the bed, but pillows need to be removed to collapse the tent. It’s a minor sacrifice for speed.
Interior
The inside of the tent is pretty straight forward. There’s a 3” foam mattress with fabric cover, a bungee thing mounted on the roof, and storage pockets on each side of the tent at your feet. Not a whole lot to talk about, except that mattress, which probably deserves its own section (see below).
The bungee roof thing is an amusing contraption, and we’ll probably get more utility from it in the winter. We have tossed some clothes and rain gear in there at night, which is perfect, and I suspect we’ll find it a useful place to tuck coats during the cooler months.
When the tent doors are fully zipped up, the interior of the tent is relatively dark.
The mesh on the screen doors for the tent is nice and fine…. it’ll keep most bugs out of the tent while you sleep. The only bugs we found that can get through that mesh are sand fleas, but those things are virtually impossible to see, so there’s not any mesh out there that will keep them out.

The awning and back door of the tent; the awning does a nice job keeping you dry, even if you have a heavy rainstorm and the rear mesh door open.
The Mattress
If Area BFE could improve anything, this is where I’d like to see some work. Rooftop tents aren’t known for exceptional mattresses, but that doesn’t mean that a mediocre mattress should be the norm. Our previous tent, a CVT tent, had a pretty comfortable mattress, all things considered. Lauren has some shoulder and neck problems, and the mattress that came with the Area BFE tent was very painful for her. After only two nights of use, we were looking for a change.
On top of the mattress being very stiff (the foam is really dense), the cover for the mattress could be improved. Our CVT mattress had a cover that was more plastic-y. If water got into the tent (which it will… it’s a tent), the mattress never got soaked. We could wipe it off with a towel, throw the sheets on, and go to bed. The Area BFE mattress has a fabric cover, so if it gets wet, you’re sleeping on a wet mattress. Few things are worse. They need to release a new cover for the mattress that won’t retain moisture.
On the topic of moisture, this tent does not include an anti-condensation mat.
We have played with a few other mattress options, including a prototype mattress being made by a company in Denver, Colorado. We’re still providing feedback on some of the options and are hoping to find a solution that works better for us… once we have the perfect solution, we’ll follow up here!
For reference, you can put extra long full sheets on the mattress and they fit almost perfectly. We ordered a set from Amazon.

The Area BFE tent has checked plenty of boxes for us, but there are still some opportunities to improve it
Speaking of… Areas for Improvement
No product is perfect, and the Area BFE tent has a few opportunities for improvement. We’ve already discussed the mattress, and if I was working with the engineers at Area BFE, that’d be the first thing to improve. Everything else to improve upon is really small potatoes in the grand scheme of things!
The included shoe bag is also an opportunity for improvement. Our shoe bag was mis-manufactured, with one of the hooks sewn in facing the wrong direction. Insert eye roll. Ok, that’s annoying, but more annoying is that the design of the shoe bag is completely impractical. Good luck getting your shoes in AND out of the bag when it just barely hangs onto the lip of the tent with two little hooks. First time we used it, the bag fell down as we pulled our shoes out. You know what sucks? Having to climb down the ladder and into the mud barefoot. We’re working on a modification to fix the issue with the shoe bag, so stay turned for a DIY upgrade. Until then, we clip our shoes to the outside of the tent using a carabiner.

Our shoe bag was mis-manufactured, with the hooks facing opposite directions. Even still, this mounting method isn’t the most secure, leaving your shoe bag to fall off the tent. An opportunity for a DIY upgrade.

Until we have a better solution, we’re mounting our shoes with a carabiner. It’s quick, secure, and better than the included shoe bag.
I also wish Area BFE used a heavier-duty zipper on the windows and doors. Some tents offer a little beefier of a zipper, and I wish these zippers fell into that category. Maintaining the zippers to keep them clean and working well is going to be essential. Speaking of zippers, I added zipper pulls to some of the tabs using paracord — this makes them easier to operate from lower on the ladder.
Finally, and this is an easy fix, but the metal handle that Area BFE gives you to close the tent gets scorching hot in the sun. I fried my hand on the handle after the tent had been out on a 90*F day. My solution was to wrap some orange para-cord around the handle to provide a cooler handle; Area BFE could solve this problem by wrapping the handle in some sort of rubber or plastic to keep it from being so hot.
Pros and Cons
After an exhaustive shake-down of the tent, I’ve come up with the following list of pros and cons to help you with your own shopping decisions:
Pros
Tent comes in a variety of dimensions (some sizes also include optional skylight)
Competitively priced
Mounts to Rhino Rack Pioneer Platform without drilling or modification
You’ll stay dry in the rain. We’ve had it on at least two nights of heavy rain, and stayed nice and dry
Opening the tent is a breeze
Closing the tent is also a breeze. It’s all very breezy
Thin aerodynamic design. It’s a Jeep, but the road noise isn’t noticeably more with the tent than without it
Thin design again! My old tent was 15” tall and prevented me from getting into a lot of drive-throughs and parking lots
Several colors to choose from
Tent has proven to be waterproof
Opportunity to carry cargo, mount solar panels, etc
Holds up to trail abuse
Ability to mount accessories from the extruded aluminum side rails
Cons
Mattress could be improved
Zippers could be a little more beefy; requires more maintenance to prevent problems
Shoe bag mount is a bit of a joke
Handle for closing the tent gets really hot

No piece of gear is perfect, but the Area BFE tent certainly checks more positive boxes than negatives.
Recommended Improvements
We have made a handful of improvements to our tent, and continue to tweak parts of our tent. Here’s some improvements we’d recommend to anyone buying an Area BFE tent:
Wrap the exterior handle in paracord or something else to make it possible to touch it, even in the heat.
Add some paracord to some of the zippers to create zipper pulls
Add a roof rack to carry your gear. I added a DIY roof rack, but there are a number of manufactured choices on the market too. Be sure to check out the Spirit of 1876 and talk to Mike about some of the options available.
Improve the shoe bag situation. (See update, below… done!)
Upgrade your mattress. Again, I’m still trying to figure out the best solution for us, and I’ll update as soon as we’ve settled on that.
We have upgraded the interior to add some LED strip lights along the inside. The lights are USB powered, and we plug them into a USB battery pack to power them at night. These not only look cool, but they are dimmable and provide some options for color.
We also added a magnet mount from Amazon to hold our iPad onto the roof of the tent. That’s a great way to watch a movie in the tent. Before you judge me — sometimes it’s pouring rain and sitting out and enjoying the stars around a campfire just isn’t in the cards!

Extended zipper pulls made from some paracord

LED lighting around the interior of the tent and a magnetic iPad mount turn the inside of the tent into a cozy movie theater for those nights when sitting out to watch the stars isn’t practical.

I wrapped the handle in paracord so that it wasn’t so hot to the touch after a day of driving in the sun
Update - 8 September 2020

Updated hardware to attach the shoe bag to the tent. Installed the new hardware and this is a great fix. Nice job Area BFE!
After I published this review, Area BFE got in contact to update me on a few changes they’ve made to the tents. They also sent me some of the new materials to check out myself, so it’s appropriate I update you all on the tent as it currently ships.
First, thanks to Area BFE for sending me some of the updates to the tent. It’s very generous of them and speaks volumes to their customer service. Let’s recap some of the changes:

New awning brackets / cargo brackets. These things could hold far more than an awning onto the side of your tent.
New Branding: Area BFE provided me with some stick-on branding plates so I could remove the old “Adventure Vehicle Tents” branding and attach their labelling to the tent. Nice!
Anti-Condensation Mat: I was super excited to hear that Area BFE now offered and included a condensation mat with the tent. The mat fits the interior of the tent perfectly should help keep everything nice and dry on the trails. I haven’t had a chance to test it out, but I see no reason it wouldn’t work — it’s a mesh pad, and I’d be surprised to learn there’s a lot of variation in mesh pads.
Tent Cover: Area BFE tents now ship with this black fabric “cover”. I don’t really know how else to describe it! The cover is designed to protect the tent during shipping, and also could be a nice cover to use if you regularly remove the tent from your car for storage. Talking to Area BFE, they also thought this cover could be re-purposed as a type of mattress cover. The jury is still out on that, but I’m sure I’ll come up with a good use for this thing in time. If it was a little heavier duty / rubber and had some sort of securing strap, I could almost see using it during the winter to cover and protect the tent, even while it was still mounted to the Jeep.
Awning Mounts: I used the existing hardware that came with my awning to attach it to the tent and rack, but Area BFE now offers awning brackets that let you attach the awning directly to the side of the tent. This is a super nice upgrade and will be very popular with folks who might not have the space and clearance to mount their awning like I did. I actually think I’ll be re-purposing these mounts for something else…. say a shovel mount? They are quite beefy, and offer tons of flexibility to attach other cargo. These mounts could really be branded as awning/cargo mounts, because the utility and application for them is pretty wide-ranging.
Shoe Bag & Mounts: Honestly, I was pretty stoked to get this. Area BFE replaced the clips on the old shoe bags with some carabiners and eyelets so you can clip the shoe bag to the tent. Finally! A way to hang the shoe bag that won’t result in it immediately falling off the tent. We used a hack saw to cut the old metal clips off the shoe bags and mounted one on each side of the rear entry ladder. Nice job fixing that problem, Area BFE!
While I was on the phone with Area BFE, they also talked to me about the idea for some sort of water-resistant mattress cover. They seemed into the idea and sounds like they’re going to work on designing something. Fingers crossed! If I learn anything more about an update for the mattress, I’ll pass it along.
The Verdict
Like I said earlier in the review, your gear should elevate your adventures, and the Area BFE aluminum hardshell tent does exactly that. We’ve found our fair share of areas to improve the tent, but that’s to be expected. Everyone will have a different experience and values different things; we value the size, ease of setup and breakdown, and versatility of this tent to carry cargo on the roof.
Of the issues we’ve identified with the tent, the mattress is really the only one that is of any substance. Fixing the hot grab handle or working around the shoe bag (Update: they fixed the shoe bag issue! See above 8 September update!) is all picky and small stuff. Easy to fix stuff. The mattress is a bigger challenge. We’ve now used three different mattress options in the tent and are hopefully close to a solution that checks all of the boxes.
At the same time, mattress softness is a bit of a personal preference. Some people might like sleeping on what feels like a slab of concrete. Others want a super smushy sleep. We want middle-of-the-road mattress. And we want a water-resistant cover for the mattress even more.
But here’s the thing — I can fix the mattress. There are so many things about this tent that would be a massive pain if they were any different from the way they are now (like the fact that I didn’t have to drill the Pioneer Platform to mount the tent!), and I have to give credit to the engineers at Area BFE for getting so much of the tent’s design just right.
All things considered, I give the tent a solid 8.731 out of 10. A few small tweaks and an improved mattress, and this tent will consistently hit home runs.
If you are in the market for a rooftop tent, I’d encourage you to give the Area BFE tent a hard look. Make sure you order from Spirit of 1876 too — that’s not a paid endorsement — just a testament to the great service they have given me.

The Area BFE rooftop tent is a great buy, and certainly has elevated our adventures.