Bath Time: Keeping the Jeep Clean from Trail Gunk
We love taking our Jeep through puddles and mud pits. There’s something very satisfying about slopping around in the mud, though the effect that mud has on your vehicle is undeniable.
This season, we’ve taken our Jeep to the beach, covered it in ocean spray, galloped through more mud holes than I could ever possibly count, ridden in deep sand and slop, and obtained our fair share of “trail marks” from overgrowth on the trail. The side of the Jeep has a number of deep “pinstripes” down the paint, including one hearty claw mark on the hood from a time I pulled over into a tree to clear the trail.
With this much abuse and wear, it’s a good idea to spend a few hours periodically deep cleaning your rig. A good cleaning helps to protect against corrosion, keeps the vehicle looking nice and new, and can prevent mud, sand, and other grime from wearing parts out sooner than needed.
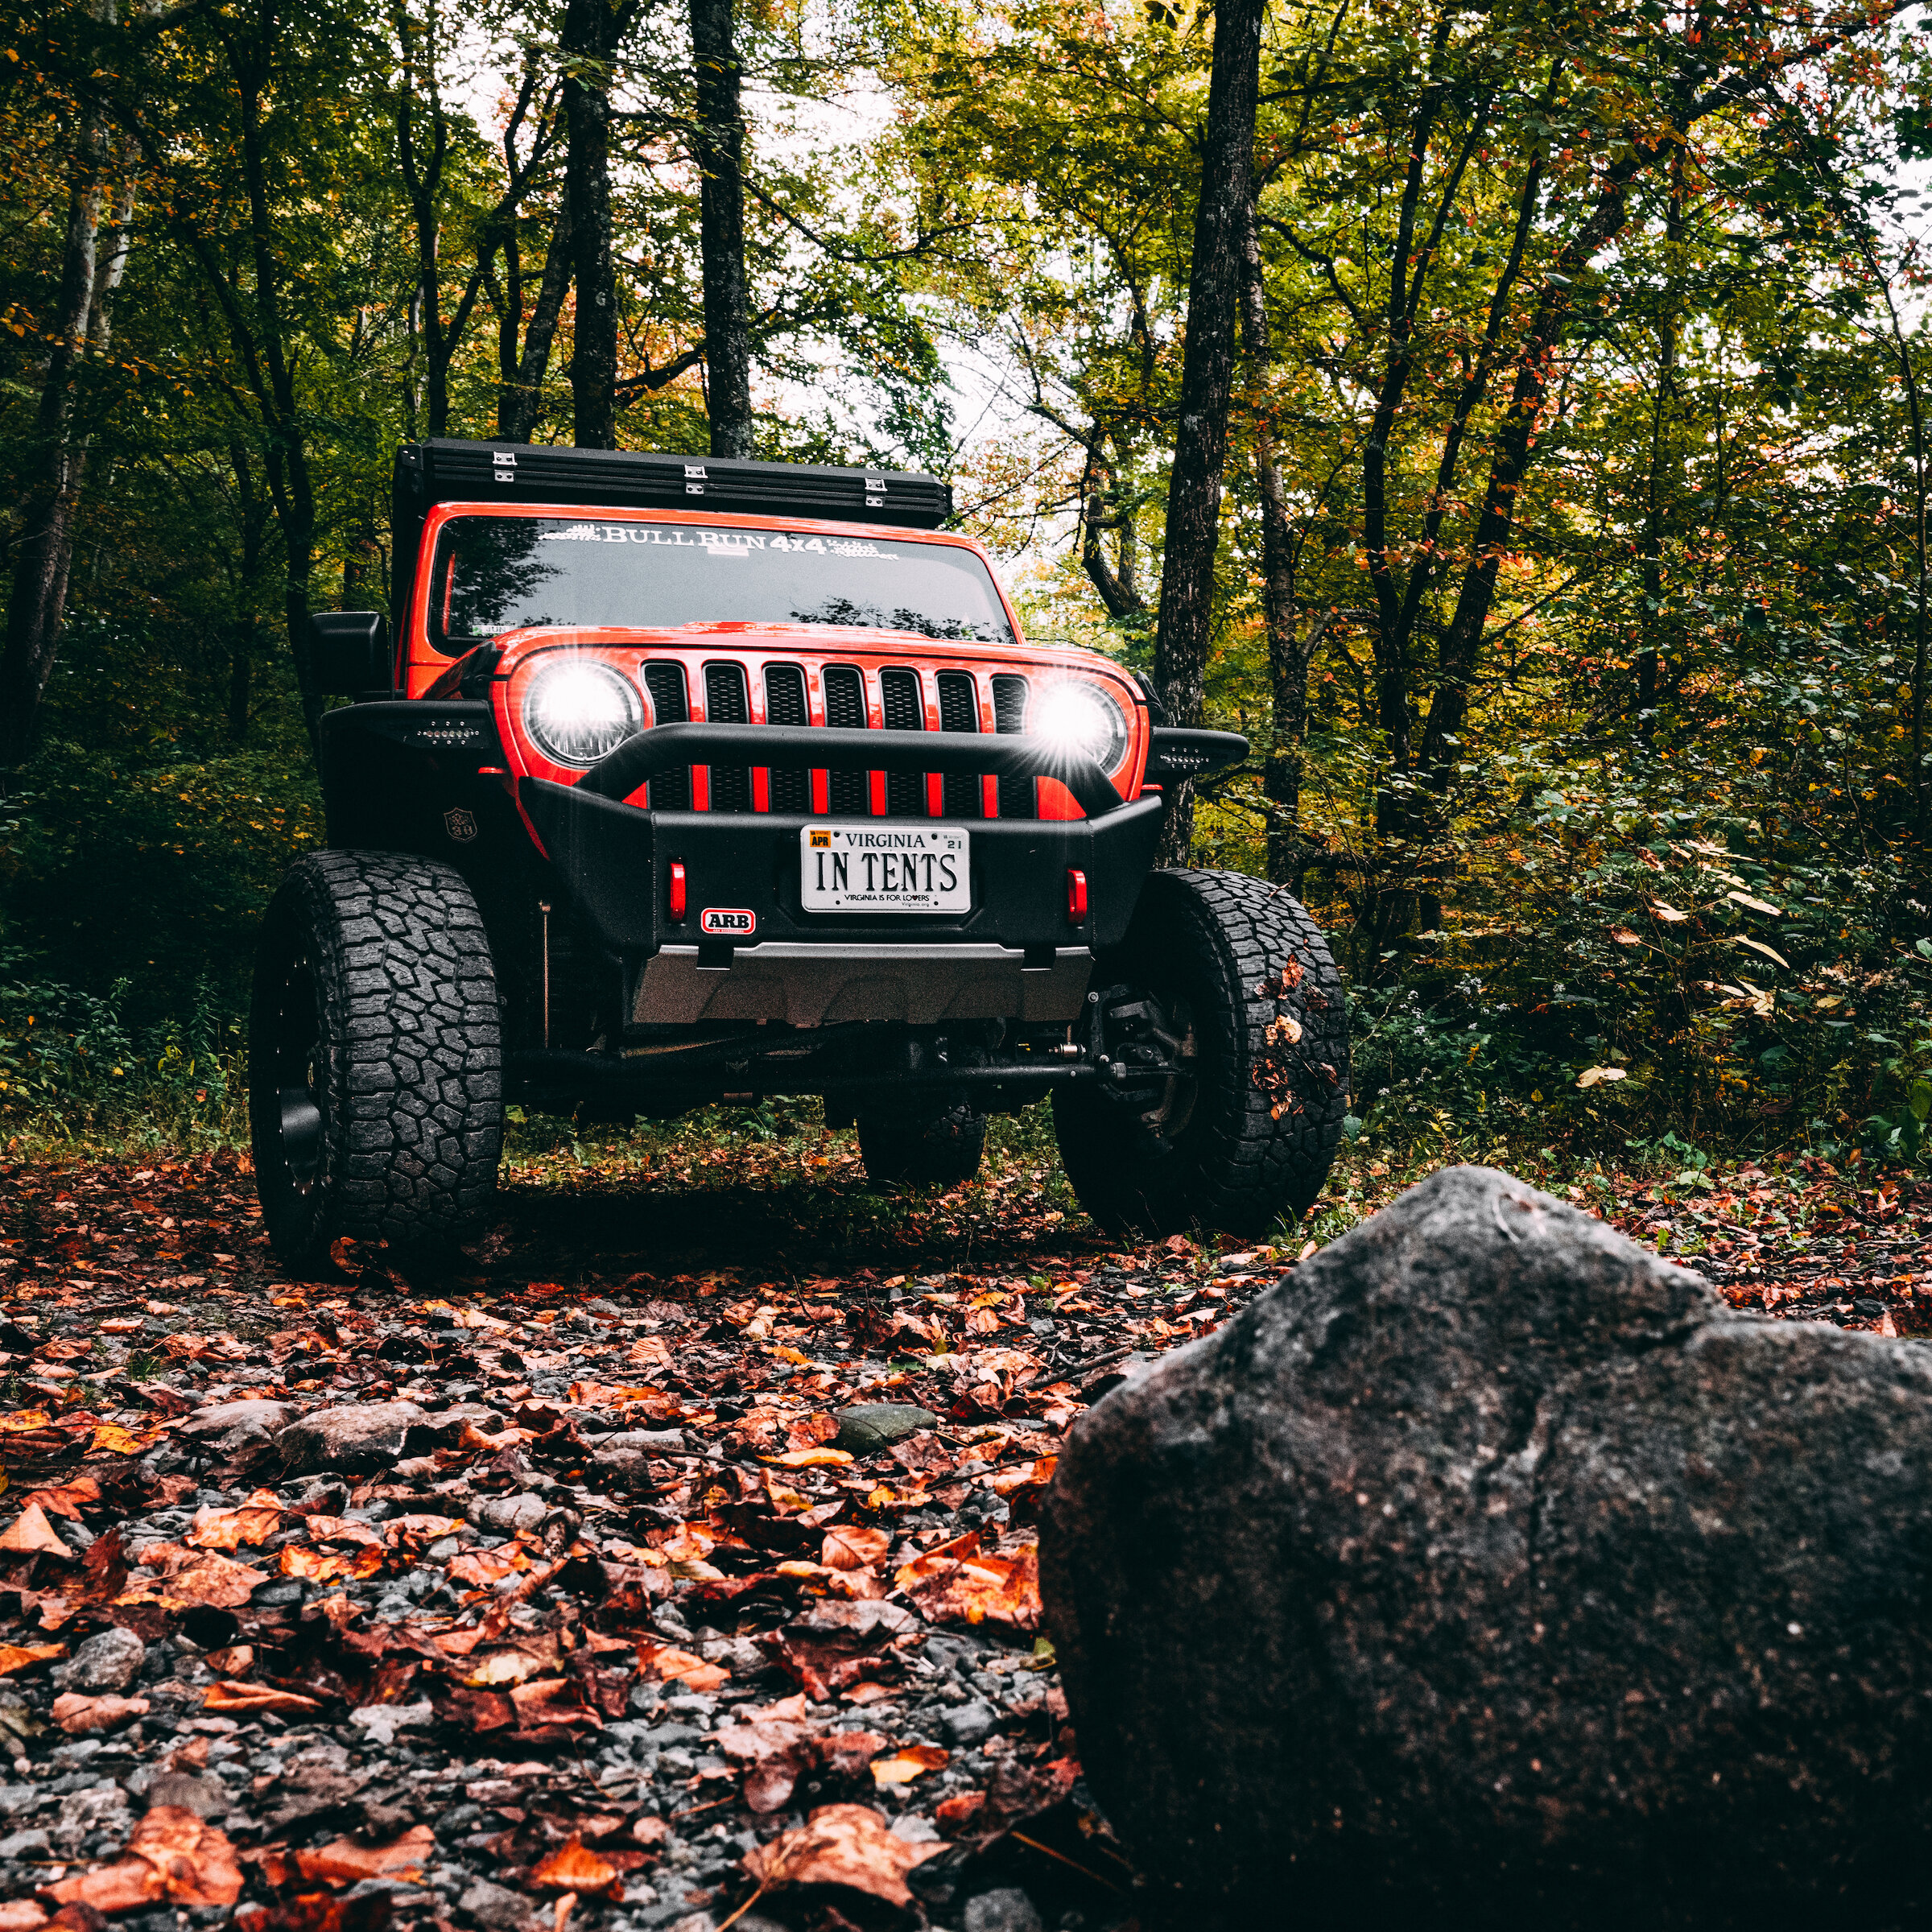
After a season of playing, the Jeep was in need of some TLC
The Underbelly
The underside of your Jeep is where much of the dirt and crud will accumulate, and it’s also not as hard to clean as you might expect. We recommend using a diluted chemical degreaser (there are lots of choices on the market — you can find them at a hardware store). Dilute the degreaser with water and put into a pump sprayer (also found at the hardware store), then spray generously on the underside of the Jeep. You can also spray it on the wheels and tires. Just be careful to avoid getting degreaser on the paint of the vehicle or anyplace with exposed grease points (in our case, that means avoiding the JL steering stabilizer). Let the er degreaser soak for a few minutes — you’ll probably see brown grime dripping off, and that’s what you want. After a few mins of soaking, attach a garden hose to a sprinkler — one of those that shoots water directly upwards, and let the sprinkler spray the underside of the vehicle to rinse. You will probably need to move the sprinkler around periodically to get the entire bottom of the car cleaned. Repeat these steps as needed; the degreaser is pretty good at getting mud off of the components, especially if done soon after returning from a trip.
Use some degreaser diluted with water and applied with a sprayer to clean the underside of your vehicle.
Using a sprinkler is a great way to clean the underside of the vehicle. Move the sprinkler periodically to spray the entire underbelly of the vehicle.
Washing the Paint
The foundation of a clean vehicle comes from a good wash. A good wash starts with good soap. There is a difference in soaps! Don’t use a soap like Dawn dish soap unless you really know what you are doing — the degreasing agents in soaps like that can actually strip some of the finish down on your paint, and you should only use them if you’re prepared to do extensive waxing.
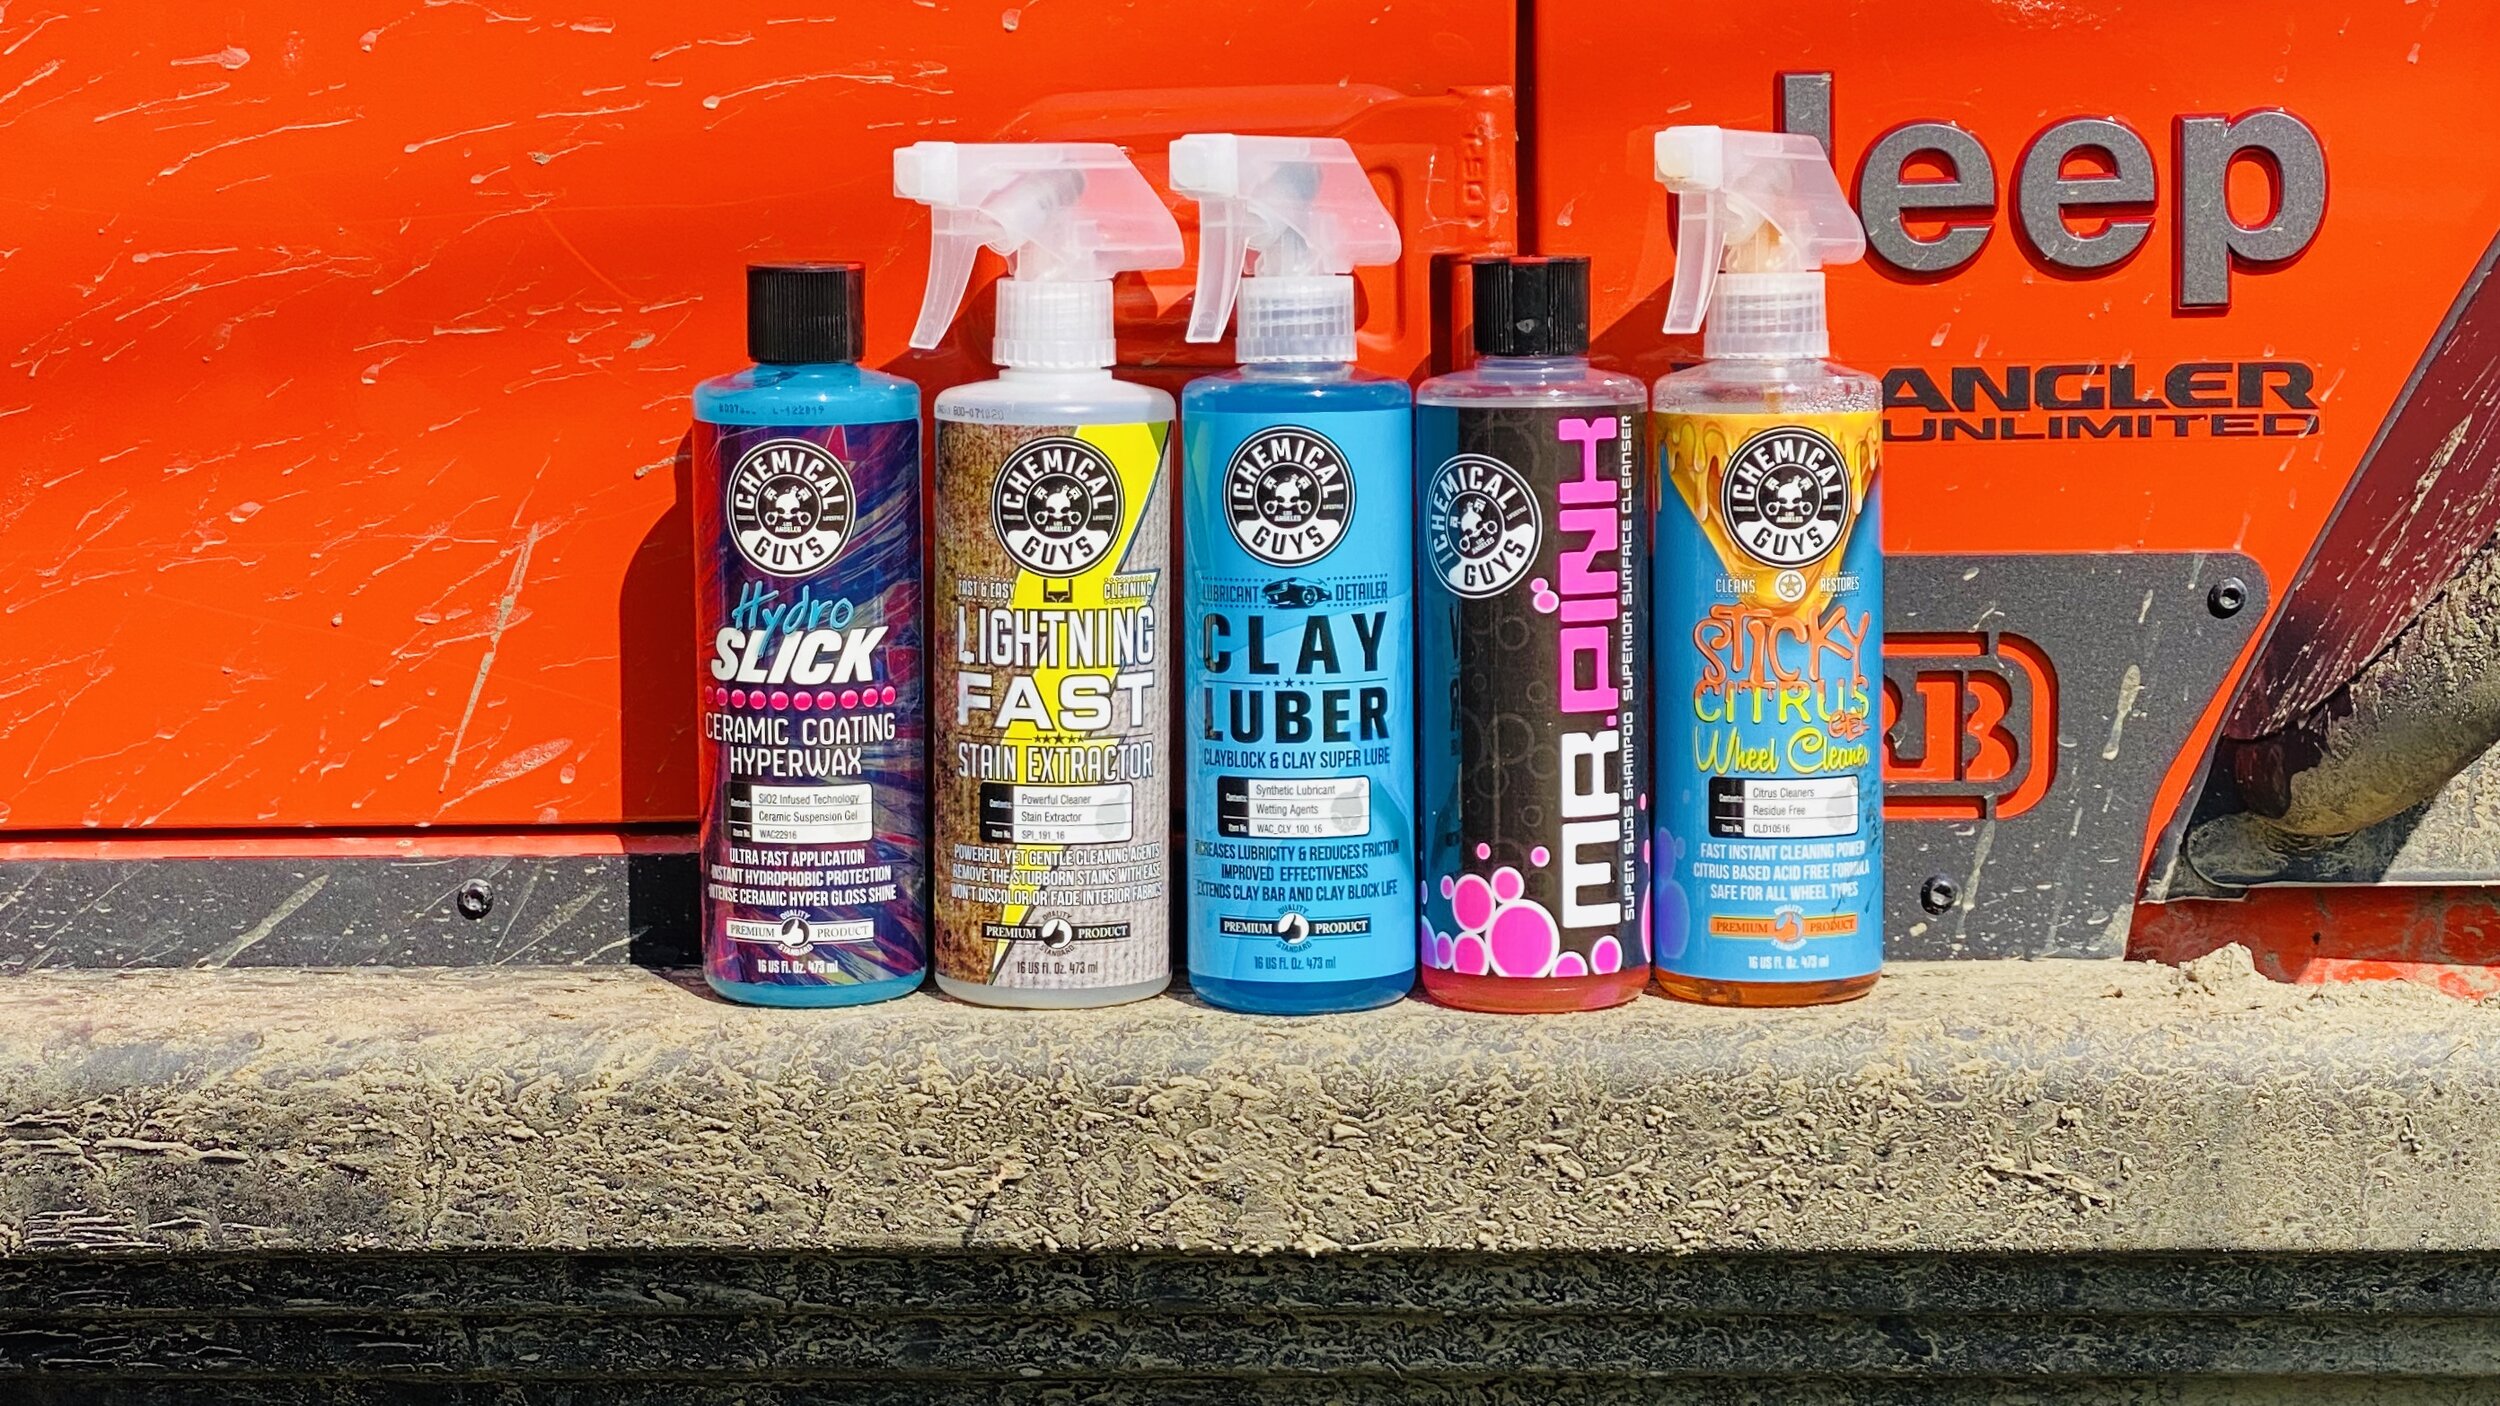
I prefer to use a gentle soap for all of my washes. I exclusively use products from Chemical Guys — their soaps and cleaners are incredible and easy to use. For soap, I recommend using either Citrus Wash and Gloss or Mr. Pink Shampoo.
I do not use a bucket; instead I purchased an inexpensive soap sprayer from Harbor Freight Tools. This helps to apply the soap suds in a way that doesn’t lead to cross-contamination between clean and dirty water. I also use a washing mitt, but I am careful to rinse it and wash it regularly.
After applying soap and using the mitt to lightly scrub any crud off, I give everything a good rinse, then dry with a towel. The towel is designed to use for car washes and helps prevent any water spots — I don’t recall the exact brand I use, but there are a number of choices found at most auto supply shops.
If your tires still have mud on them, use some Sticky Citrus and a scrub brush to return the mud stained tires back to a nice black color.
Cleaning mud stains off of tires can be a chore. Products like the Sticky Citrus and a dedicated tire brush make this chore quick and painless.
Clay Bar
When your vehicle is clean and dry, take your hand and lightly rub it back and forth over your paint. Does it sound scratchy or smooth? If you hear (and feel) a rough scratchiness as you do this, then you should clay bar the vehicle.
I know what you’re thinking — this sounds like a lot of work — but I promise you it’s not.
Pick up the Clay Block Alternative and some Clay Luber from Chemical Guys. The luber serves as a lubricant to help the clay bar slide over the top of the vehicle. Spray liberally and keep the bar moving; if you run low on luber you’ll know because the bar will feel very sticky on the paint. With the proper amount of luber, you’ll find the clay moves quickly and smoothly over the surface of the vehicle.
A clay bar helps collect oils, dirt, and other debris that is embedded in the paint of the vehicle. This is the stuff that makes the scratchy noise when you move your hand over the vehicle, so as you go, you’ll collect and be able to see the crap you’re pulling out of the paint.
The clay luber and bar will leave a slimy residue on the paint. Rather than stress over wiping this off with a cloth, I opt to do a secondary wash after the clay bar treatment to remove any remaining residue.
Make sure to take your time and go over the areas most likely to collect crap carefully — this includes around the windshield, the front grille area, and along the bottoms of the doors.
After you have done the clay bar and secondary wash, run your hand over the paint again. This time it should be much smoother and quieter.
A handful of the products I regularly use to maintain my Jeep’s exterior and finish.
Ceramic Coating
The issue of applying a ceramic coating can be a little polarizing, but I think it’s a worthwhile step. It doesn’t take that much effort to apply, and if done correctly, it can help prevent mud from building up on the paint as much, making it easier to clean in the future. And you can also apply some ceramic coatings to glass and mirrors, making them more likely to repel future trail grime.
The HydroSlick Hyperwax coating from Chemical guys is very easy to apply and only requires a few hours of shade to do well. Put some HydroSlick on a microfiber applicator pad, apply a thin coat to the paint, let it dry for a few minutes, then buff with a clean microfiber cloth. Work in sections and rotate your buffing cloth to a clean piece of cloth between sections on the vehicle. It took me about 90 minutes to do the entire Jeep, including the windows, mirrors, and some trim areas.
The other nice thing about the ceramic coating is that it helps to hide some of the “scars” I had on the Jeep from bushes and sticks dragging over the paint.
Wax
The final step is to apply a top coat of wax. This helps to protect the ceramic coating as well as the underlying paint — the end result is a car that sparkles in the sun and is smooth as glass.
Again, I turn to Chemical Guys and their Butter Wet Wax. Application is very similar to the ceramic glaze. Use an applicator pad to apply some wax in sections, then buff it off with a clean microfiber cloth. If you’ve taken the time to do the prep steps well, the wax will go on very fast and very smooth.
Smooth as a baby’s bottom!
Summary
There you have it! The process isn’t hard, but it can be a little time consuming. Doing it every few months (or at least annually) can make a big difference in the luster and life of your vehicle, and is a small price to pay for the abuse we put our rigs through on the trail.
PS - if you got stains on the interior seat fabric, I highly recommend using Lightning Fast to remove upholstery stains. You’re welcome!


