Kick Ass Products Slim Battery and DCDC Charger with MPPT Controller Review
Off-grid power is an important component of overland travel.
We all started somewhere, and that somewhere probably involved hauling bags of ice, a mediocre cooler, and carrying several dozen spare AA batteries in a ziplock bag (…”which of these are the good ones?”). And then you saw it — either at your campsite or on the Internet — you saw someone who pulled out their electric fridge, popped an ice cold beverage, flipped a switch for some extra lighting, and voila.
Now here you are… ready to join the big leagues by incorporating an auxiliary electrical system into your vehicle to power your fridge, electronics, camp kitchen, or whatever. The world of 12V in-vehicle power is complex and a little intimidating, so buckle up, grab that ice cold beverage, and let’s dig into how we solved our electrical woes with the help of Kick Ass Products USA.
Why Kick Ass?
I started with a different battery setup to power my fridge, but it was not a good fit for our travels. After only a few weeks of use, we knew we were in the market to do something else. I felt like I’d failed in my previous research, so we took extra time to evaluate the market and options before starting this build.
There are lots of options in most overland equipment, but the market for electrical systems is far narrower, with a few brands like Redarc and Renogy dominating the US market. In our research, we stumbled upon a variety of Australia-based brands that produced nice solutions, but most of those are not yet available in the US market.
Australia is home of some of the harshest overland climate and terrain, so buying an Aussie-origin product suggests it will hold up to the abuse of use within the United States. Until recently, Redarc was the primary Australian-born 12V electrical control products coming into the USA, but Kick Ass is changing that dynamic. Dubbed as “Outback-proof gear”, Kick Ass has opened distributorship in the USA for a selection of the products they offer. In Australia, the products are distributed through Australian Direct, and a browse of their website excites me for the products that they may soon start to market and distribute in the US.
Being relatively unfamiliar with the brand, I went to work researching who they are and their reputation. The company was founded by an Aussie named Klaeton Sheehan — watch a few of the Kick Ass YouTube videos and you’ll stumble upon his charismatic videos explaining the products they offer. Not only are the videos instructive, but the accents will have you walking around saying “Creikey”! Anyway, in the course of my research it became clear that Kick Ass has a solid reputation and following, with offerings at a very reasonable price point.
A Quick Primer in Off-Road Power
I am by no means an expert in off-road auxiliary power setups, but I’ve done my fair share of research and will do my best to distill this into a quick summary of the components needed:
12V Battery
This is pretty self-explanatory. We all understand the concept of needing a battery to power something, so this isn’t the part that normally trips anyone up. Before we move onto how we put electricity into that battery and pull electricity out of it, we should quickly mention that there are several types of batteries on the market. The most common are AGM (absorbed glass mat) and lithium, though there are additional types (like gel). There are others out there who have done a better job than I could explaining the pros and cons of the various types, but here are the main takeaways between AGM and lithium. The technology in lithium is newer, so they cost more. They also weigh dramatically less than AGM. And, unlike AGM, they can be fully discharged to 0% without permanently damaging the battery. So a 100ah battery gives you a true 100ah of power. AGM on the other hand is a time tested and proven technology, and is usually much cheaper. They are very dependable batteries, but weigh more and cannot be fully depleted without damaging the battery. As a crude rule, you generally don’t want to deplete an AGM battery more than half way - so a 100ah lithium battery in theory has twice as much capacity as a 100ah AGM battery. However, the cost usually means you can still buy an AGM battery with twice the capacity of a lithium for less.
DCDC Charger with MPPT Controller
That’s all a fancy way of saying “the thing that puts power back into the battery.” The DCDC terminology refers to the controller’s ability to pull DC power from the car’s alternator when the car is running and use that to re-charge your battery. A smart DCDC controller, like the one from Kick Ass, is able to do this safely and efficiently. You program it with the type of battery you are running, and it uses a charging profile specific to that battery type, ensuring maximum life of the battery. It also has a built-in voltage sensitive relay— it monitors the source voltage and will cut out if the power drops too much — which is a fancy way of saying that it won’t kill your car’s starter battery because it’s busy charging your auxiliary battery. In fact, the Kick Ass charger has a built-in ignition controller, so it gets a signal when the car’s ignition is on and uses that to ensure you don’t drain the start battery.
The MPPT controller part of the equation references the fact that the controller can also re-charge your aux battery via solar power. Plug in a compatible solar panel, and the charger will convert that sunlight into usable power to charge your battery. The cool thing about this is that you can charge your battery while driving, and it will continue to charge even when you are parked at the store buying more beer to restock the fridge.
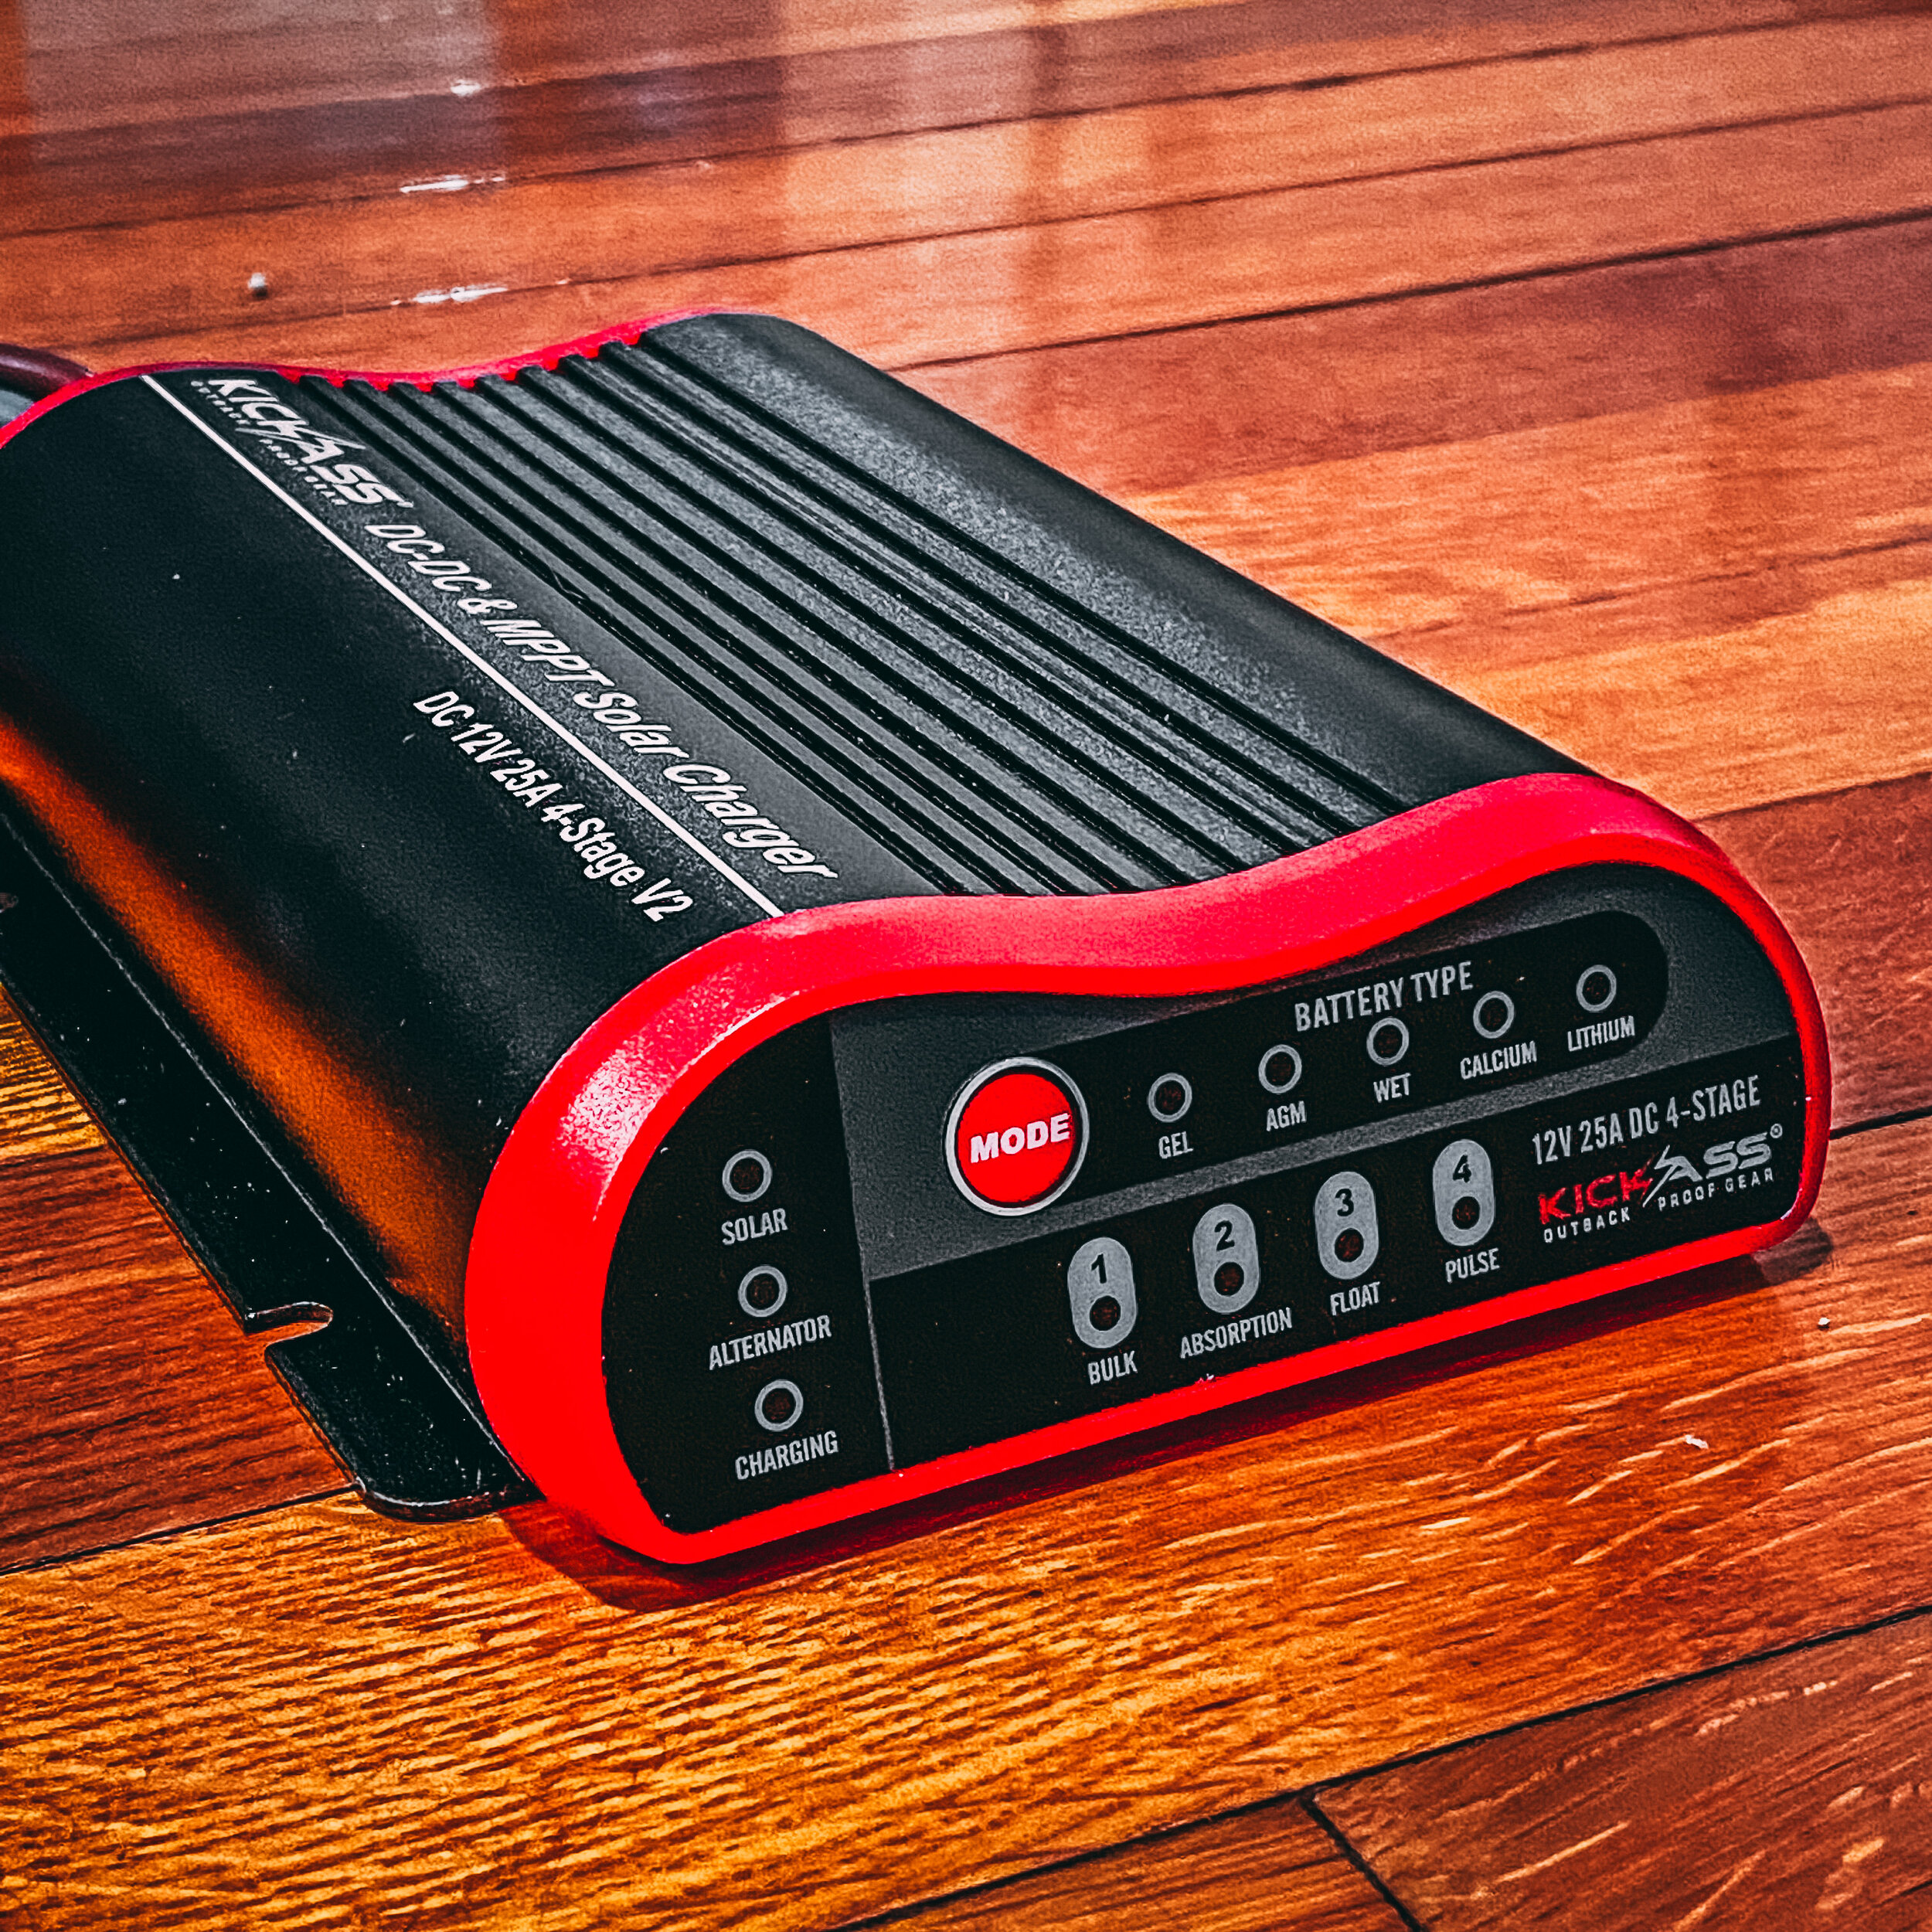
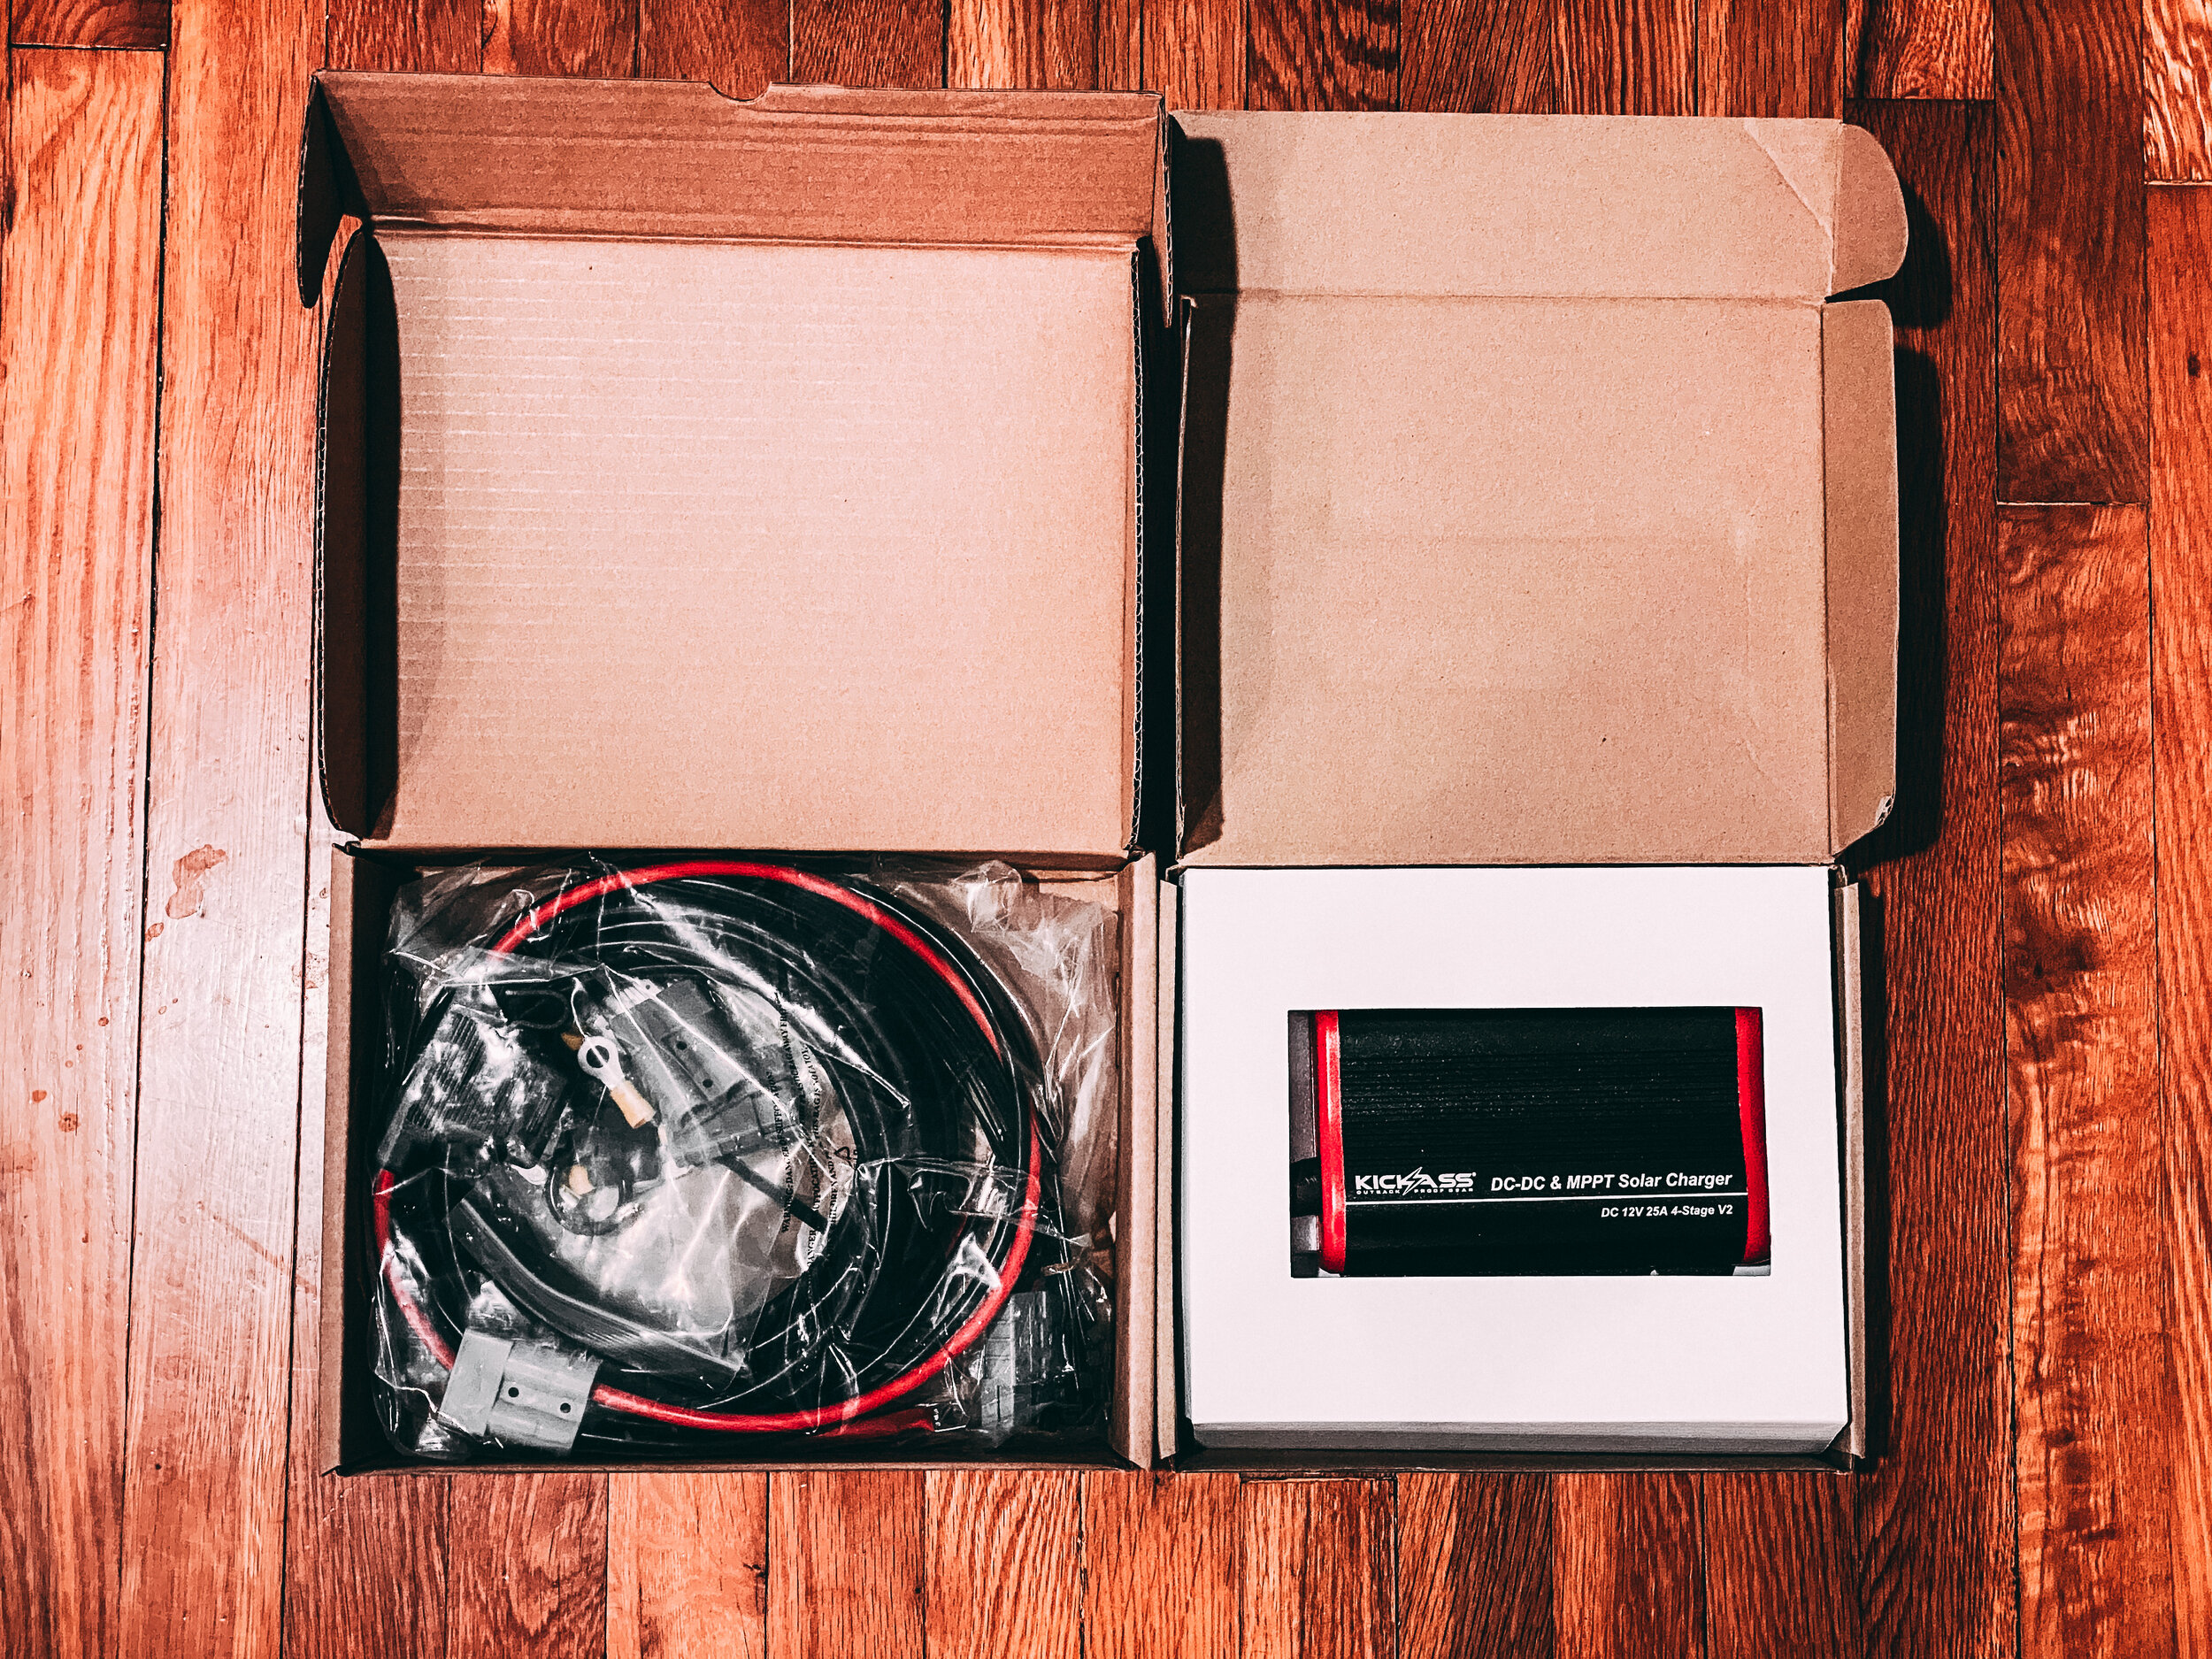
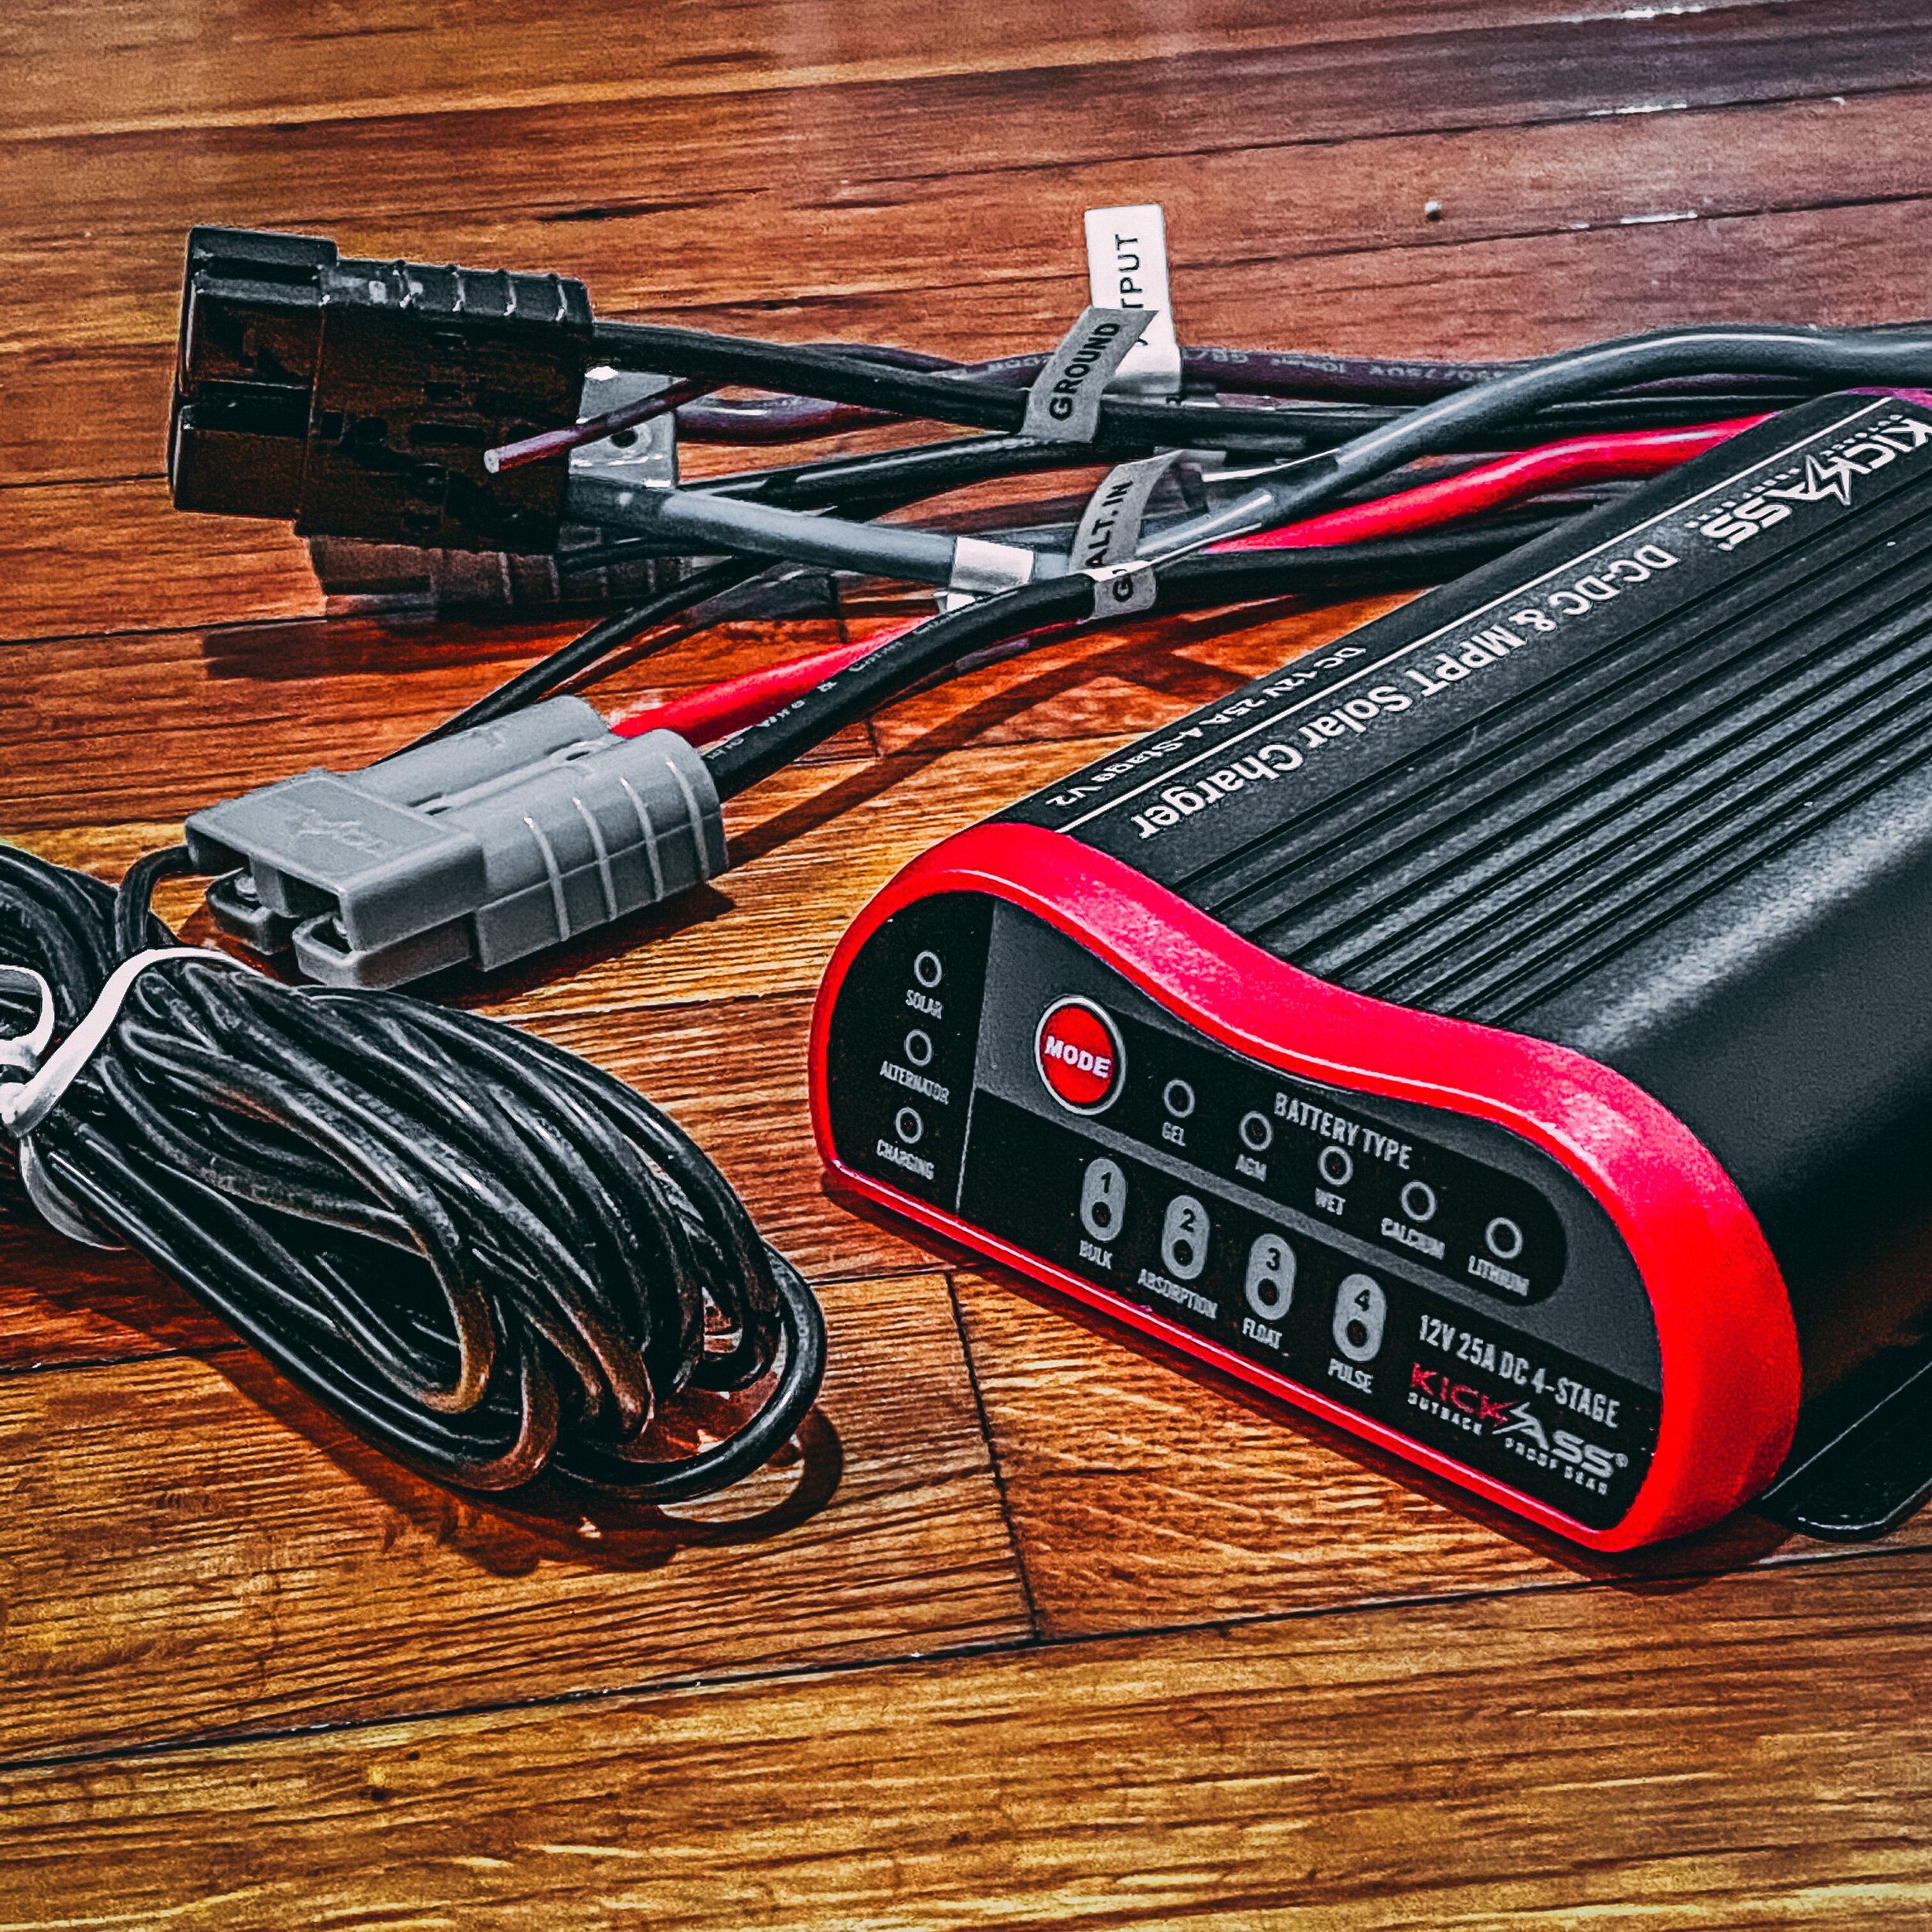
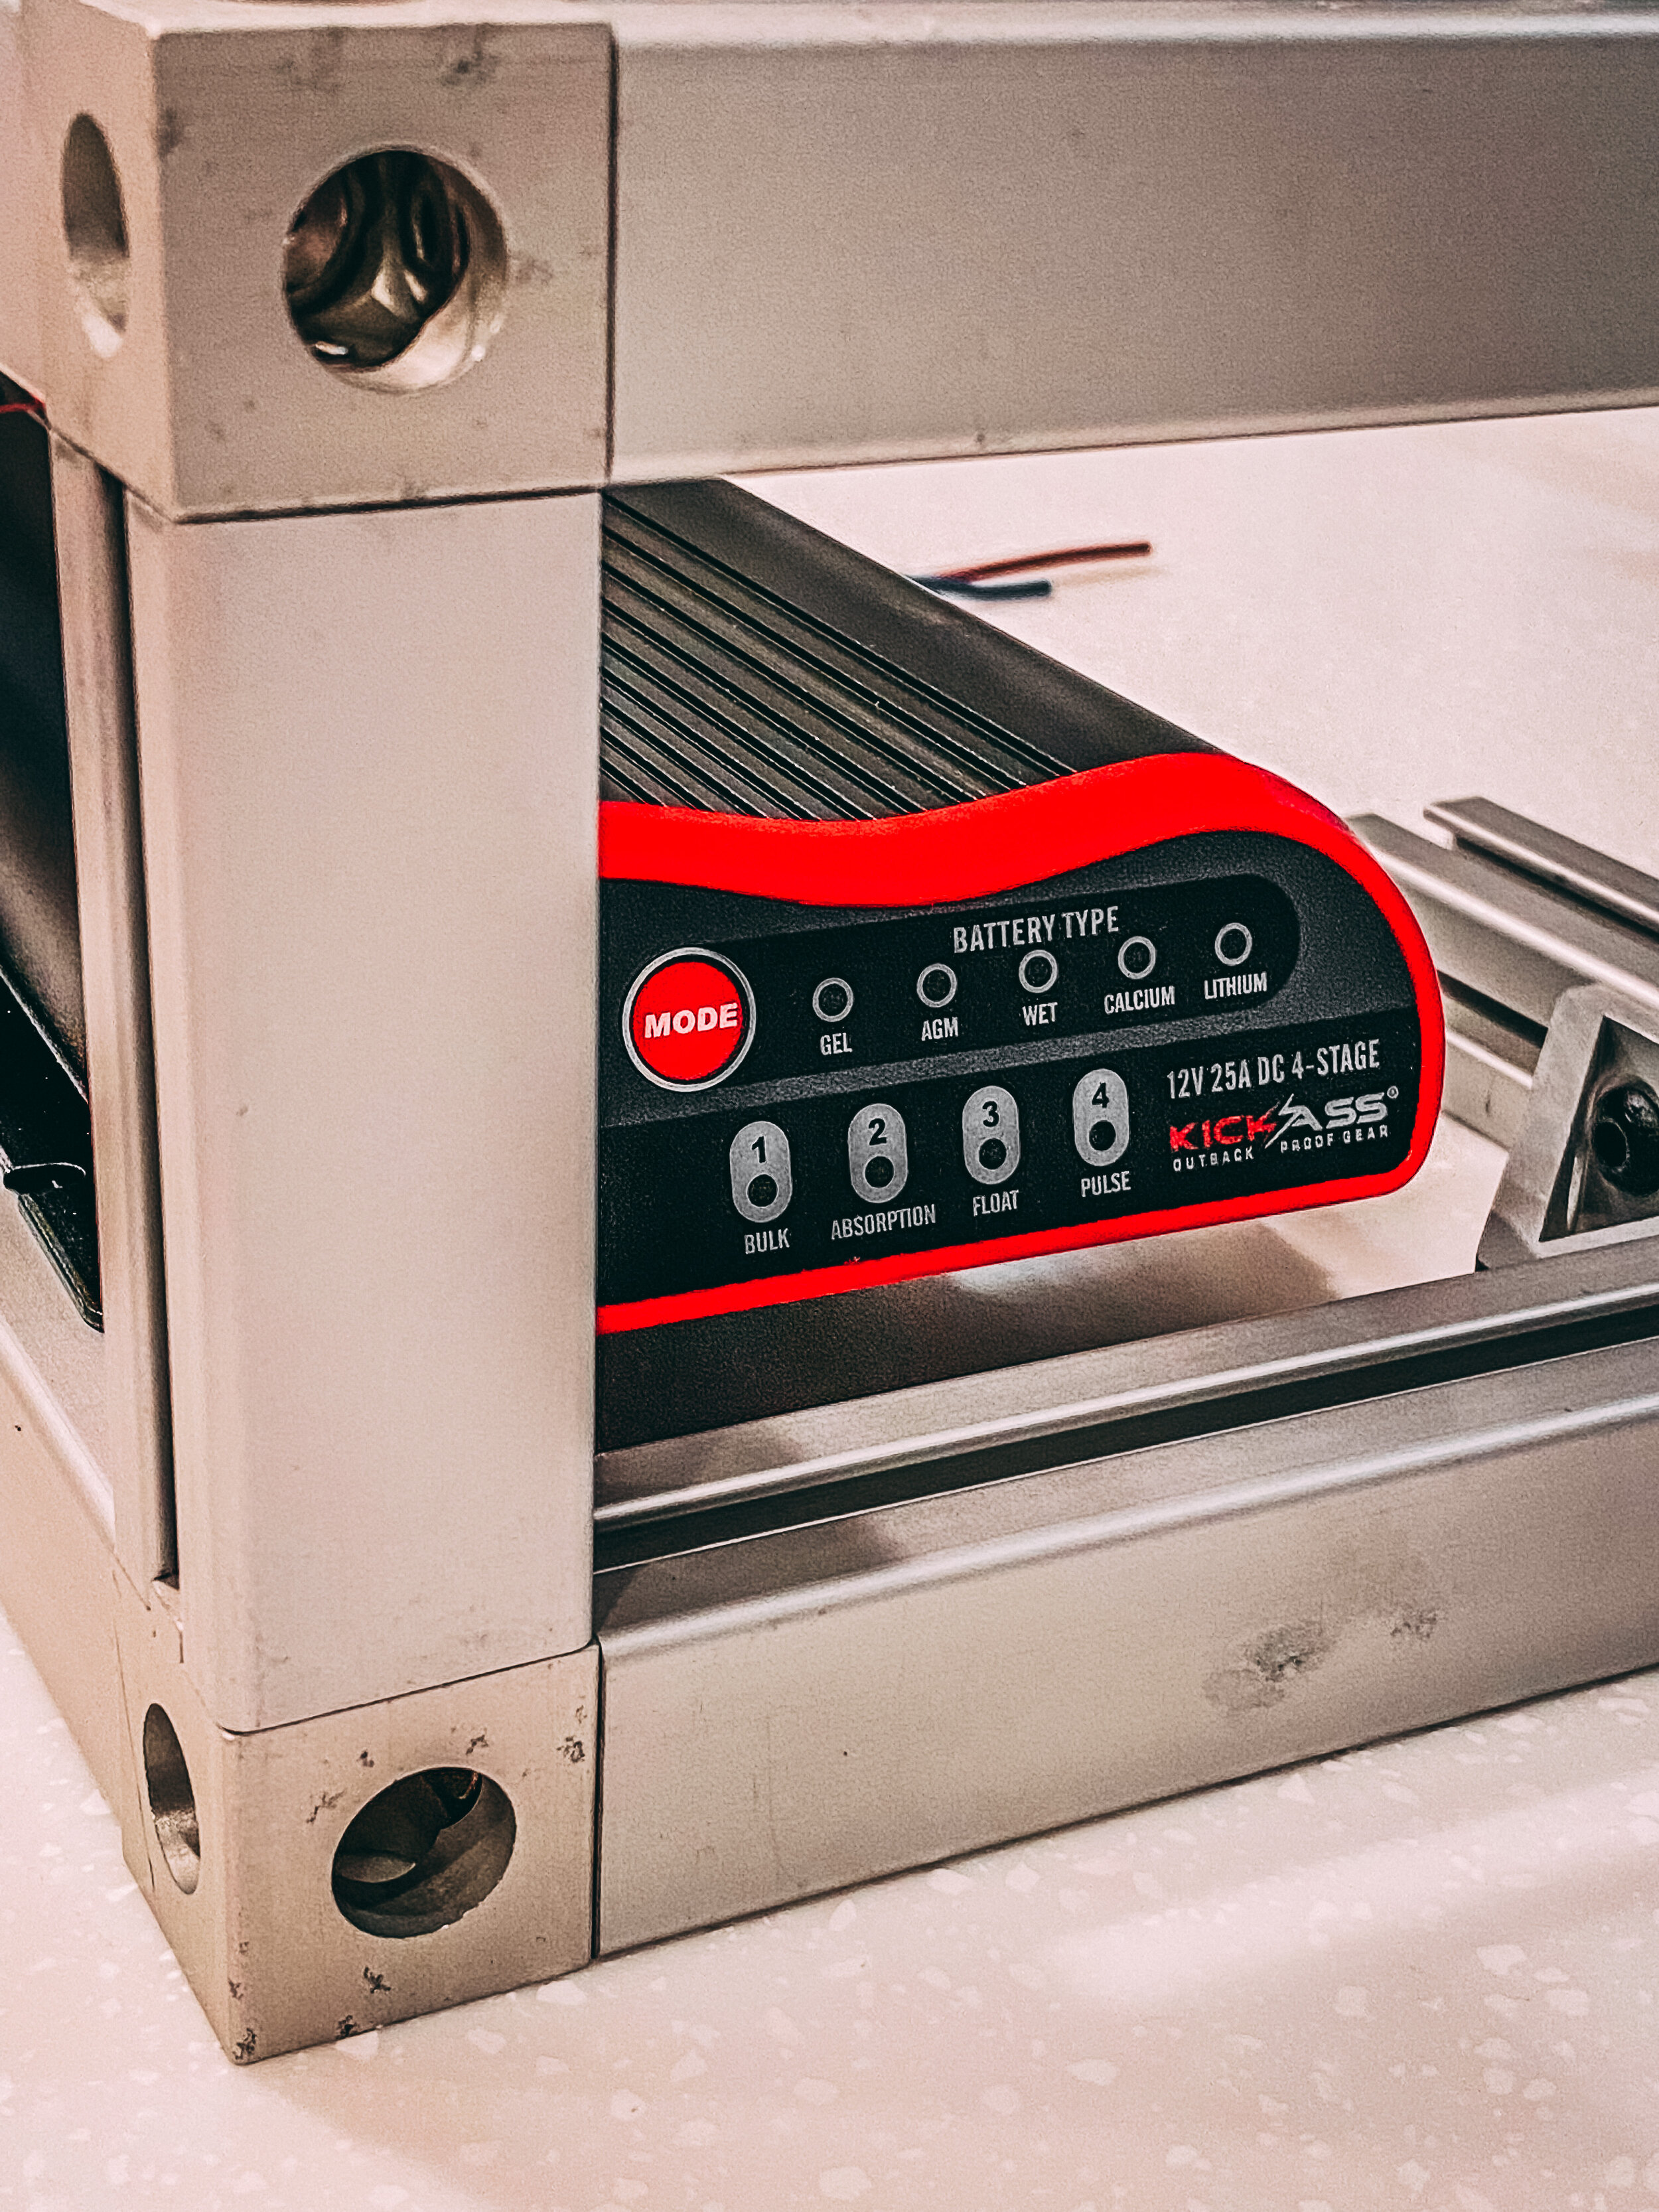
The Kick Ass DCDC & MPPT Solar Charger is a 12Volt, 25 Amp 4 stage battery charger with options to run gel, AGM, wet, calcium, or lithium batteries
Something to Power
Ok, this is pretty obvious, but if you are building this auxiliary power setup, you need something to power with it. If your goal is to power, say, a Dometic fridge, you can buy the Dometic hardwire kit and connect that directly to the auxiliary battery, giving you ports to plug the fridge into. Likewise, you can buy dozens of different USB ports, 12V cigarette sockets, etc that can all be connected to your battery.
Inverter
We are not running an inverter in our setup, but if you aspire to power household appliances that run require more than 12V (like a blender, toaster, coffee pot, etc), you’ll need to add an inverter. Make sure to look for a pure sine wave inverter and buy a high quality one that can handle the loads you are looking to power.
Battery Monitor
Totally optional creature comfort accessory here, but if you fancy knowing the current battery life remaining, you might want to add an external battery monitor. Technically you can also use a basic voltmeter to derive the same thing, because a battery monitor is basically looking at the voltage of the battery and doing some math to translate that into a percentage in an easy-to-consume format. We opted for a battery monitor because we’ve been trained by our iPhones to look for a percentage sign, and we appreciate a quick and easy way to determine our battery status.
Fuses
This is how you stop yourself from burning down the car, house, dog, forest, etc. Fuses are devices designed to withstand a certain amount of electricity flowing through them, measured in amps. If the amount of electricity exceeds what the fuse is rated for, the fuse “blows” - like a circuit breaker tripping in your house — as a safety. Unlike a circuit breaker in your house, most automotive fuses are designed to be replaced when they blow, but they are inexpensive and it’s easy to have spares in your repair kit.
The Kick Ass Offerings
Kick Ass Products recently started importing their batteries, chargers, and accessory components into the USA, so I decided to build my overland auxiliary power system around two of their most popular offerings — the slim 170ah AGM battery and their DCDC controller. Since they are newer to the US market, I’m excited to review them and share my thoughts on how these products might work in your rig.
Kick Ass 170ah Slim AGM Battery
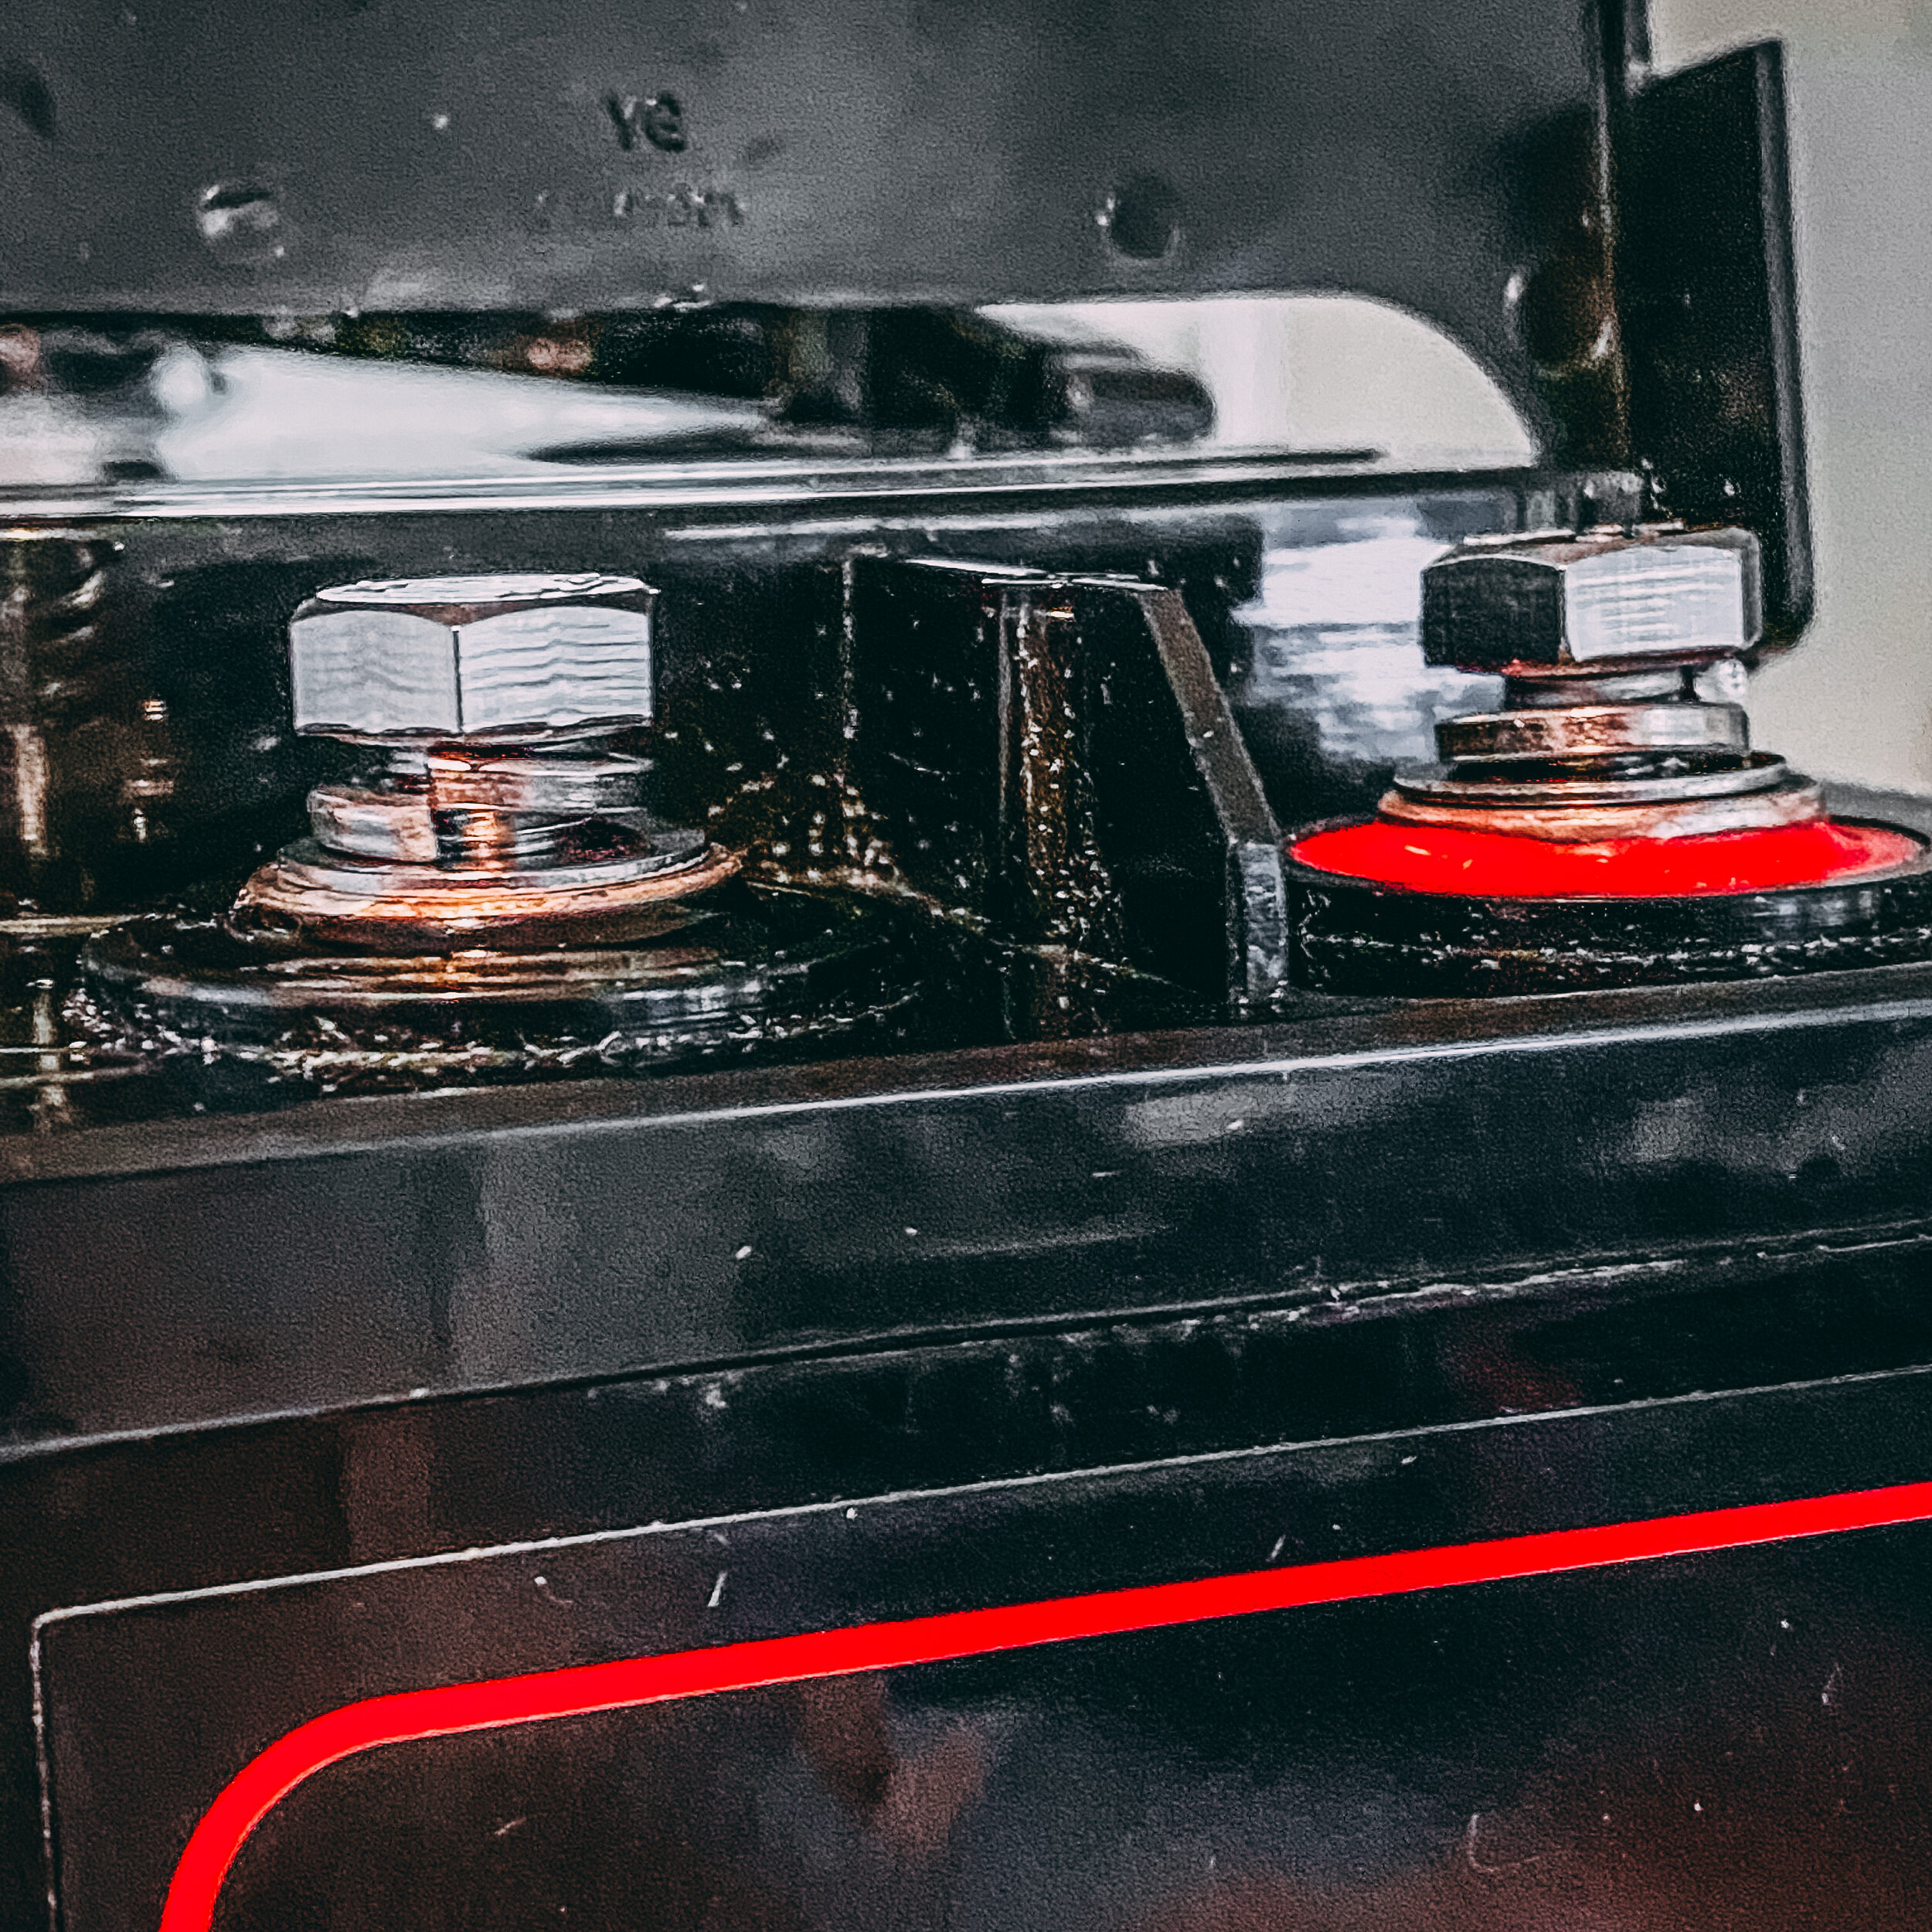
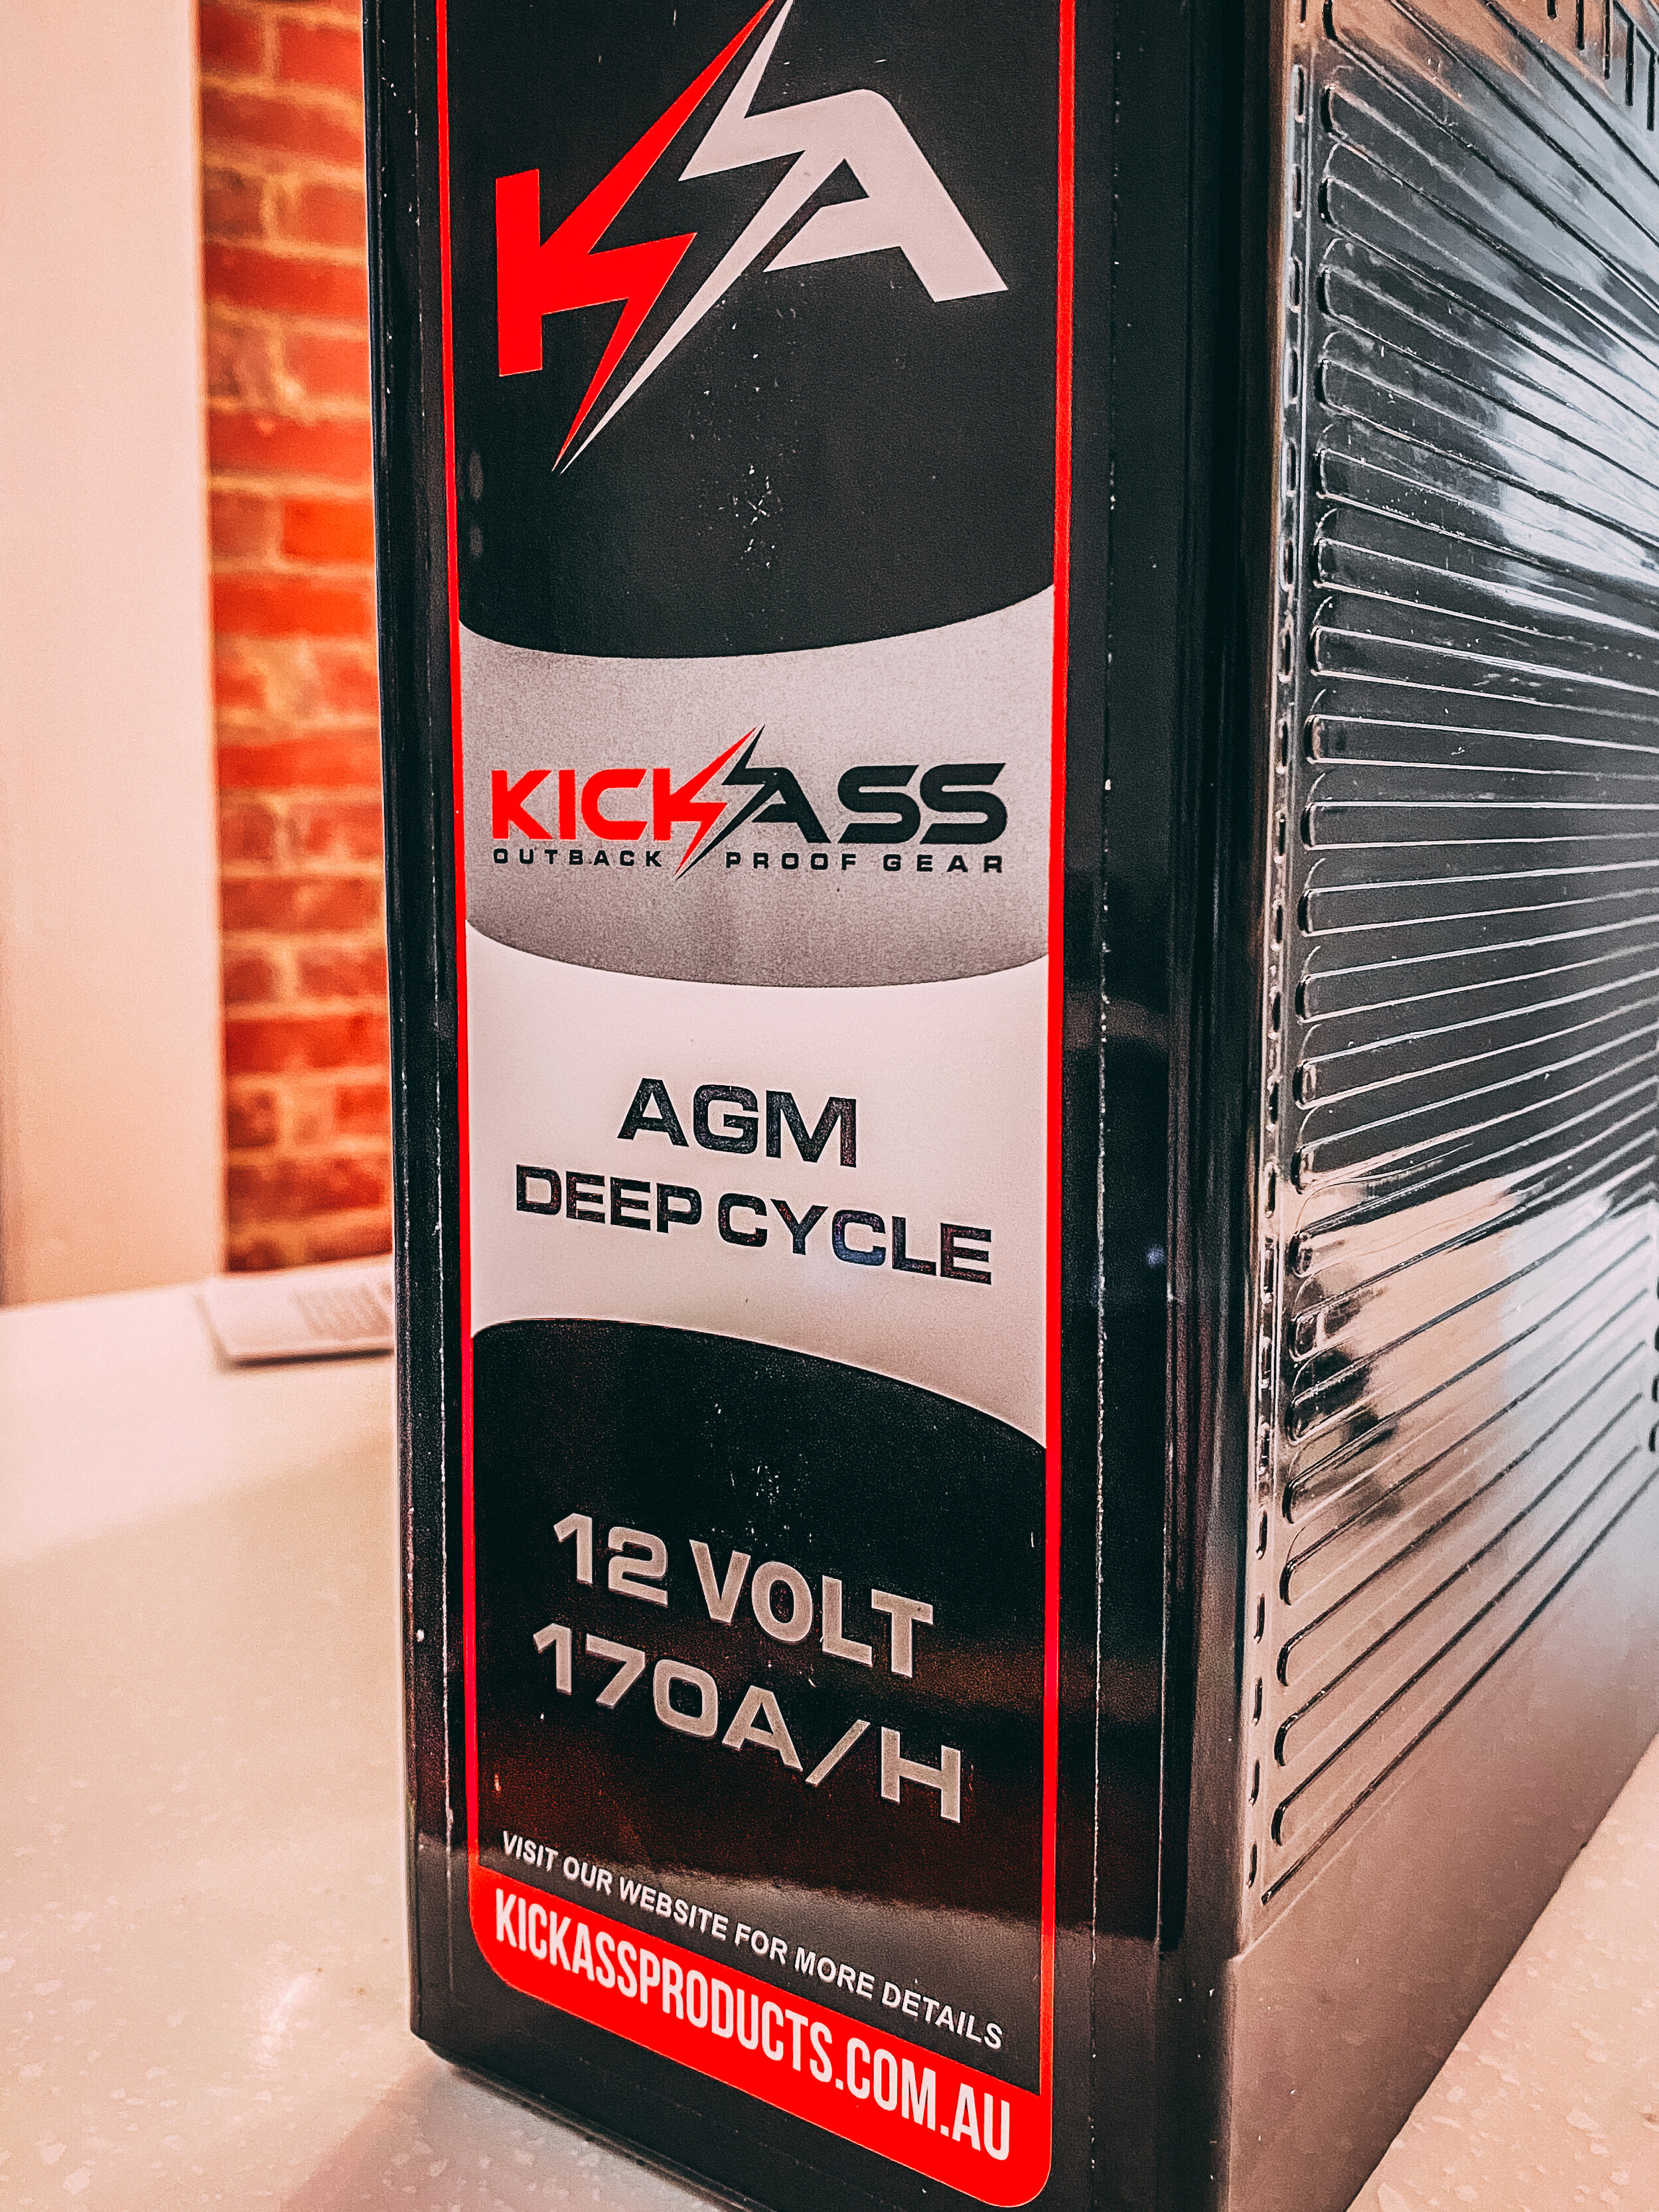
The Kick Ass 170ah slim AGM battery is a beast and the unique form factor and budget-friendly price point make it a serious contender for anyone looking to power their adventures further. The battery measures 21.75” long, 11.5” tall, and 4.5” wide and tips the scales at 100 lbs. It includes a pair of removable rope carry handles, M8 terminals, and a removable plastic cover to protect the terminals. The battery is fully sealed in an ABS plastic casing, making it strong and resistant to chemical erosion, impact, or (important for overlanders) high vibration environments.
The UPS man probably wasn’t super happy to bring this box to my door given the weight, but the rope carry handles actually make it pretty manageable to move around once unboxed. In Australia, Kick Ass also offers this slim battery in a 120ah size, and I’m hoping they will bring that and their line of battery trays to mount these beasts to the US market soon.
Based on my calculations, the 170ah battery should last at least three full days powering our Dometic CFX-35 fridge in normal operating environments. By this I mean using the fridge in warm or hot ambient temperatures with regular opening and closing of the fridge door. You know, like how you actually use a fridge. Of course that assumes no charge going into the battery at all, and since our Jeep is also a daily driver, the normal day-to-day commute and exposure to sunlight when parked outside should keep the battery in tip-top shape for adventures. Of course, we will report back with actual usage data once we have a few more miles under the battery.
Kick Ass 25A DCDC Charger with MPPT Controller
There are a few companies marketing DCDC chargers with MPPT controllers to the overland community in the United States, and they all essentially do the same thing — put juice back into the battery either via the car’s alternator or a solar panel. In the end, choosing which model to go with depends on your personal preference of a few key features. For instance, the Kick Ass 25A DCDC with MMPT charger is the only one on the market that comes pre-wired with Anderson-type connectors, making it literally a plug-and-play installation. If you have little-to-no wiring expertise, this really sets the Kick Ass product apart; they have taken the labor of safely wiring these components out and made this as easy as possible.
I would describe my own comfort with automotive wiring systems as moderate. In other words, good enough that I’m comfortable crimping a few wires, adding some heat shrink, etc. You’re not going to see me whipping out a soldering iron or reading some fancy wiring diagram. So the Kick Ass kit fits right in my sweet spot. They’ve taken enough guess work out that I can install this myself (and walk you through the install), but not pushed me out of my comfort zone. Which is great — I’m always happy to install projects I feel are within my own scope of capabilities.
The controller itself comes in a metal housing measuring 6.5” long, 4.75” wide, and less than 2” tall. It has an IP67 dust and waterproof rating, meaning it can be submerged in 3ft of water for 30 minutes — not that I’d recommend testing that out. But it proves that this is a solidly built product that won’t be phased by a little mud and grime that it could be exposed to in the course of an adventure.
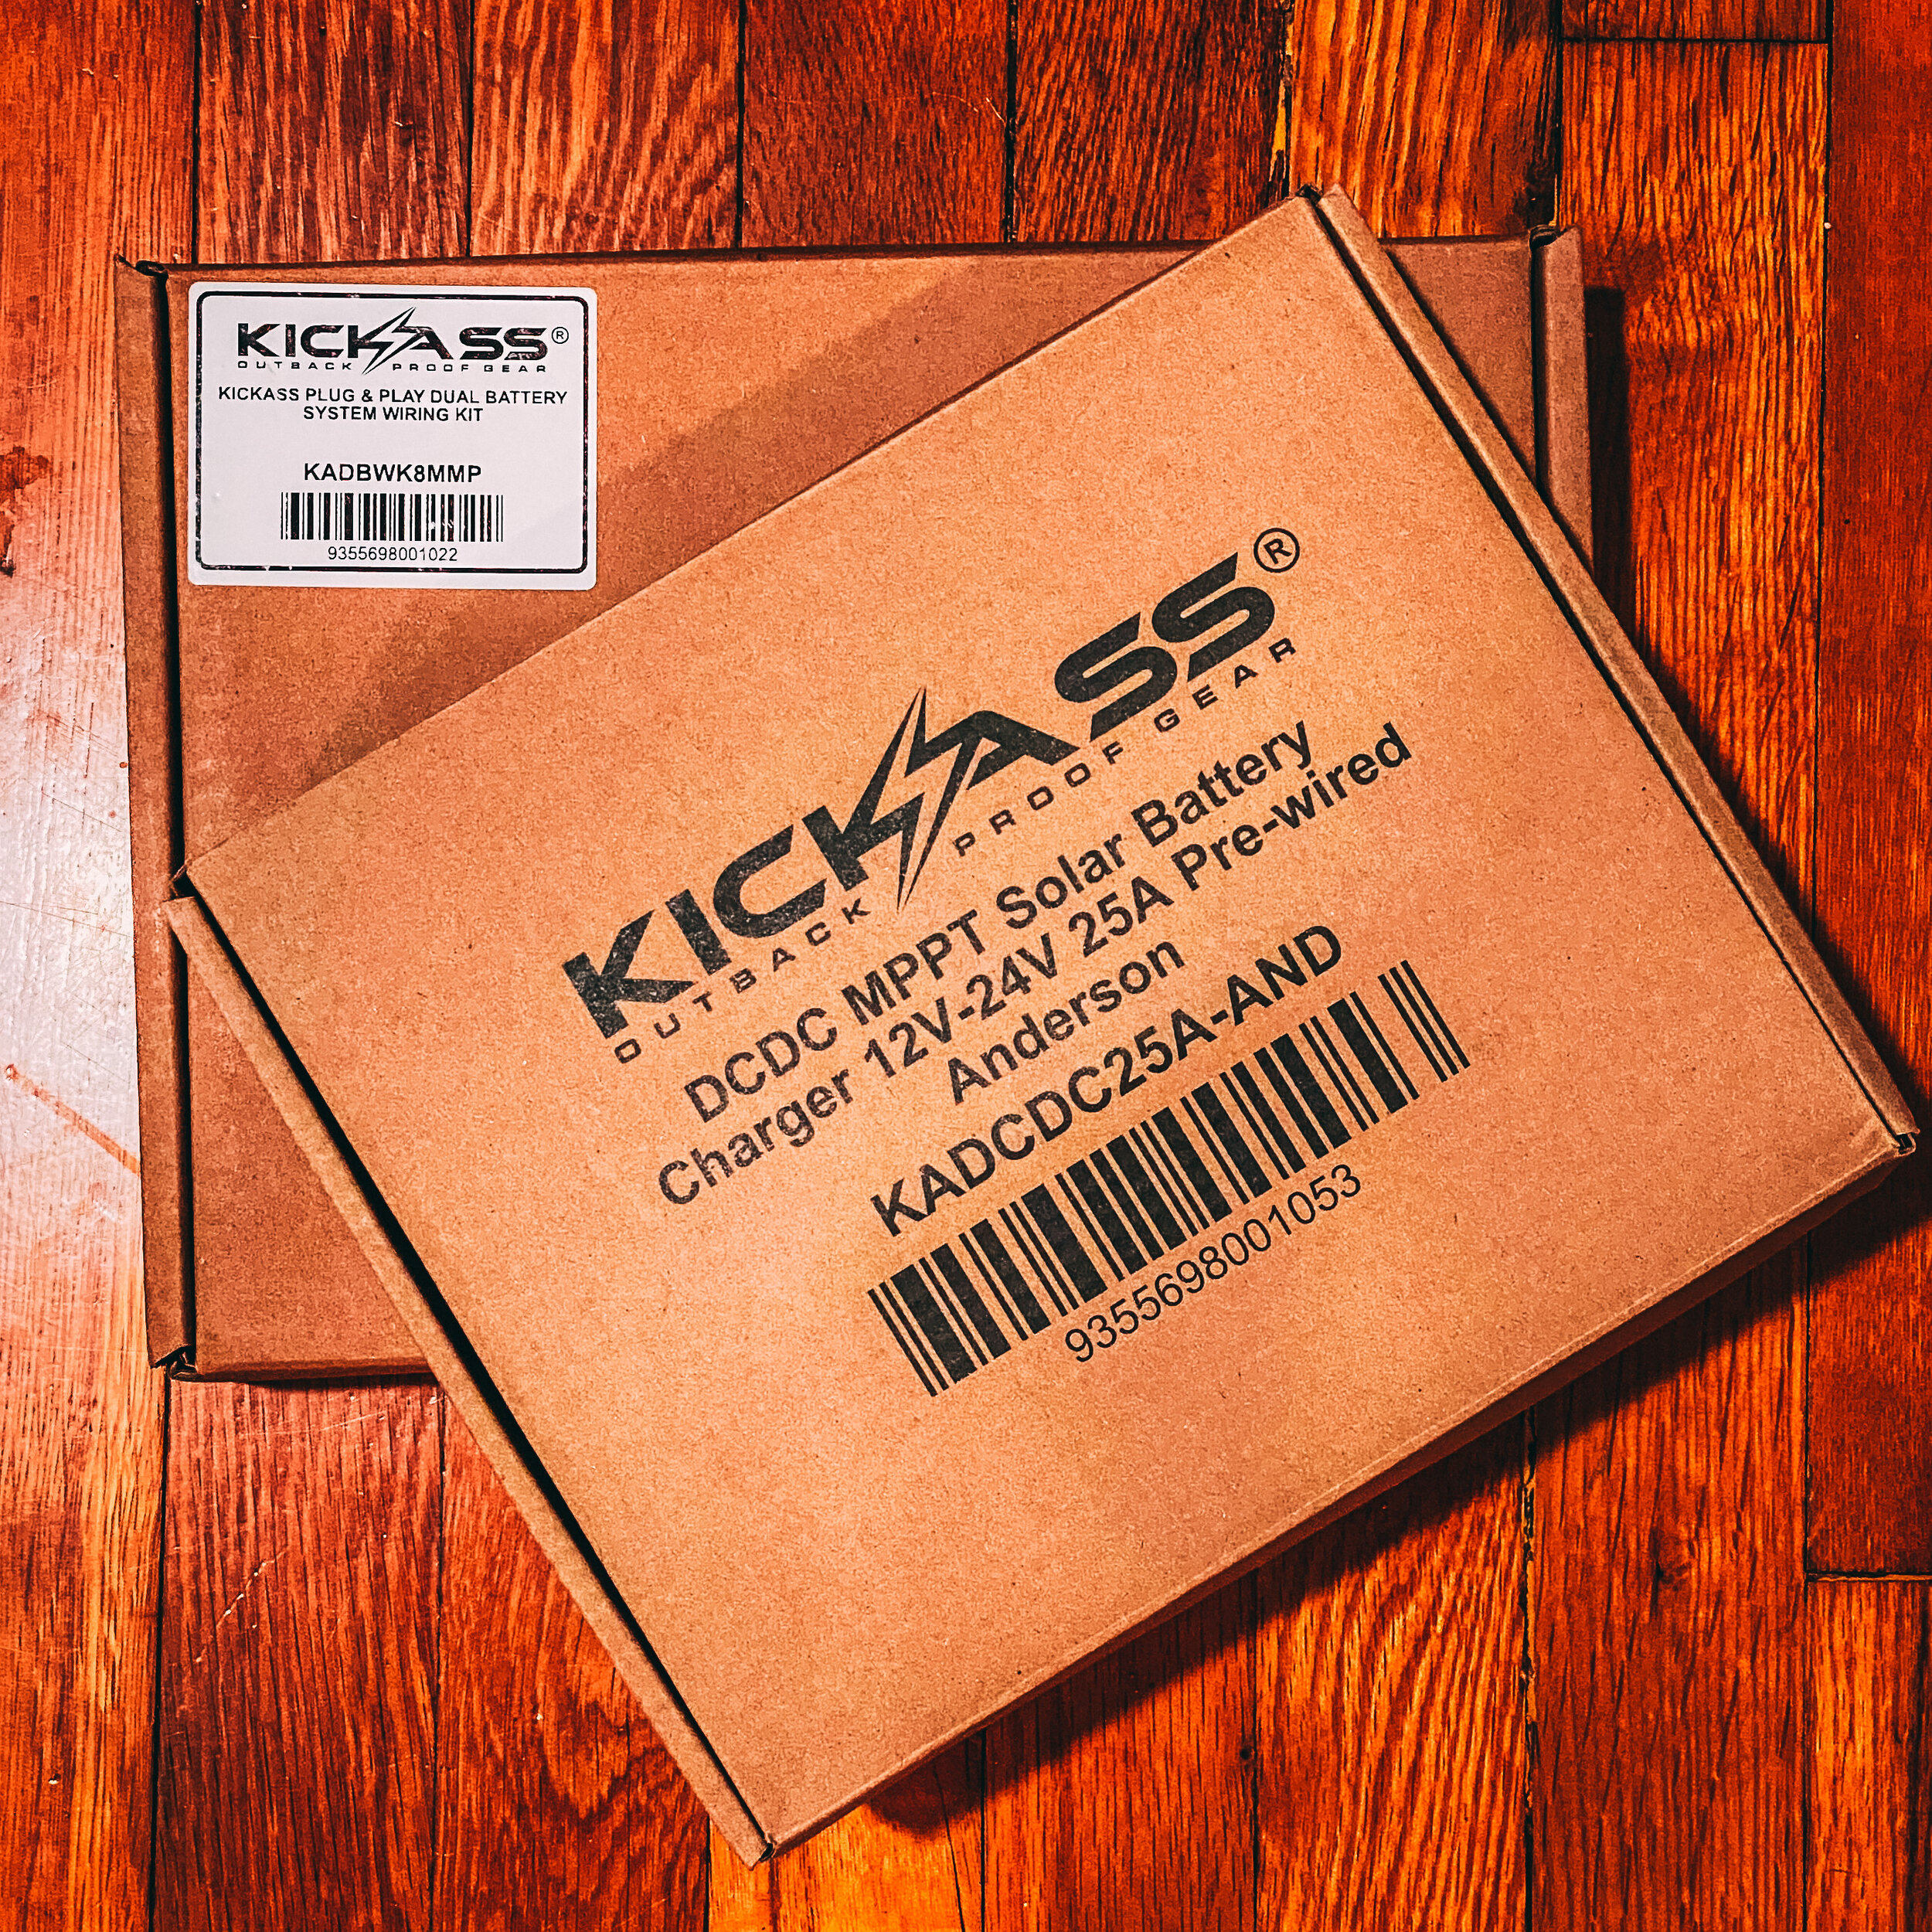
Included with the charger is everything you need to wire it up, including some spare wire crimps and heat shrink tube. If you get the additional wiring kit, you literally have everything needed for the basic installation.
Kick Ass really nailed it by adding a few additional optional features for the system.
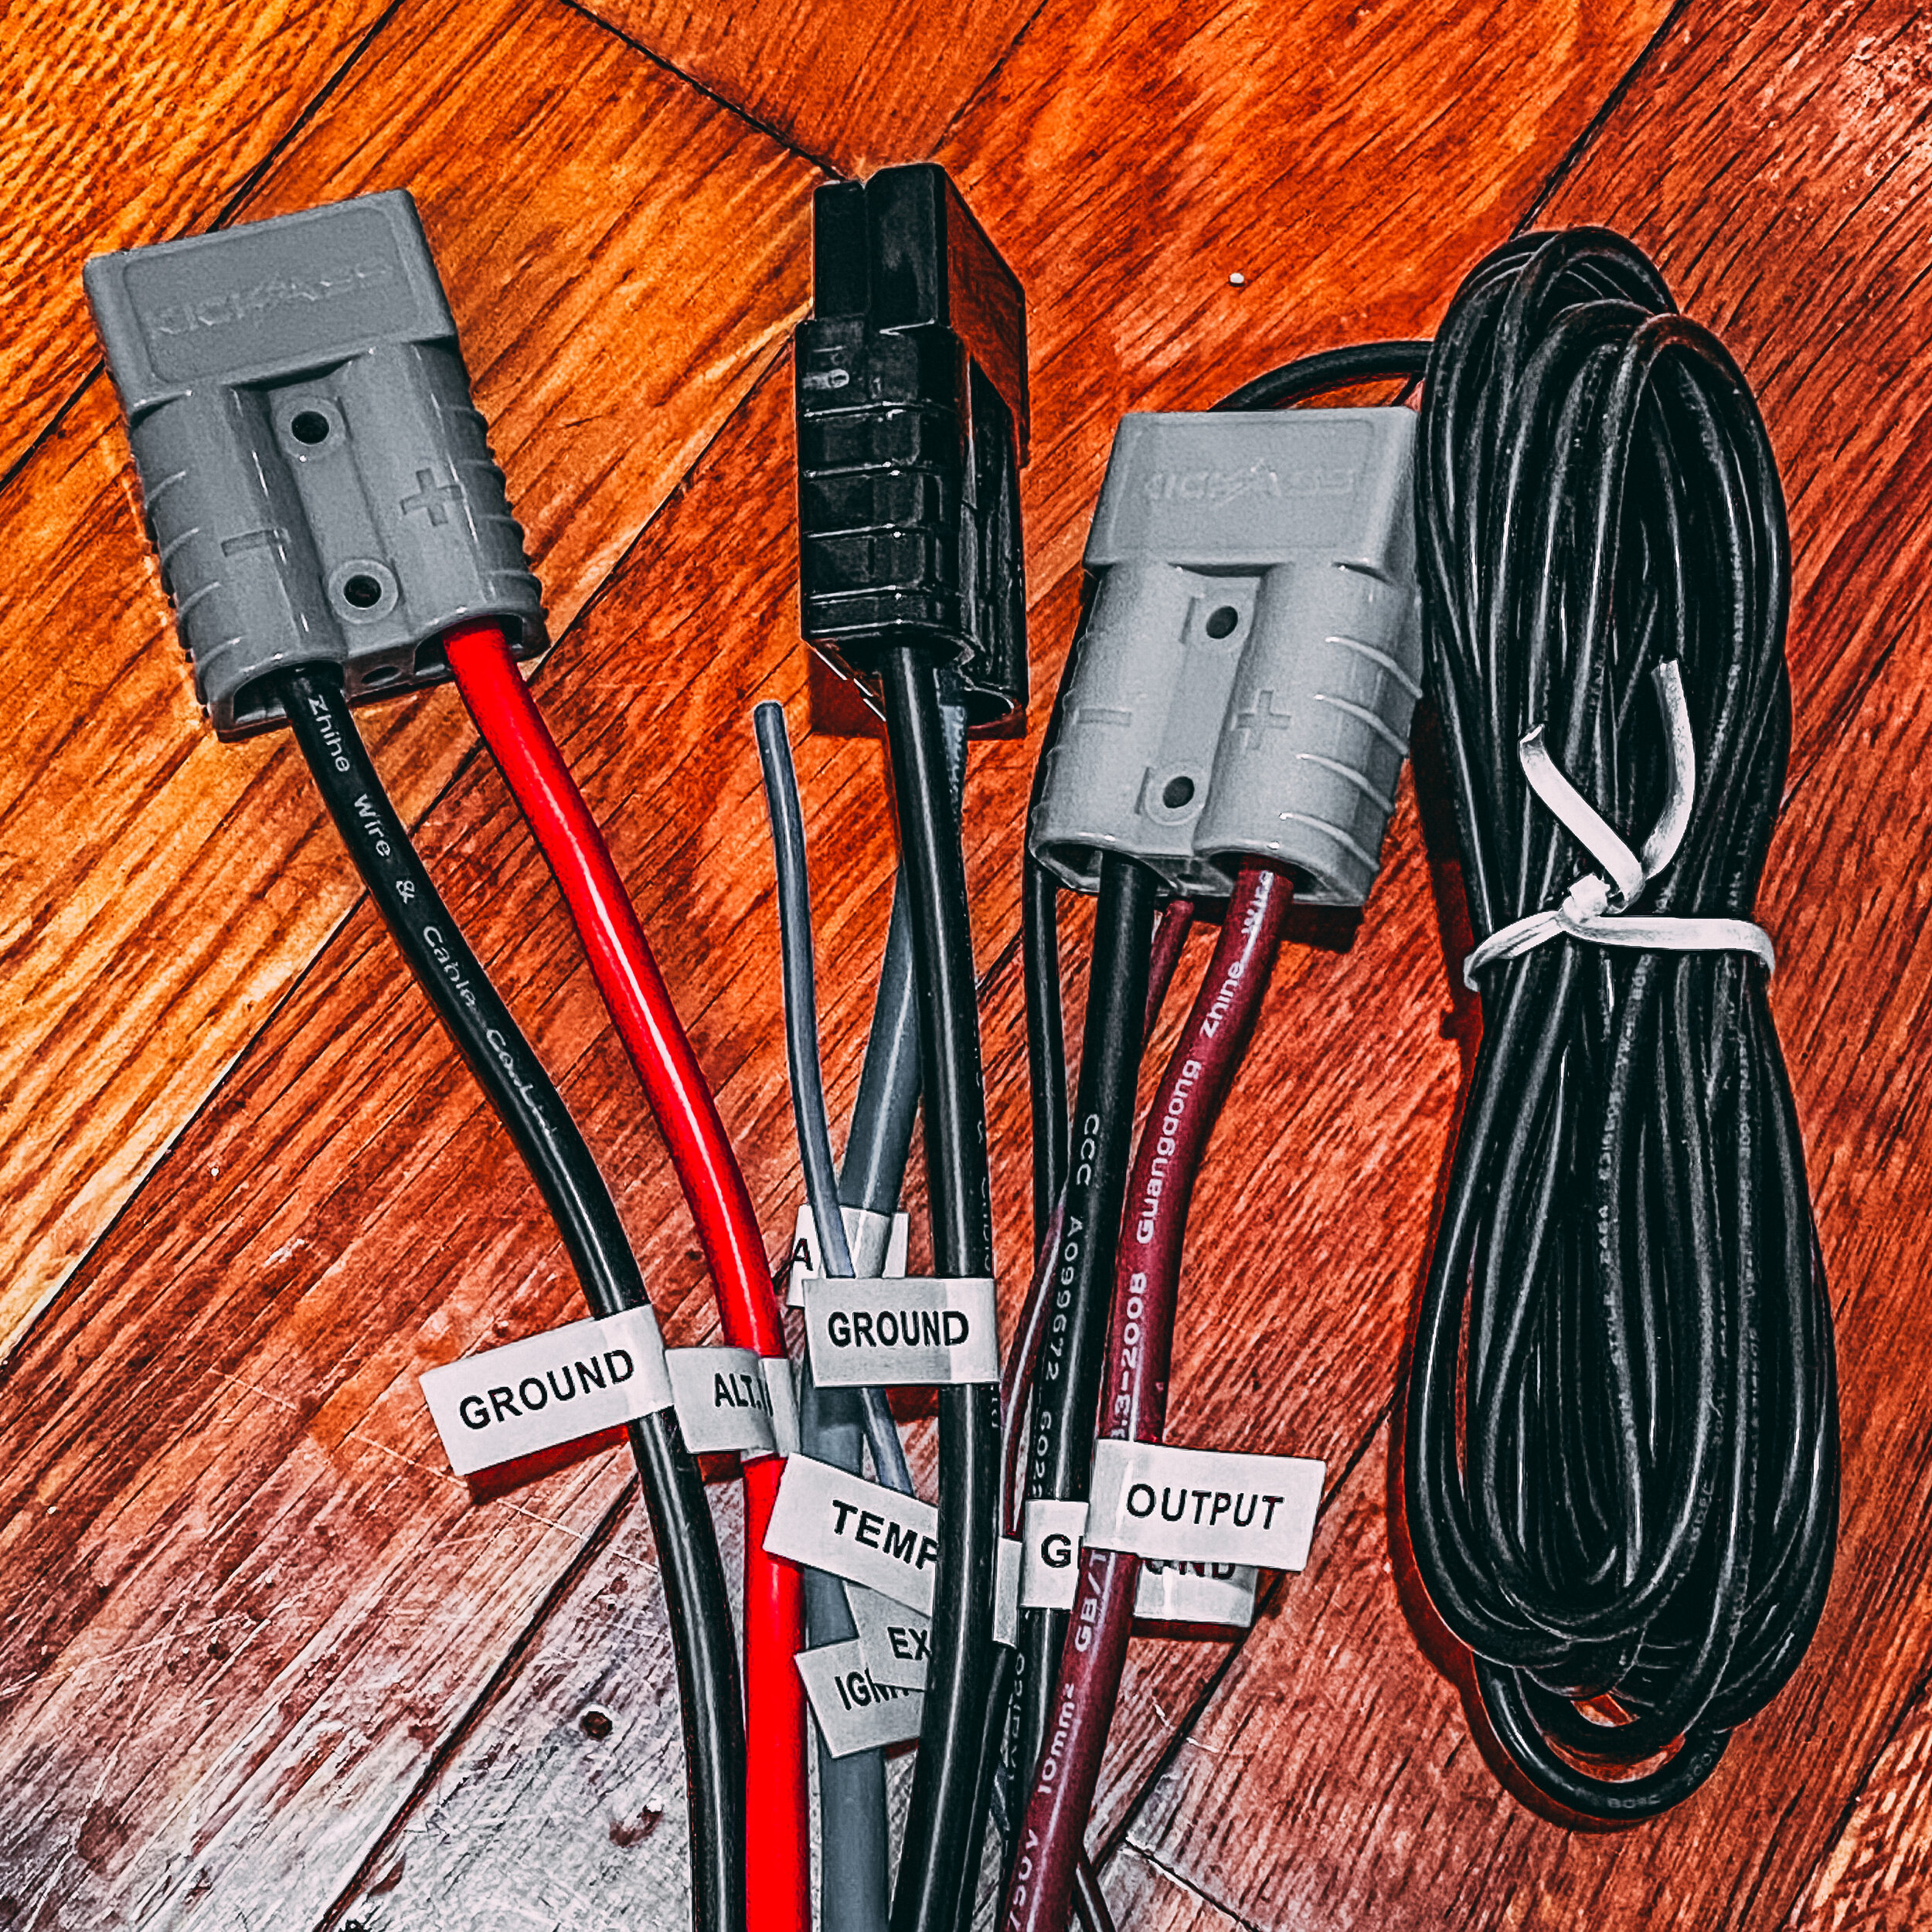
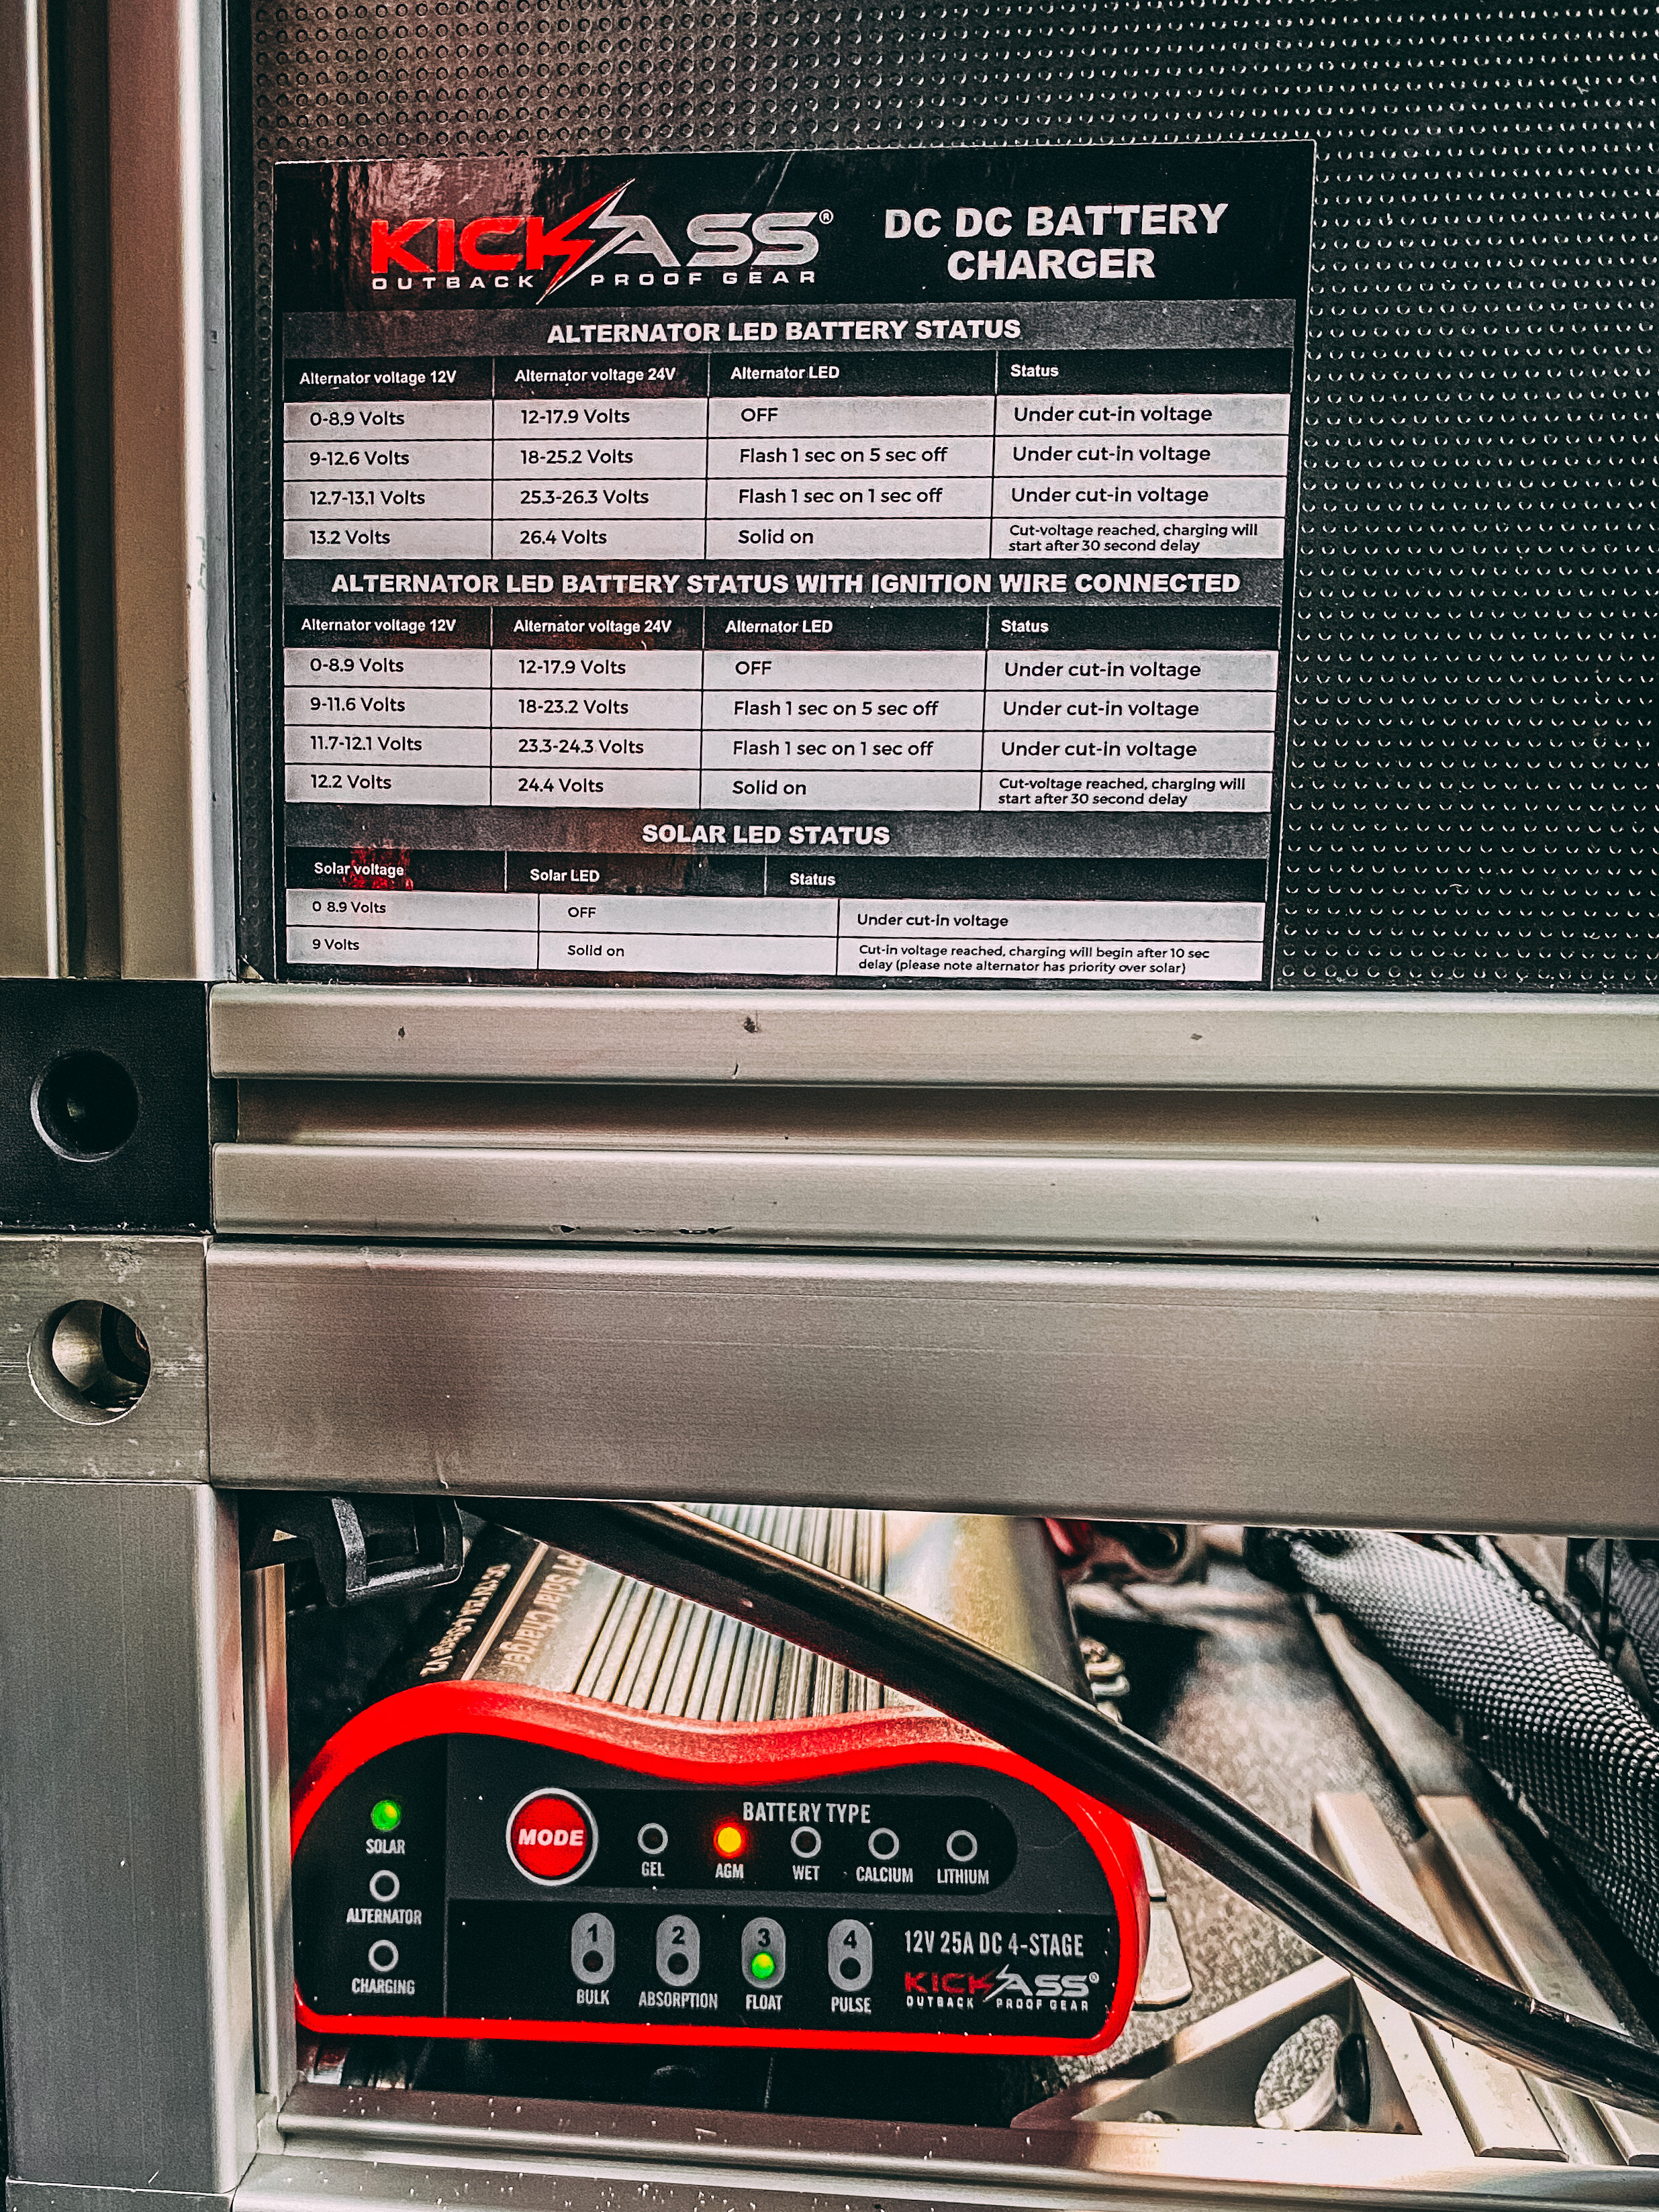
One optional feature, but that I would highly recommend utilizing, is the ignition cut-in wire. This blue wire can be extended and routed up to the fuse box of the vehicle, where you can then tap into an ignition-powered fuse. This tells the charger when the car is running, allowing it to smart charge from the alternator. Kick Ass designed this to also have a time-delay, so that the starter battery can re-charge for a few seconds before the auxiliary battery starts to draw from it. Smart!
The other fun option is a brown wire for an external LED. This can be wired to an aftermarket LED light that indicates when the charger is on. It doesn’t do anything more than that, but that’s still a useful visual reference. I got a LED light and wired this into the front of the Jeep so we’d have a visual indicator of the charger’s status while driving.
The charger also includes a long black cord that measures the temperature of the battery as it is charging, ensuring it does not overheat. Note that this cord is pretty long and it can not be cut to be shortened.
Finally, the charger has three pre-wired Anderson-style clip connectors. One runs from the charger to the positive and negative terminals of the auxiliary battery. One runs to the positive and negative terminals of the starter battery (for charging from the alternator). And the last allows for optional connection to a solar panel. Kick Ass kindly labels all of the wires for you, so there’s no mystery to these connections.
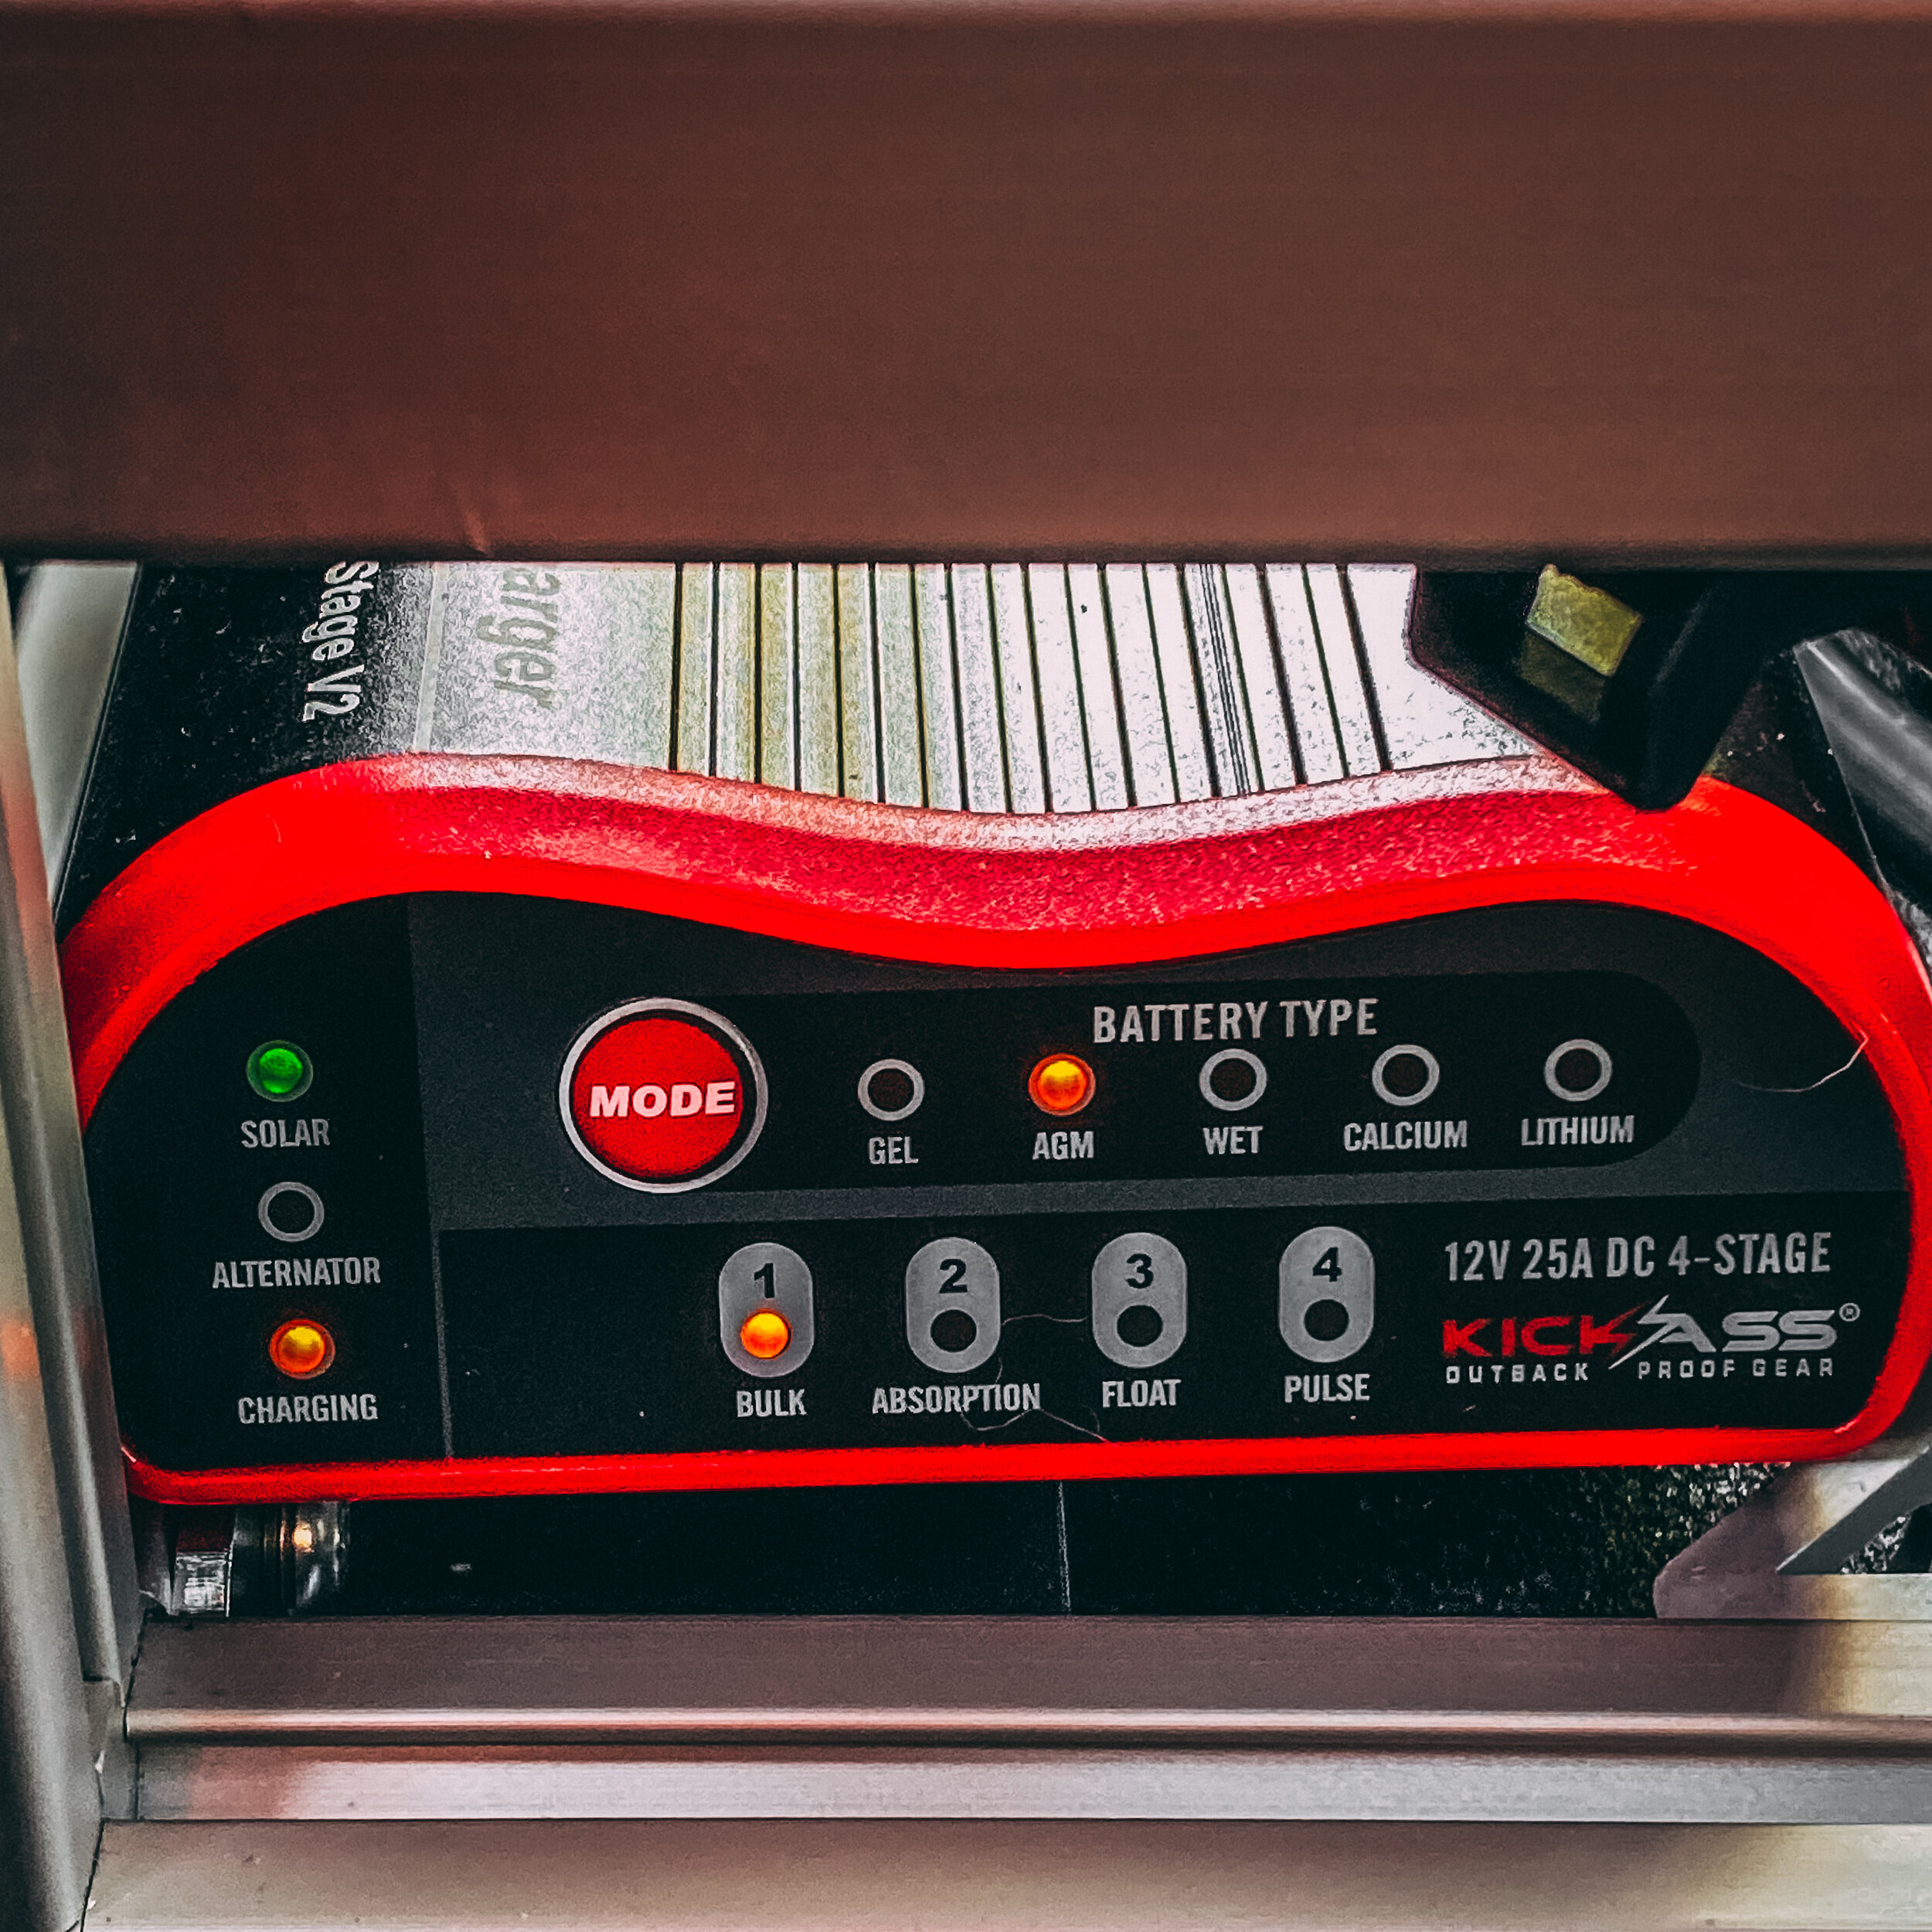
I am not a chemist or engineer, but I know enough to know that different batteries require different charging profiles in order to be maintained at the highest quality. The Kick Ass DCDC charger and MPPT controller has profiles for the most common types of batteries used by overlanders, including gel, AGM, wet, calcium, and lithium. The inclusion of lithium is a nice touch, because those batteries generally require a different charging profile. It also means that the charger can grow with you. We have initially installed AGM batteries into this build, but I could see a time where we transition to lithium as cost and availability become more favorable (or if Kick Ass introduced a slim lithium battery in the US market….). It’s nice knowing that I won’t need to replace my DCDC charger when that time comes.
Charging profiles are one thing, but it’s also important for a charge controller to be able to adjust the charge method as the battery is being utilized. In other words, the process for charging a battery under heavy load is different from the process of charging a battery to maintain it between periods of use. Here again, Kick Ass has us covered. The charge controller has bulk, absorption, float, and pulse charging modes, and the manual documents how each of these modes are applied to keep the batteries in tip-top shape.
The MPPT solar charger in the Kick Ass charge controller can accept up to 25 amps of solar input at a maximum of 23 volts DC and minimum of 9 volts. What does that mean? Buy a solar panel that falls within those ranges (the solar panel manufacturer will offer these specs) and you can plug it into the controller and benefit from solar charging too. Thankfully the market of solar panels is huge and growing by the day, so you shouldn’t have a problem finding a panel that falls within these ranges.
Kick Ass Wiring Kit
To make installation of a DCDC charge controller easier, Kick Ass also offers a wiring kit with the required components to finish installation of a controller in a literal snap. Yep, snap two wires together and connect the other end to your starter battery. Voila!
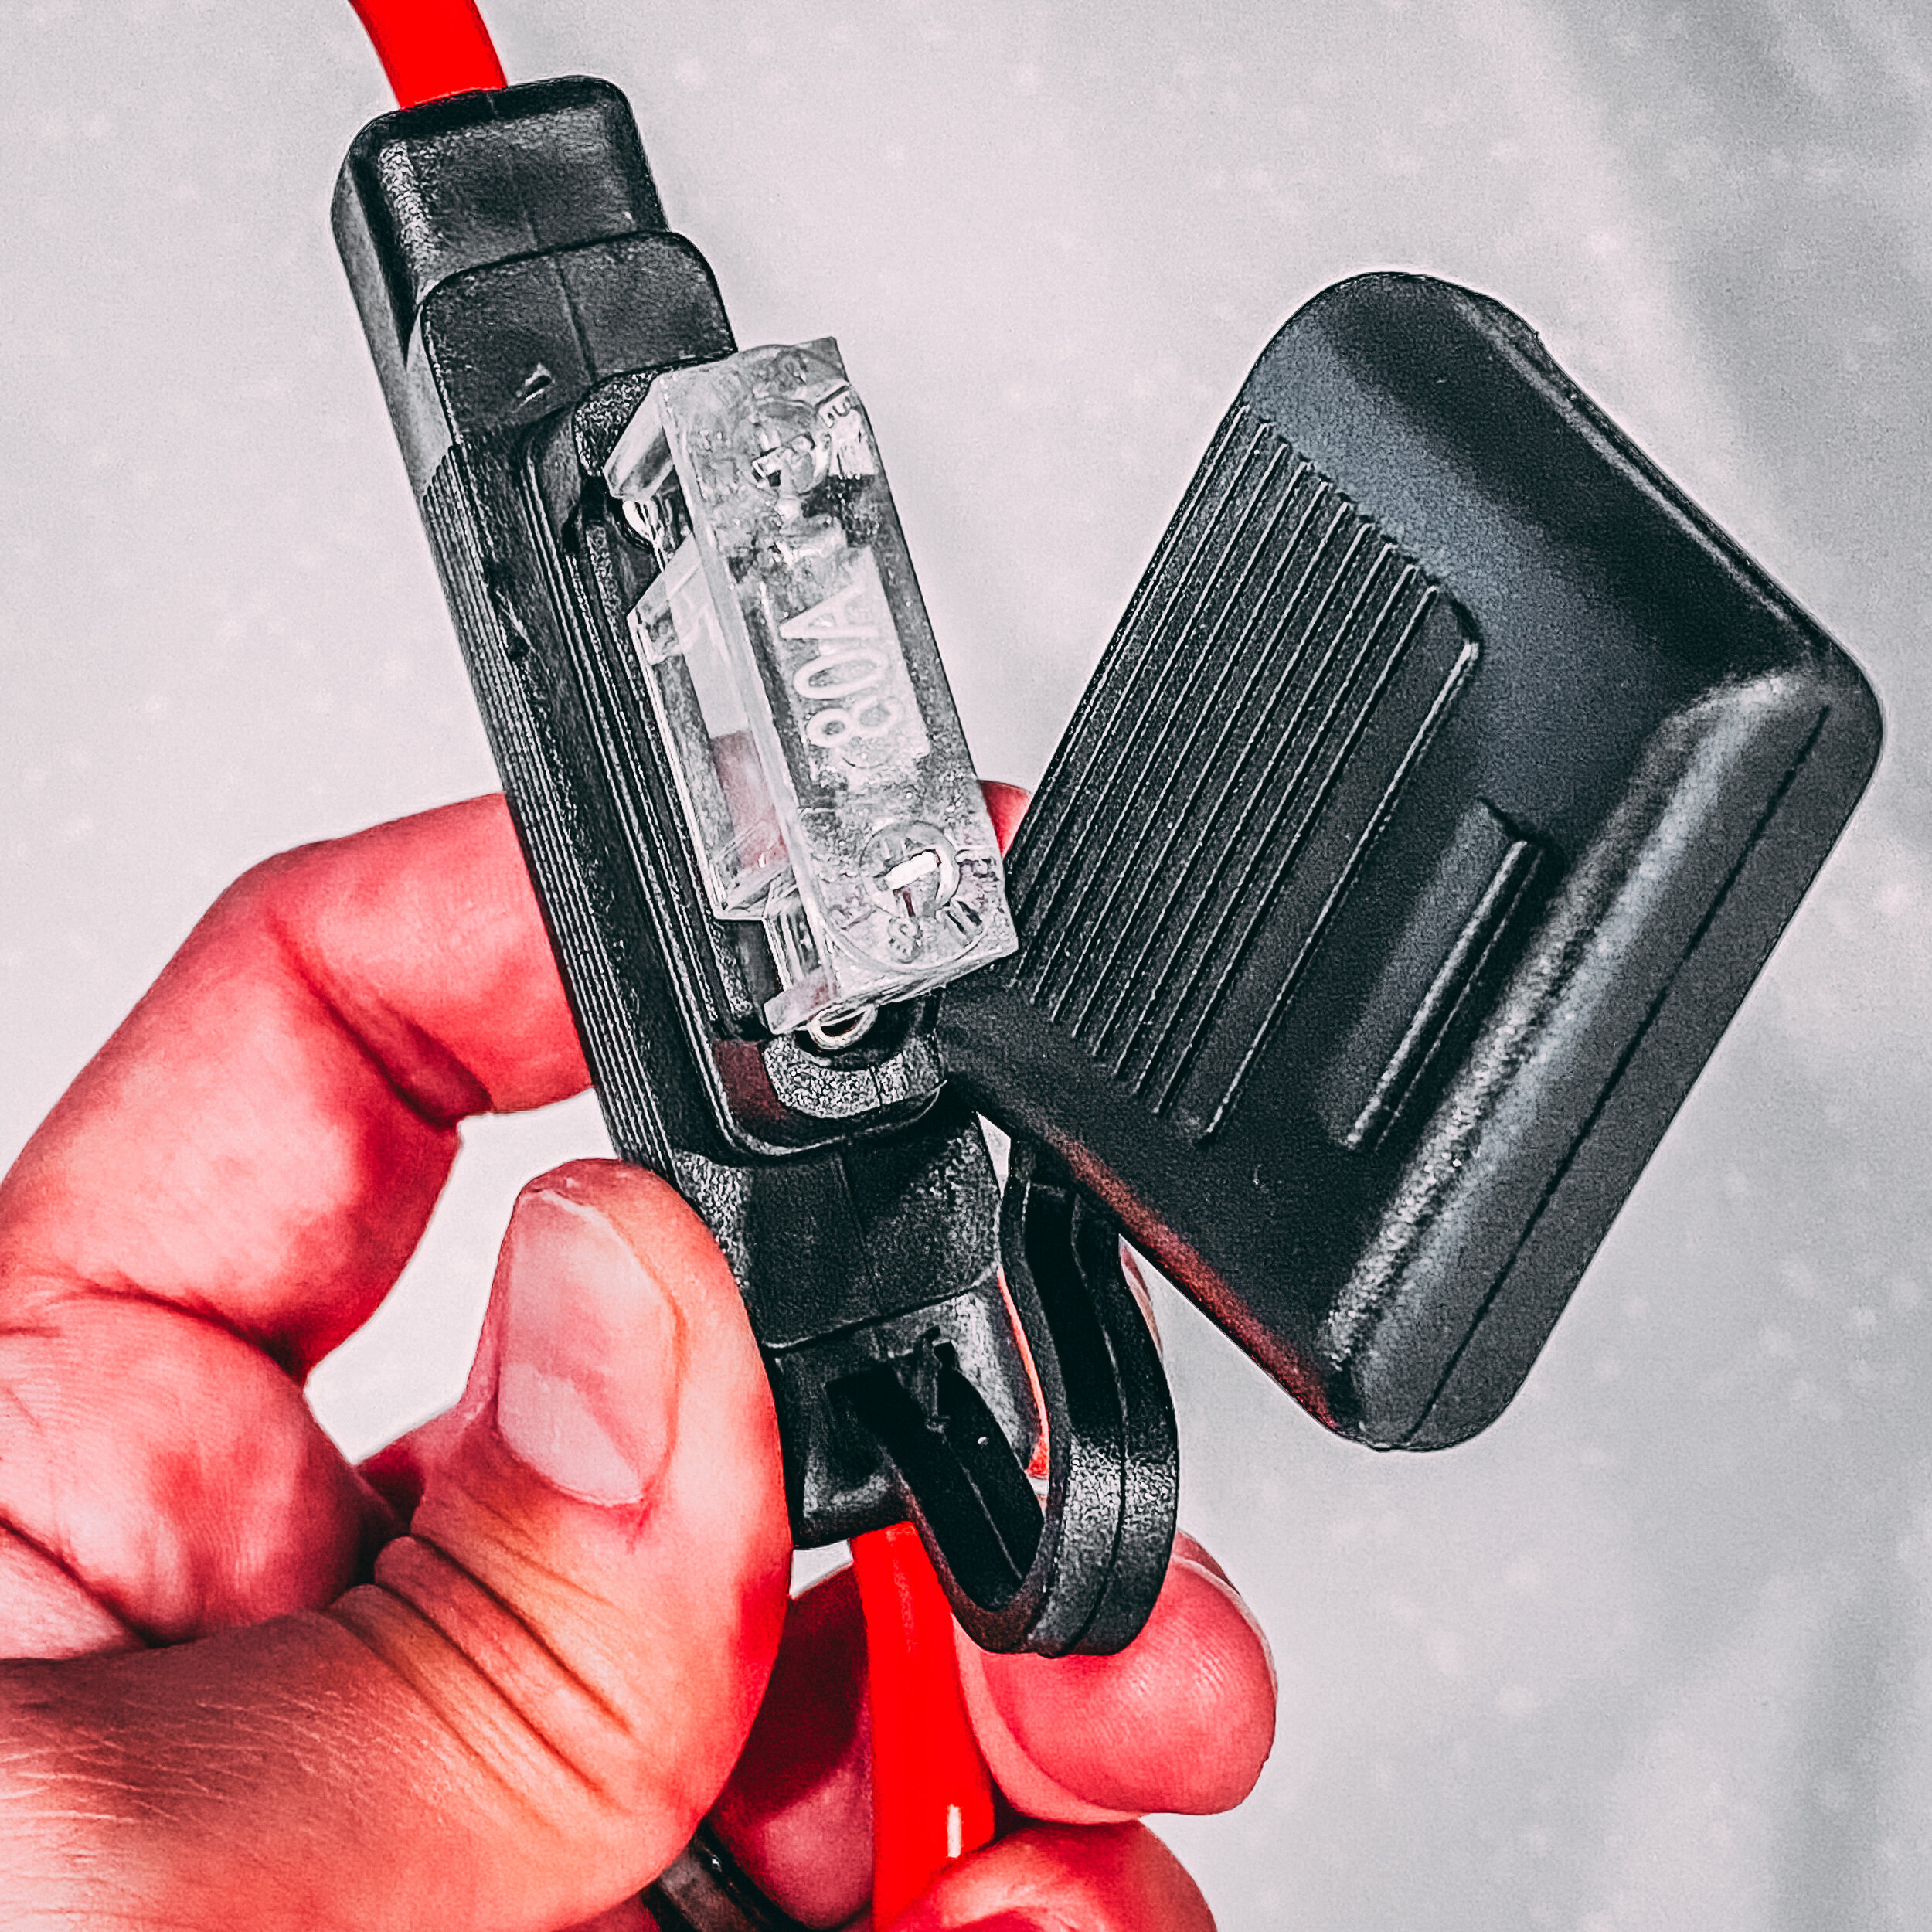
The wiring kit includes 8 gauge cable, pre-wired and weatherproof fuses, pre-crimped Anderson connectors, and a handful of spares to make it easily adaptable to your specific install. It is genuinely a one-stop shop for all the components you’ll need to connect the charger to your car and go, and they’ve taken the work of pre-installing the Anderson crimp ends for you. While this might seem like little stuff, consider it this way — if you don’t already have the tools needed to install those crimp ends, you might spend $30-50 just to buy the tools to do that crimp yourself, never mind the cost of the raw parts. Save your money and headaches, and opt into the pre-wired kit and get back to the trails faster.
Kick Ass vs Renogy vs Redarc
This review would be incomplete if I didn’t spend a moment comparing the Kick Ass charge controller against the other most prominent choices in the US market - the Renogy and Redarc controllers. While there are other options, those two are the most well known, so that’s what I’ll compare against.
Kick Ass vs Renogy
The Renogy options for battery controllers are a little cheaper than the Kick Ass product, but when you dissect the product, you’ll see there are a number of differences that make up this price difference. For starters, the Renogy kit does not come pre-wired, and their documentation for wiring the system is not nearly as friendly for a novice installer. Time is money, and a few hours spent wiring a Renogy controller will offset the cost savings very quickly.
Secondly, the Renogy controller is not IP67 rated, meaning it’s not designed to handle the abuses of off-road and overland travel. If you have a motorhome that never gets off pavement and you don’t expose to the elements, then maybe this isn’t important to you. But I do care about this — even if I don’t intend to spray a hose into the back of the Jeep and soak the controller, having the rating says something about the quality of construction and components, and that gives me peace of mind as I bump down the trail. I have been caught with the windows down and Jeep freedom panels off during a rainstorm, and i don’t want those moments to ruin all my electronics. Finally, the user interface on the Kick Ass product is far more friendly, allowing you to quickly set the battery type and see the current charging status. In my mind, all of these benefits for the Kick Ass controller make up the price difference.
Kick Ass vs Redarc
Redarc, another Australian-made product imported into the United States, is arguably the biggest competitor in the current market to Kick Ass. The DCDC charger offered that is most similar to the Kick Ass version comes in a little cheaper, but is far more similar to the Kick Ass one in terms of functionality and features than the Renogy offerings. You have to dig a little deeper to pick out the differences in capabilities, but the most notable ones are again the friendly user interface on the Kick Ass model, and the fact that it comes pre-wired. Again, it’s up to you to decide what the value of a plug-and-play model is to you, but for me, that time savings is worth the extra cost.
Redarc does offer a higher-end product line that incorporates additional features not seen in the Kick Ass product line, but those products are not fair to compare given the vast difference in features and price.
Installation
To integrate our Kick Ass battery and controller into our 2019 Jeep Wrangler JL Rubicon, we opted for a DIY box to house the components. This box, made from 10 series extruded aluminum, was designed to hold everything needed in one spot and integrates nicely with our Goose Gear drawer storage system. If you are interested in reading more about how we built this box — dubbed the InPowered Adventures module — then check out this post where we walk you step-by-step through the setup. Likewise, Jeep-specific install instructions can be found in that post.
Installation of the Kick Ass DCDC Charger with MPPT Controller was a snap. The most difficult part of the installation involved routing the wiring from the engine bay to the controller, which is located in the trunk of our Jeep. I wanted to make all the wiring clean and hidden, so I spent a few hours on my creeper under the Jeep routing the wiring under the frame, through a drain hole, above the gas tank, and using zip ties to make sure nothing could get caught or snagged on the trail.
For our install, we took advantage of the external ignition switch wire on the controller by running an additional wire to the fuse box under the hood. Using a fuse tap, I located a fuse controlled by the ignition and connected the wire. Thankfully Jeep’s manual instructed which fuse was ignition powered, but if you do not know, use a voltmeter to check some of the fuses in your vehicle. Remember, you want an ignition controlled fuse - not one that can be powered by the accessory setting. Because of the variety of fuses on the market and the diversity of sizes, Kick Ass does not include a fuse tap in their wiring kit — so do a little research and order the fuse tap you need from an automotive shop. For the Jeep JL Wrangler, I used fuse 52, which is for the front cigarette lighter, and it requires a micro 20amp fuse tap.
We also setup the optional external LED feature for our Kick Ass controller. Again, you’ll have to supply your own wiring because there are endless install options here, but it cost less than $10 in parts to add this LED to our setup. We got a small green LED from Amazon and wired it into the controller via the external LED wire. We then mounted that LED on the front passenger side grab handle. This was an ideal location — it is out of the way enough that it won’t distract me while driving yet it remains visible in the corner of my field of view. The LED essentially mirrors the “charging” light on the controller itself - it flashes to let you know when the system is charging. There’s no other information conveyed via the light, but it’s still worth wiring up so you can have a sense of what is happening in the trunk while you are focused on the trail.
Depending on where you place the controller relative to your starter battery, that part of the installation is likely to be the most time consuming. So it was a relief when I finished and the rest of the installation required connecting a few Anderson cables together. These connectors literally snap fit, so the rest of the process was a breeze.
In our case, we added an external battery monitor to the setup as well. Since we mounted the controller in a place that isn’t readily visible, having an external monitor is a nice way to keep an eye on the battery. Again, depending on where you choose to mount the controller, this may be less relevant to you. However, since we did add an external monitor, we did have to wire the negative wires for our various accessories through a shunt, which added a little extra install time.
With all of the wiring done, it was time to connect our loads to the battery. We have the following accessories connected to the battery:
Light strip in the tailgate / camp kitchen
Lighting in our rooftop tent (switched so that wire is only hot when we are using the tent)
Our Dometic CFX-35 fridge (via the Dometic hard wire kit)
External accessory USB and 12V cigarette ports
If we had only done the most basic installation, it would have taken only a few hours, because Kick Ass made the installation so easy by pre-wiring components and with the extra wiring kit. I would highly recommend the additional wiring kit to speed up the installation on your own build.
In our case, the installation turned into an all day affair, because we used this opportunity to run 25ft of wiring into our rooftop tent so that we would no longer be hauling battery packs into the tent to power our lights, fans, re-charge iPhones, etc. This wiring was a little more involved since we had to drill a hole through the roof of the car, route the wiring, install fuses, etc. None of it was particularly difficult, but it was time consuming to get it done just right — again, check out this post if you want to know more about our specific installation to copy it yourself.
Recommendation
I tend to get unlucky with projects like this — I think I have it all planned out perfectly, but when it comes to the install, something goes awry. So it was incredibly gratifying to clip the solar connector to the charger during the install and see the lights on the controller spring to life indicating it was starting to charge the battery. In fact, the whole installation was a breeze and went flawlessly.
The MPPT solar charger appears to be very efficient. I was able to monitor how many volts were being pulled in via the solar panel and was quite impressed with the throughput. When I received the battery from Kick Ass, it was about half charged, but the controller had it fully charged in less than 24 hours pulling almost entirely from solar power. I expect that I will be able to run our fridge and other accessories while on the trail with minimal concern for battery life given the performance of the charger thus far.
Ease of installation aside, we are also very pleased with the quality of the products from Kick Ass and the value they represent. There are tons of informative videos on YouTube that walk you through using the products, and you can tell that Kick Ass is constantly innovating and improving their offerings. Little touches, like the external LED wiring to remotely monitor the charger status, are incredibly useful tools to make your overland experience more enjoyable. Trail time and exploring in our overland rig is one of the ways we relax and unwind, so having one less thing to worry or think about because that little LED quickly tells me what’s going on is a much appreciated feature.
The price point for the Kick Ass products is very fair. They aren’t the cheapest, but they’re also not the most expensive. In my opinion, they offer tremendous value for the price. It is so nice to have a well-built, quality, efficient tool — one I know that I’m not going to have to worry about.
When we talk about winches and recovery gear for our rigs, we often revert to a debate about when and where is the right place to save a little money. We opted for a Warn winch on our vehicle because if we’re stuck in the woods with no cell signal, we want to reach for a tool that we know will always work. Likewise, there are plenty of times when we opt for the budget-friendly Harbor Freight option (like our rooftop storage box). But when it comes to electricity, paying for a reputable company and high-quality product is worth the investment. Kick Ass dubs themselves as “outback proof gear,” and while I might not be traveling through the Australian outback, I have no doubt that the battery and charge controller are also “America proof gear” and will hold up to the years of use (and abuse) I will put them through.
Score: 10 - Recommend Without Reservation
Future Imports?
Looking through the Australian offerings that Kick Ass Products has, it’s not hard to day dream and make a wish list of the products I hope to see them importing into the US market soon. Here’s a glimpse at some of the best that we’ll hopefully find for sale on the Kick Ass Products USA website soon:
Battery trays
Propane hot water showers
120ah slim battery
Solar panels
What Could be Better?
As much as I recommend these products with a 10 out of 10 score, I also believe that every product can be made better. Sometimes the improvements are unique and specific to an individual application, and sometimes they are general improvements that apply to a larger audience. In this case, it’s not really either situation. The improvements I want them to make are to introduce two new products to the line, and to make their other products compatible.
First, I’d love to see the introduction of a slim lithium battery. There are lots of Australian companies offering slim batteries, but in the US, we have almost no options. Kick Ass would not only sell a ton of slim lithium batteries in the United States, they’d be the only producer of such a battery system. They could be lighter and larger capacity, and would be a popular option for folks like me who run overland Jeeps. I know the lithium technology is still newer and more expensive, but I hope the Kick Ass team is wearing their lab coats and working with kangaroos and koala bears to design a slim lithium battery to bring to market soon.
Second, I would appreciate a Kick Ass brand external battery monitor system. It doesn’t need to compete with the Redarc RedVision system, but something to allow me to monitor my battery status remotely with a little more data would be awesome. We used the Renogy 500A battery monitor for our setup, but there’s no reason Kick Ass couldn’t design a monitor that connects via a cable to the DCDC controller, eliminating some of the extra wiring I have in the Jeep.
Finally, and this is really silly stuff, but I’d recommend that Kick Ass make the mounting holes on the side of the DCDC charger a smidge larger in diameter. It took a bit of trial and error at the hardware store to get something that’d fit into that small mounting hole spot. Again, this is a very trivial matter, but one thing I think could have made the install that much easier.
Where to Buy
If you want to grab this kit for your own install, check out the Kick Ass Products USA website to order directly from them:
Kick Ass 170ah Slim AGM Battery
Kick Ass DCDC Charger with MPPT Controller
Kick Ass Wiring Kit
Questions?
Anything we forgot to cover? Leave us a comment below and we’ll respond back ASAP! As always, we appreciate you joining the adventures.

