Installing Jeep Wrangler JL TrailRax Pak Rax
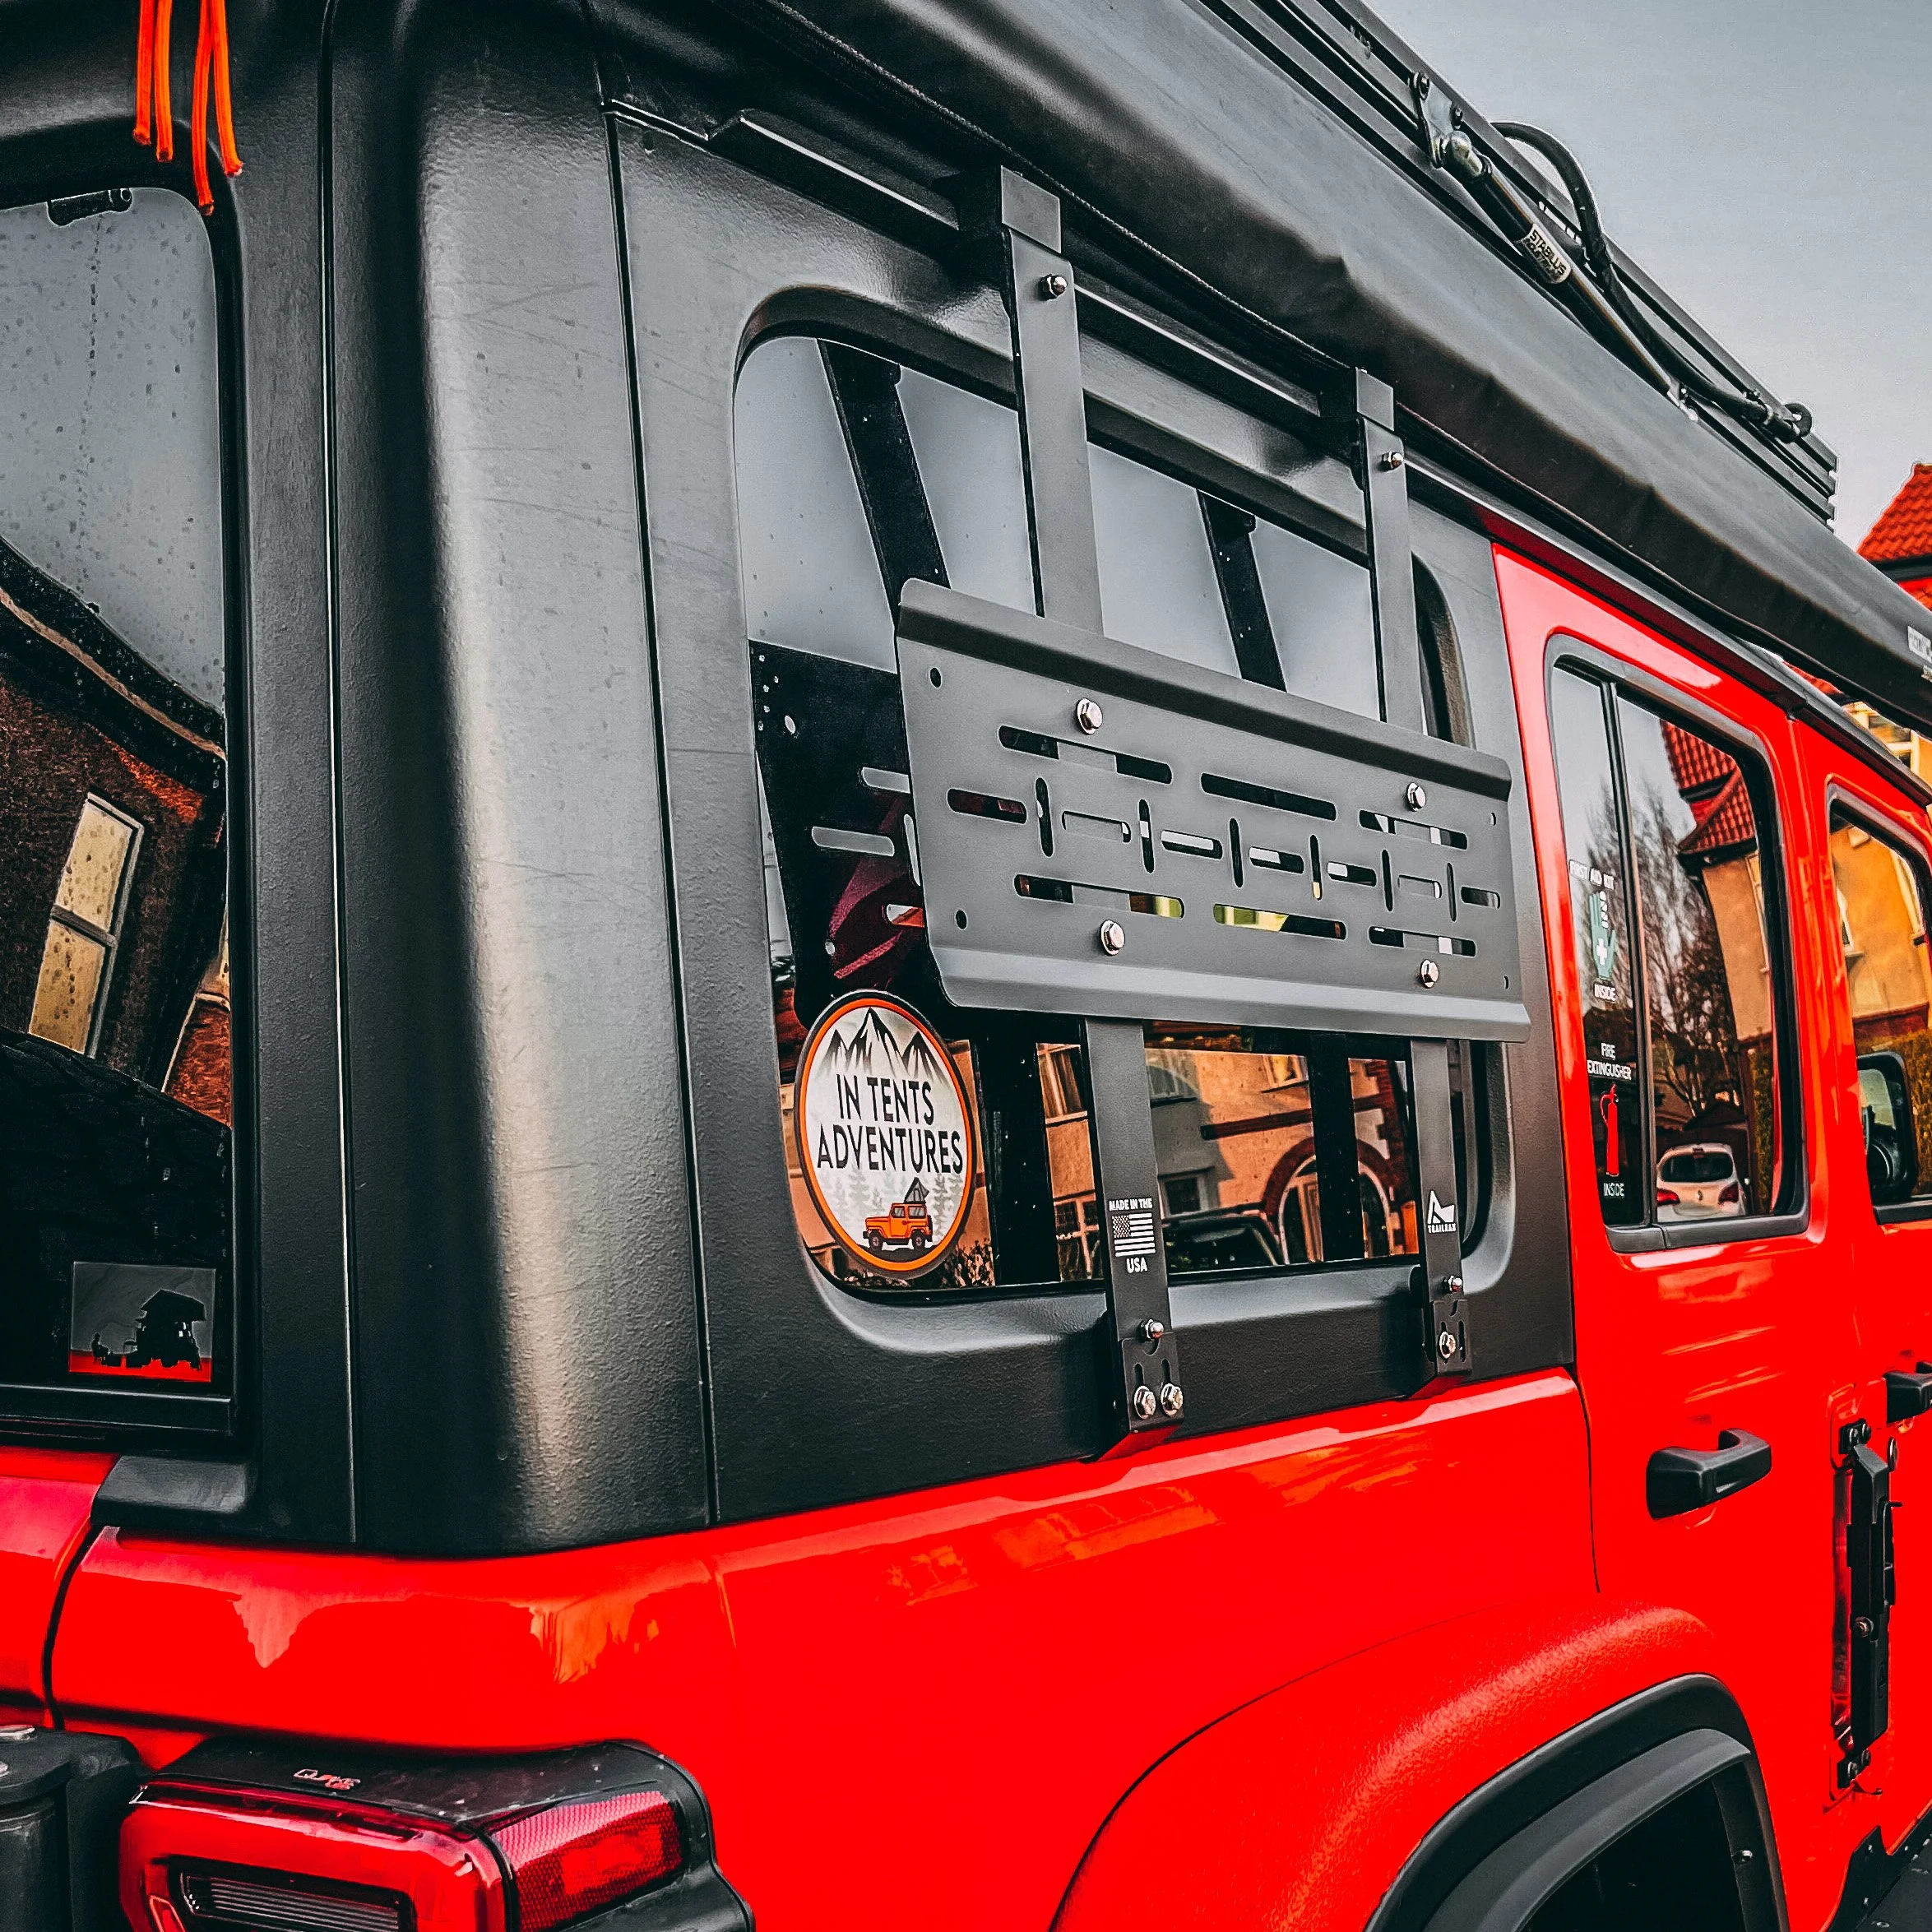
TrailRax Pak Rax are one of the most innovative and useful additions you can get for a Jeep Wrangler - they afford the opportunity to store cargo and gear on the outside of the rear windows with a modular rack and frame. The opportunities for storage are nearly endless, with options to mount everything from recovery boards to Rotopax water tanks and storage boxes.
Buy TrailRax Pak Rax Kit for Jeep Wrangler JL (both sides)
Buy TrailRax Pak Rax Kit for Jeep Wrangler JL (one side)
I recently added a TrailRax system to my Jeep Wrangler JL. I’ll share more about how I use the Pak Rax in future posts, so today’s post is dedicated to the installation of this system. TrailRax has made some upgrades to the system since the video posted by Justin B. McBride explaining the installation, so this will reflect the installation as of March 2022.
Fully installed and ready to haul… whatever you can dream to mount!
TrailRax Pak Rax are sold either as a set of two (one for each side of the vehicle), or solo. It’s recommended to buy the matching set for weight management; however, you can install just one if you have some counteracting weight on the opposite side of the vehicle. In our case, we have a lot of weight on the driver’s side, so the Rax on the passenger side is already offset (weight wise). The installation described below is for one side, but repeat the same process for the other side. Super easy.
Hardware included in your TrailRax kit - showing one side of the hardware. If you got a Pak Rax kit with hardware for both sides, you’ll have double the parts.
The most important step in installation is to ensure the threaded inserts are completely clear of all powder coating. We had one bolt jam up in the threads because I thought it was clear, but was not fully. It ended up taking more effort to resolve this issue— an ounce of prevention here will save a huge headache.
Mount the bumpers on the underside of each arm. You’ll use the acorn nuts and screws with the hex cap heads. On the bottom of the arm you’ll want a washer between the bumper and the arm. See photo below for reference. Tighten finger tight, then 1/2 turn with a wrench to ensure it’s tight. No need to crank this down!
Ensure all of these threaded holes are fully clear of any powder coating. Mount the bumpers at each end.
Sequence for mounting the bumpers (bottom shown). Omit the washer when mounting the bumpers on the tops of the arms.
Line up the mounting tray and attach to the arms using one bolt and washer per hole, for a total of four bolts. It’s recommended to mount to the inner set of holes on the bracket. Tighten the bolts, but no need to get too aggressive here. Depending on what you intend to mount to the rack later, you might want to install accessory mounts now (for things like RotoPax).
Align the mounting plate with the arms. On the Wrangler JL, you’ll want to use the inner set of holes.
Use one bolt and washer per mounting point. Hand tighten at first.
Then use a 7/16th socket to fully tighten. No need to crank these down and damage the bolts!
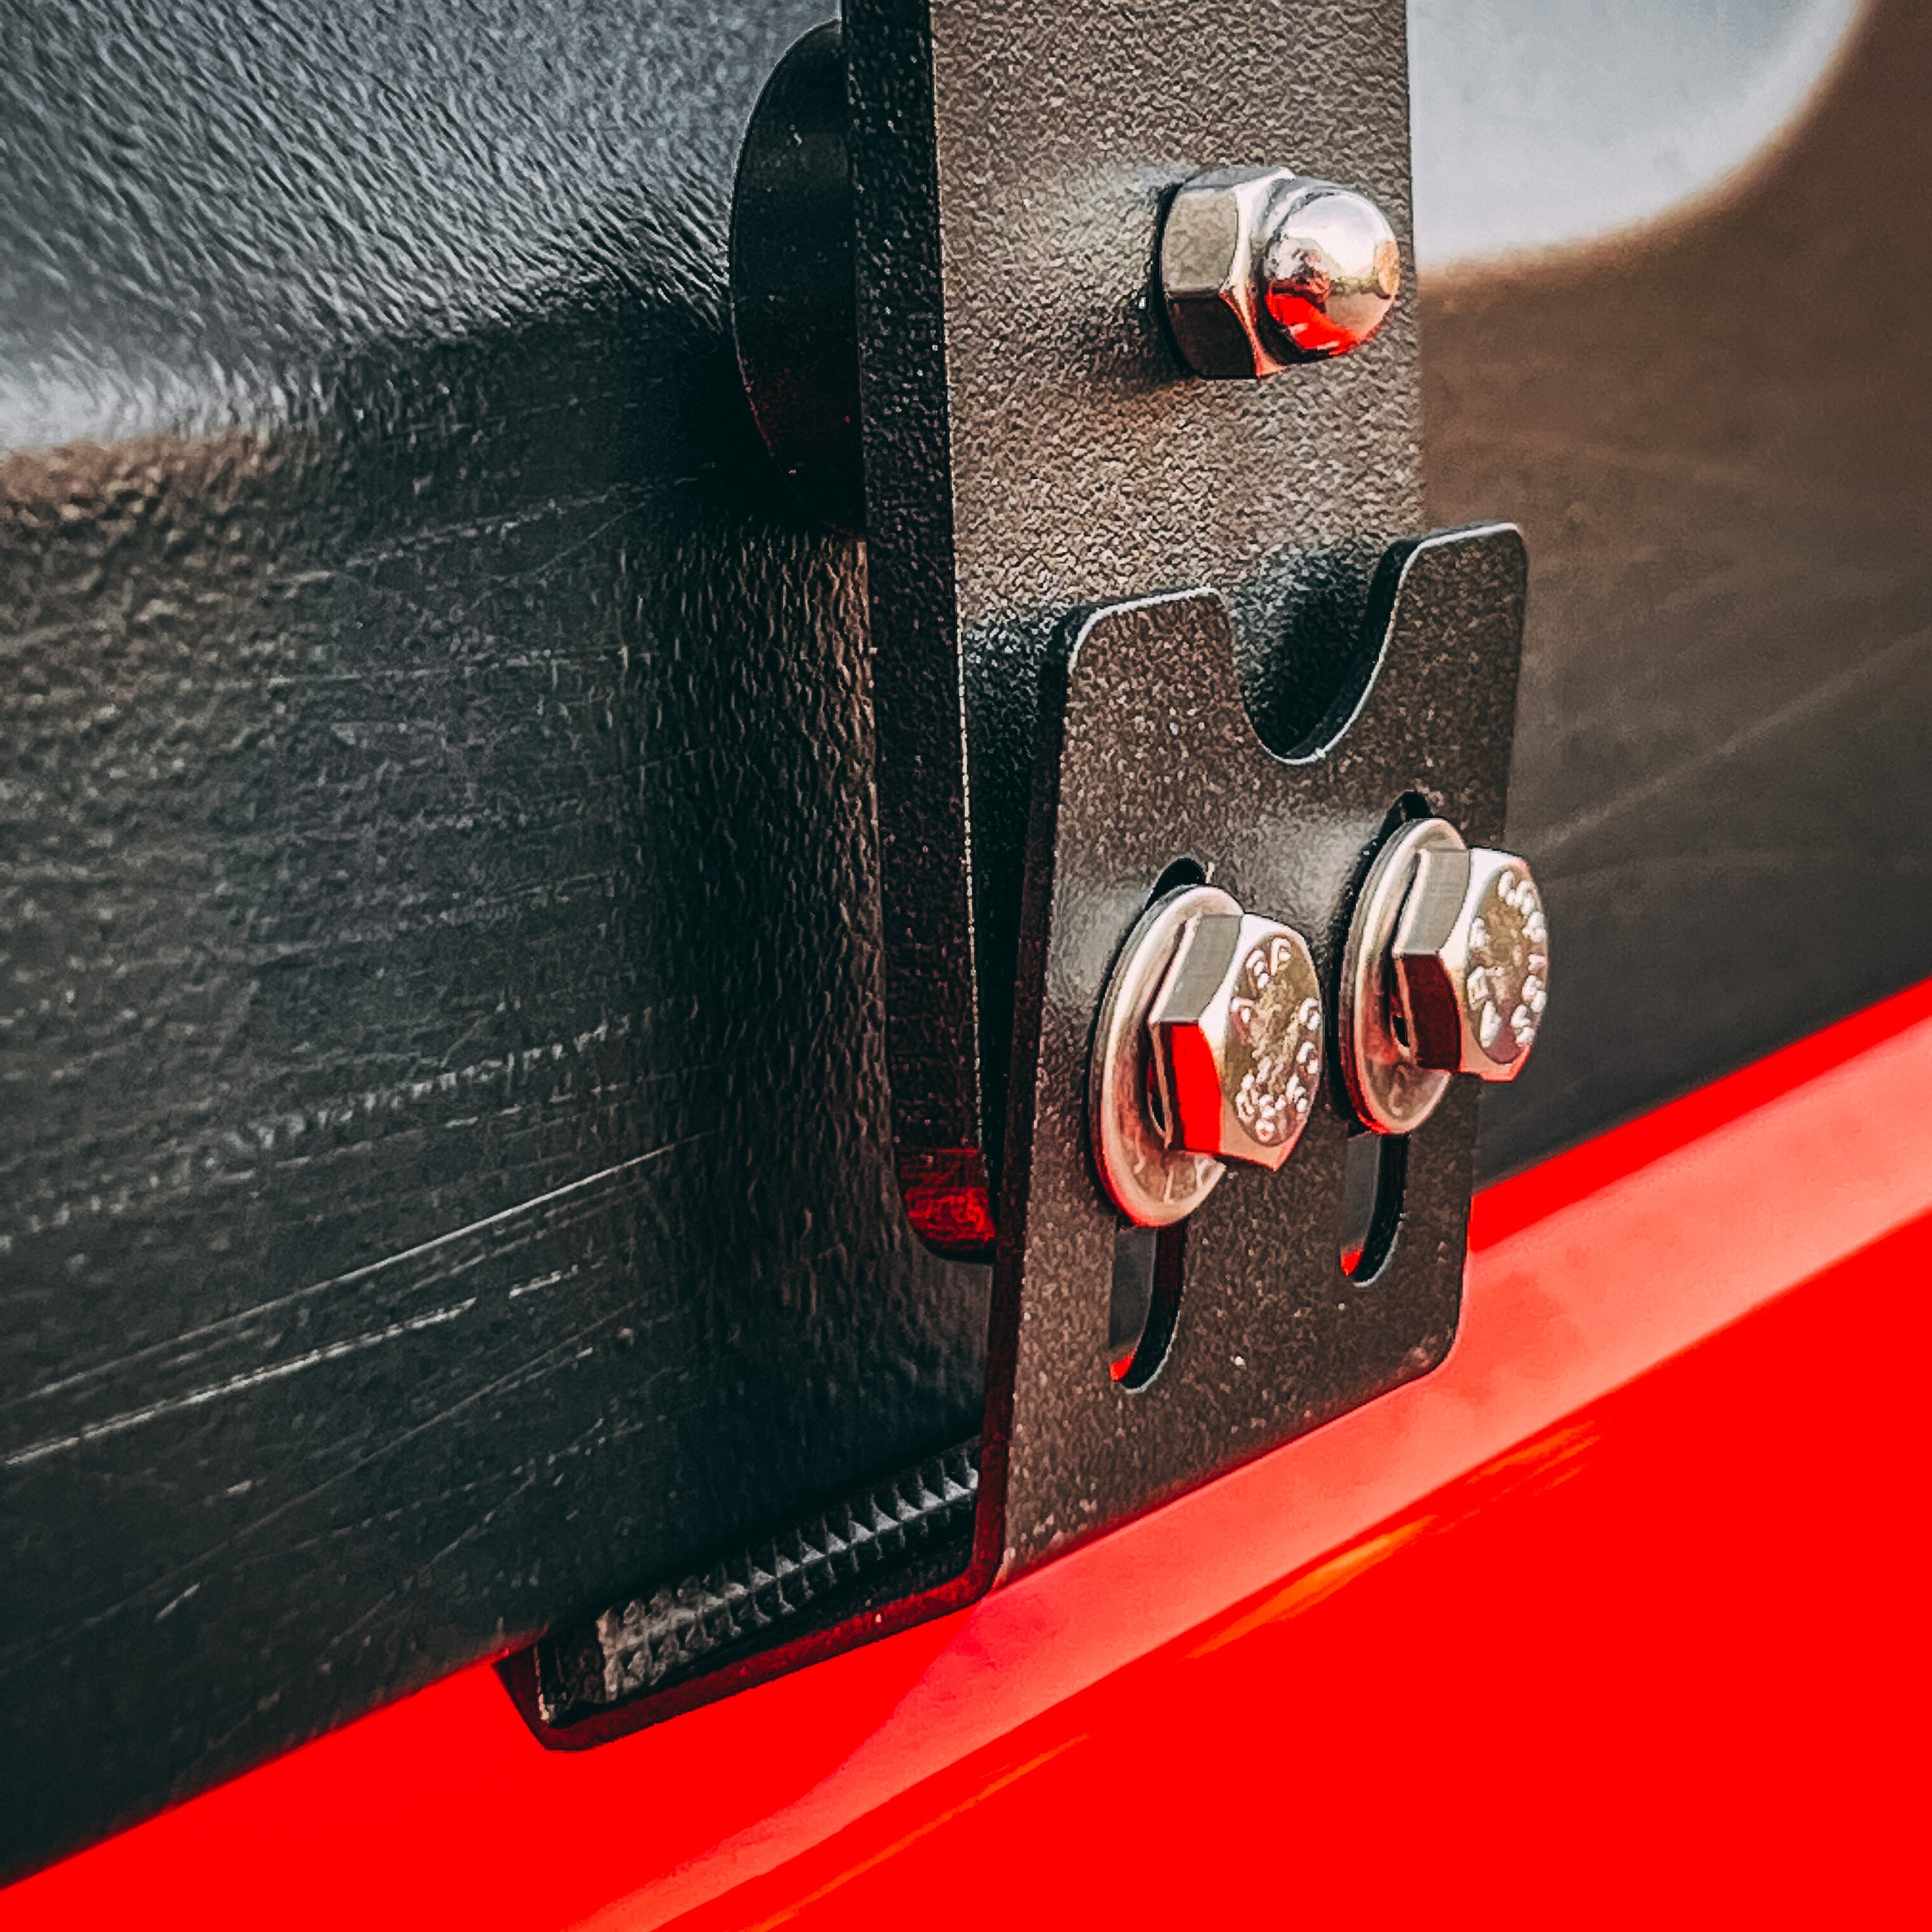
One pro move is to add some padding to the brackets on the top and bottom where the bracket meets the Jeep hardtop. This will help protect the finish, and prevent any rattling, etc. I used some rubber pads that I got on Amazon that are designed to stop furniture from scratching floors. But any type of weather stripping or padded material should work here. Cut strips for the inside of the brackets and affix.
Pro tip! Add some weather stripping or other padding between anything that makes contact with the vehicle and the parts. I added this rubber pad designed to mount on the bottom of furniture to the inside lip of these bottom brackets and also to the inside of the bracket that fits on the rain gutter.
Next, loosely install the bottom bracket to each arm using the supplied bolts and washers. Hand tighten these bolts so that the brackets aren’t dangling when it’s time to install them, but you’ll need them loose enough to re-adjust.
Loosely attach the bottom bracket using one bolt and washer per hole. No need to make this tight - just set the bolts finger tight
Bottom bracket loosely installed and ready for fitment to the Jeep
Next we’re going to loosely install the top brackets. Again, you have the option to grab some weather stripping or other padding and to insert that into the bracket now.
Rubber padding installed inside the rain gutter track on the top brackets.
You want to leave some play when you install the top bracket to the arm. One long bolt and washer per side — tighten this only enough to make contact between the bracket and the mounting arm. Again, do not over-tighten this.
Loosely fit the long bolt and washer for the top bracket. Again, keep some play in this arm and only have the pieces lightly touching before install.
At this point you are done assembling the rack, and it’s time to go to the vehicle and mount them to your Jeep. You can do this installation solo, or you can hire a cat to supervise. Either way, this is an easy installation with no extra hands required.
Ensure you have assistance from a cat for the next step.
Start by sliding the two top brackets into the track for the rain gutter. Since you have so much play in these brackets, it should be easy to slide them along the rain gutter track without damaging the finish. Align the TrailRax left/right to center it on your rear window. Do not tighten the top bracket yet!
Slide the top rain gutter brackets into the rain gutter on the back windows. Align the TrailRax with your desired position on the rear window.
With the TrailRax aligned on the back window, tighten the bottom bolts and bracket snug under the lip of the hard top. Once again, you want the bolts snug, but do not over tighten them.
Slide the bottom brackets up under the window frame. Hold in place while tightening the bottom bolts.
Snug the bottom bolts. Again, no need to crank anything down super tight. You can damage the car!
Finally, snug down the top bolt on the top of each arm. This will raise the rack and snug it into place against the rear window.
Finally, tighten the top bolt on the top bracket to pull the TrailRax tight and snug to the car. Give everything a good shake. It should be solid when fully snugged. Now mount up your accessories and enjoy!
With all of the bolts tightened, it’s time to admire your work! Give everything a good shake to ensure it’s mounted snuggly and solidly. If you haven’t mounted accessories, you can do so now.
The weight capacity of the rack is listed as 60lbs per side. This probably isn’t the limit of the rack itself, but of the fiberglass roof and rain gutter that the TrailRax is mounted upon. Overloading the TrailRax can almost certainly lead to damage of your roof, so keep within the range specified.


